
Related Manuals for Premier Mounts MVW463


Summary of Contents for Premier Mounts MVW463
- Page 1 MVW463 Installation Guide Video Wall Frame www.mounts.com | North America 800.368.9700 | International +1-714-632-7100 1321 S. State College Blvd., Fullerton, CA 92831 USA...
-
Page 2: Required For Installation
Premier Mounts does not warrant against damage caused by the use of any Premier Mounts product for purposes other than those for which it was designed or damage caused by unauthorized attachments or modifications, and is not responsible for any damages, claims, demands, suits, actions or causes of action of whatever kind resulting from, arising out of or in any manner relating to any such use, attachments or modifications. -
Page 3: Included Components
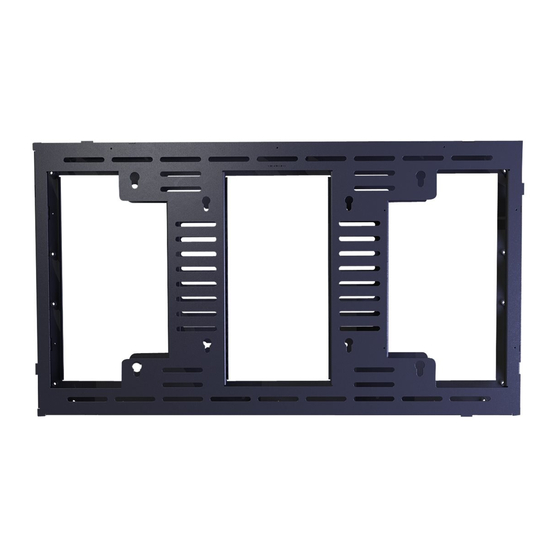
They can be installed in either portrait or landscape orientation. Quick-release buttons make it easier than ever to install the displays, which can be attached to the front and/or back of the MVW463. You can join multiple MVW463’s horizontally and/or vertically to create a video wall. -
Page 4: Dual-Pole Cart Or Stand Installation
Insert tubes through the holes of the frames shown in Figure 1. Make sure the MVW463 keyhole mounting slots are in the correct orientation for portrait or landscape orientation (Figure 2), so that they can support the flat-panel display(s) later. - Page 5 If you are fastening multiple MVW463’s, use the M8 x 16mm pan Phillips screws provided to fasten them together from inside the frames (Figure 1). To safely install rows of multiple MVW463’s, fasten them first in individual rows, then insert the tubing of the dual-pole cart or stand into each row. After that, fasten the rows together (Figure 2).
- Page 6 Slide the MVW463 to the desired height on the dual-pole cart or stand. Tubing of Cart or Stand Insert four (4) M8 x 10mm set screws into the MVW463 screw holes near the tubing (see drawing). Tighten the screws against the MVW463 and tubing.
-
Page 7: Flying Installation
Figure 1 If flying the MVW463(s), insert a heavy-duty steel tube (not included) into the frames’ upper 2” circular cutouts (Figure 1). Appropriate tubing and rigging hardware must be used to support a minimum of 4 times the combined weight of all the flat-panel displays and MVW463’s used. - Page 8 Figure 1 If you are fastening multiple MVW463’s, use the M8 x 16mm pan Phillips screws provided to fasten them together from inside the frames (Figure 1). To safely install rows of multiple MVW463s, fasten them first in individual rows, then fasten the rows together. After that, insert the heavy-duty plastic tube (Figure 2).
- Page 9 8 10 Keyhole Mounting Slot Attach the flat-panel display to either side of the MVW463 by inserting the display’s quick-release buttons into the keyhole mounting slots on the MVW463, locking them into place. Depending on your videowall configuration, install displays working from the bottom frame up.
- Page 10 MVW463 Installation Guide Rigging/Flying Hardware Use the rigging/flying hardware to safely suspend the MVW463(s) overhead. To set the tilt angle, attach additional cables to the bottom of the frames and pull to the desired angle (see drawing). Re-check all hardware and installation for proper tightness and security.
- Page 11 This warranty gives you specific legal rights, and you may also have other rights which vary from state to state. Premier Mounts intends to make this manual accurate and complete. However, Premier Mounts makes no claim that the information contained herein covers all details, conditions or variations, nor does it provide for every possible contingency in connection with the installation or use of this product.
Need help?
Do you have a question about the MVW463 and is the answer not in the manual?
Questions and answers