Table of Contents
Advertisement
Quick Links
Advertisement
Table of Contents

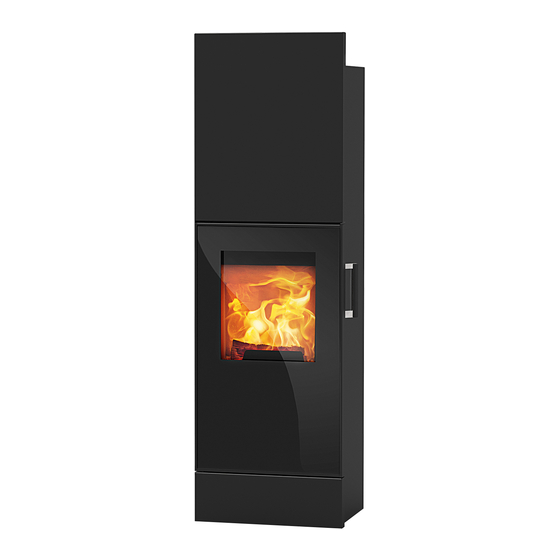
Summary of Contents for RIKA IMPERA
- Page 1 IMPERA/XL Operating Manual...
-
Page 2: Table Of Contents
Amount of fuel ......................................3 Technical data ......................................3 Packaging .........................................3 Spare part overview exploded diagram IMPERA ...........................4 Spare part overview exploded diagram IMPERA XL ..........................6 Spare part overview article numbers Impera ............................8 Spare part overview article numbers Impera XL ............................9 2. IMPORTANT INFORMATION General warning and safety information ..............................10... -
Page 3: Preface
(M5 winding) (M6 winding) # 10 Dimensions Technical data RO-T2 RO-S description measure Impera Impera XL RO-T3 room heating capacity depending [kW] 3 - 6 4 - 8 on house coating fuel consumption [m³] 70 - 160 90 - 210... -
Page 4: Spare Part Overview Exploded Diagram Impera
Spare part overview exploded diagram IMPERA... - Page 5 1 0 0...
-
Page 6: Spare Part Overview Exploded Diagram Impera Xl
Spare part overview exploded diagram IMPERA XL 1 0 0... - Page 7 1 0 1...
-
Page 8: Spare Part Overview Article Numbers Impera
Spare part overview article numbers Impera Art.Nr.: Description Art.Nr.: Description Z34837 Decorative glass N111695 height adjustment screw Z35138 door bracket top Z35377 bottom cover panel L02290 Spacer bar above Z35139 front cover Z35372 Glass frame top Z35375 Side casing panel, left... -
Page 9: Spare Part Overview Article Numbers Impera Xl
Spare part overview article numbers Impera XL Art.Nr.: Description Art.Nr.: Description Z34835 Decorative glass Z35039 front cover Z35021 door bracket top Z35364 Side casing panel, left Z35361 Glass frame top Z35046 stone holder bar Z34833 combustion chamber door N111990 Hexagon socket M04x06... -
Page 10: Important Information
2. IMPORTANT INFORMATION General warning and safety information Safety distances Observance of the introductory general warning information is imperative. Note 1. To non-combustible objects Read the entire manual thoroughly before installing and putting the stove into a > 40 cm b > 10 cm service. -
Page 11: Prior To Set Up
Prior to set up Stoves type 1 (BA 1): These may only be operated with the combustion chamber door closed. Floor bearing capacity Ensure that the substructure is capable of bearing the weight of the stove prior Suitable for multiple occupancy. (note the different country regulations) to set-up. -
Page 12: Brief Information On Fuel Logs
3. BRIEF INFORMATION ON FUEL LOGS Suitable fuels and fuel amounts Fuel amounts with nominal heat output Your stove is generally suitable for burning dry firewood. You can also burn fuels Logs - wood briquettes (broken) such as wood briquettes. 3 logs or pieces approx. -
Page 13: Installing The Stove
The stove can also be pushed on this cardboard or carpet. Feeding in external combustion air We recommend original flue pipes from RIKA for proper connection. only for devices which are able to run in romm-air independent operation. Connection to the chimney Combustion air must be fed to the stove from outside via a sealed pipe for operation independent of the room air. -
Page 14: Operation Manual Rear Wall
5. OPERATION MANUAL REAR WALL Correct heating up Operating the riddle grate 1. Press the control knob at the rear wall down completely into “Heating-up The ash is moved from the combustion chamber to the ash drawer by pushing position” – primary and secondary air intakes are open completely in the the riddle grate handle back and forth. -
Page 15: Cleaning And Maintenance
6. CLEANING AND MAINTENANCE Now you can remove the top baffle plate. Basic information Note Your stove must be switched off and cooled before any maintenance work is performed. Ensure that you do not vacuum into the combustion air line during heating operation during any cleaning (vacuuming). -
Page 16: Empty The Ash Drawer
Empty the ash drawer Checking door seal Empty the ash drawer regularly. You can simply pull forward the ash drawer The condition of the seals at doors and glass should be checked at least 1 x per with open fire door year. -
Page 17: Assembly / Disassembly
Changing to rear connected flue gas Remove the stove cover by simply lifting Remove the rear panel and cut it out along the perforation. Finally the rear wall and the optional stove cover (# E15266-Impera, # E15403 Impera XL) can be mounted... -
Page 18: Problems Possible Solutions
8. PROBLEMS POSSIBLE SOLUTIONS Problem 1 Problem 2 Fire burns with weak, orange flame. Pellets heap up in fire trough, window Stove smells strongly and smokes outside. sooted up. Cause(s) Cause(s) Burning-in phase (taking into service) Poor chimney draught Stove has accumulated dust and/or dirt Too much fuel Possible solution(s) Damp wood... -
Page 19: Guarantee
For the purpose of timely damage limitation, the warranty claim on the part of the claimant is to be enforced at the RIKA dealer in writing using the invoice and stating the purchase date, model name, serial number and reason for complaint. - Page 20 Technical and design changes, as well as typesetting and printing errors reserved © 2014 | RIKA Innovative Ofentechnik GmbH RIKA Innovative Ofentechnik GmbH 4563 Micheldorf / Austria, Müllerviertel 20 Telefon: +43 7582 686 - 41, Fax-DW: 43 E-Mail: verkauf@rika.at RIKA.AT...


Need help?
Do you have a question about the IMPERA and is the answer not in the manual?
Questions and answers