
Related Manuals for Avios MIG-17 FRESCO


Summary of Contents for Avios MIG-17 FRESCO
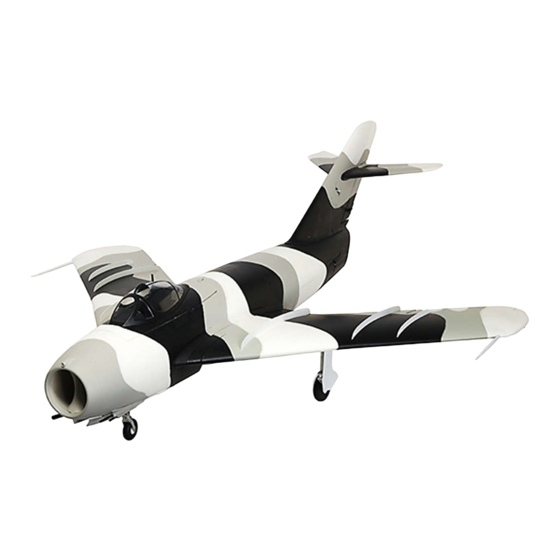
- Page 1 Instruction Manual MIG-17 P l e a s e r e a d t h i s m a n u a l c a r e f u l l y b e f o r e b u i l d i n g a n d o p e r a t i n g t h i s...
- Page 2 LED lighting. The Avios MIG-17 Fresco is the same quality that you have come to expect from the Avios brand and is also very straightforward to build due to the low parts count.
-
Page 3: Table Of Contents
CONTENTS Box contents ------------------------------------------------------ 1 Specifications ----------------------------------------------------- 1 CG Location --------------------------------------------------------2 Assembly -------------------------------------------------------3-12 Decal sets -----------------------------------------------------13-16 Set Up and Flying -----------------------------------------------------17... -
Page 4: Box Contents
Box contents ① ④ ⑤ ③ ② ⑧ ⑥ ⑦ 3.Wing Joiner 2.Main Wing 1.Fuselage 6.Scale Accessories 4.Vertical Fin 5.Horizontal Tail 7.Decal set 8.Hardware Parts Specifications 1200 mm I n s t a l l e d 9 0 m m 1 2 B l a d e E D F U n i t 1 x 12g metal geared digital servo 11 x 9g analog servos 1420mm... -
Page 5: Cg Location
CG Location C of G Please make sure the model balances in a slight nose down attitude at the point shown above before flying. -
Page 6: Assembly
Assembly Use a medium CA glue or suitable foam glue to attach the Install accessories. Glue into place a pitot tube to each wing tip. - Page 7 Glue the center and outboard wing fences into the slots on the upper surfaces of both wings.
- Page 8 Glue into place the cannons and machine guns.
- Page 9 Glue into place the VHF antenna and refueling probe. Glue into the slot underneath the fuselage the ventral strake/tailskid.
- Page 10 Installing the aileron and flap servo pushrods. ② Feed the Z link through the top hole in the servo arm first then bolt the ball-link to the control horn. Do this for the 2 aileron servos and the 2 split flap servos.
- Page 11 Install the rudder and twin elevator servo pushrods in the same way as the wing pushrods.
- Page 12 Install the pushrods for the gear doors in the same way as for the control surfaces.
- Page 13 Wing spar Insert the wing spar through the fuselage as shown above. Slide both wings onto the wing spar and ensure the servo connectors connect properly...
- Page 14 HM 3x10mm Secure the wings using the M3 x 10mm machine screws provided. • • PA 2.6x10mm Install the tail fin and secure using the provided 2.6 x 10mm self tapping screws.
- Page 15 PA 2.3x8mm Fit the horizontal stabilizer halves and secure using the supplied 2 off 2.3 x 8mm self tapping screws. WATERSLIDE DECALS: The following pages show the waterslide decals and the positions of them on the model that have to be applied by the builder. Applying the decals: 1.
-
Page 16: Decal Sets
• • C'CS... - Page 20 The same goes for the air-brakes, practice with them at height before using them on a landing approach. We hope you enjoy your Avios MIG-17 Fresco and if you haven't already tried our other models in the Avios range then we...
Need help?
Do you have a question about the MIG-17 FRESCO and is the answer not in the manual?
Questions and answers