Table of Contents
Advertisement
Quick Links
Installation Instructions for
Round or Square Chicago Plenum Adjustable Housing
with
Emergency Battery Backup and LED
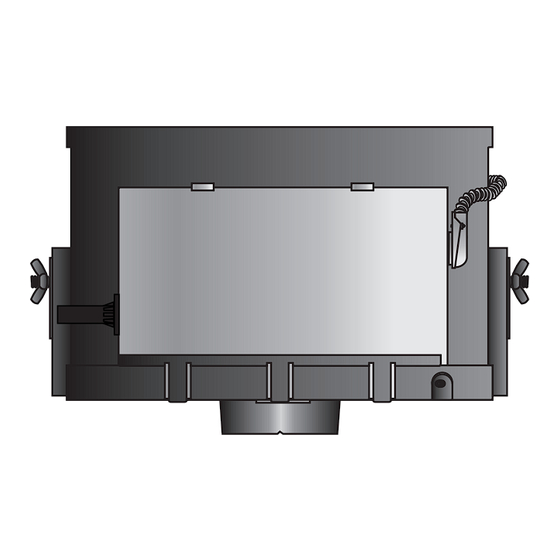
LED ROUND SQUARE
-
G
ENERAL RODUCT NFORMATION
P
I
This product is suitable for indoor locations.
This product can be dimmed with a standard electronic dimmer.
This instruction shows a typical installation.
Install the Housing with Adjustable Bars
½" to ¾"
1A
LEAVE TAB
IN PLACE
NOTE:
Skip this section if installing the housing
with butterfly brackets.
Keep Tab for ceiling ½" to ¾" thick.
1
When using adjustable hanger bars with ½" to ¾" thick
ceilings, leave the tab of the hanger bars in place.
Break off Tab for ceiling ¾" or thicker.
When using adjustable hanger bars with ¾" or thicker
ceilings, remove the tab by bending it at the perforation.
1B
INNER ADJUSTABLE BAR
NAIL
3
OUTER ADJUSTABLE BAR
Slide the inner adjustable bar completely through the
2
three housing clasps. Make sure the nail is on top.
Slide and push the outer adjustable bar completely onto
3
the inner adjustable bar so that the tab clicks into place
behind the stop point. This will prevent the adjustable bars
from coming apart.
Repeat steps 2 & 3 for the other side of the housing.
4
/
:
¾" or thicker
BREAK OFF
AND DISCARD
HOUSING
2
HOUSING CLASP
STOP POINT
3
TAB
Lamp
CAUTION RISK OF FIRE
This product must be installed in accordance with the
applicable installation code by a person familiar with the
construction and operation of the product and the
hazards involved.
Use minimum 90°c supply conductors.
1C
6
5
NOTE:
The adjustable bars can be mounted to
joists that are spaced 16" - 24" apart.
Align the bottom of the end plates with the bottom of the
5
ceiling joists.
Level the adjustable bars and, with a hammer, tap the nails
6
completely into the joists to secure the adjustable bars in
place.
1
920E3
E3_-L_AE
-
6
NAIL
COLLAR
6
LED AE
-
1.4
NAIL
5
JOIST
5
Advertisement
Table of Contents

Related Manuals for Tech Lighting ELEMENT E3-L AE Series


Summary of Contents for Tech Lighting ELEMENT E3-L AE Series
- Page 1 Installation Instructions for 920E3 LED AE Round or Square Chicago Plenum Adjustable Housing with Emergency Battery Backup and LED Lamp E3_-L_AE LED ROUND SQUARE ENERAL RODUCT NFORMATION This product is suitable for indoor locations. This product can be dimmed with a standard electronic dimmer. This instruction shows a typical installation.
- Page 2 Install the Housing with Butterfly Brackets NOTCH BUTTERFLY COLLAR BRACKET HOUSING ADJUSTABLE BAR COLLAR WING NUT NOTCH ADJUSTABLE BAR NOTE: Skip to section 3 if installing the housing with adjustable bars. Slightly loosen the wing nut to slide the butterfly bracket up or down.
- Page 3 NOTE: When a fixture is installed in a location that requires servicing from below the ceiling through the fixture aperture, the branch circuit connections need to be able to be brought out through the aperture. To accomplish this, an NM type cable in conjunction with snap-in/push-in connectors must be used and a 12”...
- Page 4 Install Drywall 3-7/8" 3-7/8" FLEXIBLE CONDUIT #6-32 SCREW BACK RING ROUND COLLAR SQUARE COLLAR For round trims, mark a 3-7/8" diameter circle on drywall. Cut out the marked section. For square trims, mark a 3-7/8" square on drywall. Cut out the marked section.
- Page 5 #6-32 SCREW BACK RING WING SCREW Replace and tighten the cap. Replace the back ring onto the test switch port so the end of the wing screws are properly placed in the two blind holes. Replace and tighten the #6-32 set screws to secure the back ring onto the test switch port.
- Page 6 Install Plaster Ring (For Flangeless Versions) ROUND PLASTER RING SQUARE PLASTER RING Plug the collar with the provided dust shield. Properly plaster onto the plaster ring and drywall. CUT OUT CUT OUT Line up the two tabs in back of the plaster ring with the two cut out sections of the collar's inside edge.
- Page 7 Adjust the Lamp Housing BUCKET HANDLE ROTATION LOCK NOTE: Lamp housing can rotate 361° horizontally. BUCKET HANDLE Pull the rotation lock down to unlock the lamp housing. Rotate the lamp housing horizontally. When the desired position is achieved push the rotation lock up to lock the lamp housing in place.
- Page 8 7400 Linder Ave. Skokie, 60077 847.410.4400 www.element-lighting.com © 2019 Tech Lighting, L.L.C. All rights reserved. The "Element" graphic is a registered trademark of Element. Element reserves the right to change specifications for product improvements without notification.
Need help?
Do you have a question about the ELEMENT E3-L AE Series and is the answer not in the manual?
Questions and answers