Table of Contents
Advertisement
Quick Links
Advertisement
Table of Contents

Related Manuals for Kuppersberg SA3VT02


Summary of Contents for Kuppersberg SA3VT02
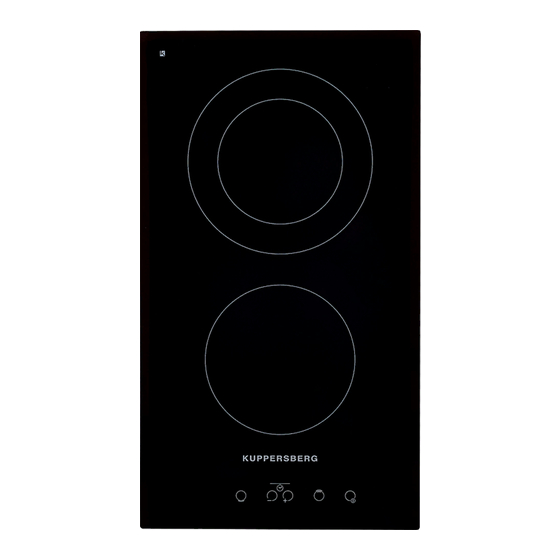
- Page 1 Technical passporT SA3VT02 ELECTRIC HOB...
-
Page 2: Table Of Contents
Technical passporT english electric hob CONTeNTS 1. APPEAL TO THE CUSTOMER ..................3 2. CHILDREN’S SAFETY ......................3 3. IMPORTANT SAFETY INSTRUCTION ................. 3 4. ENVIRONMENTAL PROTECTION ................. 4 5. MAINTENANCE AND INSTALLATION MANUAL ..........5 5.1. INSERTING ........................4 5.2. -
Page 3: Appeal To The Customer
english Technical passporT electric hob ImPOrTANT: After use, switch 1. APPeAl TO THe the cooking top off with the CUSTOmer command device. Dear Customer, Â Avoid spilling liquid, therefore to Thank you for having purchased one boil or heat liquids, reduce the heat. of our products. -
Page 4: Environmental Protection
Technical passporT english electric hob B lf the glass cracks, please, which could happen if this product disconnect the appliance. is not handled properly. For more B Don’t use plastic pots or detailed information about recycling alluminium sheets. this product, please contact your local B Don’t authority, household waste service or supplementary surface. -
Page 5: Electrical Connection
B The power of the electrical -0,5) -0,5) system and the power of the outlets is SA3VT02 adequate to the maximum pover of the appliance (see the identifıcation label in the lower part of the body). B The outelets and all the electrical system has an effi... - Page 6 Technical passporT english electric hob letter l (live) = cable brown colour; leter N (Neutral) = cable blue colour; letter N (Neutral) = cable blue Symbol (earth) = cable green- colour; yellow colour. Symbol (earth) = cable gren- yellow colour. B The input cable has to be located so that never reach the over Our hobs can also operate with...
-
Page 7: Starting To Appliance
english Technical passporT electric hob When the connection has been done directly to the input system: B Interpose between the appliance and the system an onnipolar switch, adequate to the load of the appliance, with a minimum nose betwen the contacts of 3 mm. B Keep in mind that the «earth»... -
Page 8: Technical Characteristics
Technical passporT english electric hob 5.4. TeCHNICAl CHArACTerISTICS SA3VT02 2 «Hi-light» heating elements Voltage 220 - 240 V~ Frequency 50/60 Hz Tot. Rating 3000 W 6. CONTrOl TYPeS AND USeS Position for regulation Possible cookings Touch control To melt butter, chocolate and else. -
Page 9: Basic Settings
english Technical passporT electric hob 7. BASIC SeTTINGS  After the power boost time has elapsed, the control switches over to 1 Switching on continuous cooking, a short signal  Press «0/1» button and keep sounds and the decimal point of the pressed for 2 seconds, and a signal will appropriate radiant heater digit will sound. -
Page 10: Basic Function
Technical passporT english electric hob 7.1. BASIC FUNCTION Â In the activated state, if cooking level «O» is pre-selected, there is a Actuating timer changeover between «O» and «H» in B Press time key ‘+’ -> a signal the appropriate digit. noise will sound, ‘00’... -
Page 11: Maintenance And Cleanings
english Technical passporT electric hob display will wink, the setting of the B Marks of liquid, overfl owed timer cooking positi on will remain. from the pot, can be removed using Cancelling timer alarm vinegar or lemon. B Press any key and the alarm B Pay attention to not Jet fail and timer display go out. -
Page 12: Troubleshooting - Problem Solving
Technical passporT english electric hob 9. TrOUBleSHOOTING – PrOBlem SOlVING Before you contact the Technical Service, please perform the following checks. The appliance does not work: Ensure that the power cable is plugged in. The pot sticks to the glass: If there is molten material between the pot and the glass, set the hot plate to maximum power and try to separate them.
Need help?
Do you have a question about the SA3VT02 and is the answer not in the manual?
Questions and answers