Table of Contents
Advertisement
Quick Links
WMK 160 • Installation Guide
Read all instructions before using this furnishing.
When using this furnishing, basic precautions should always be followed, including the following:
WARNING:
Risk of electric shock. Disconnect the power to this furnishing before cleaning.
AVERTISSEMENT :
•
Devices used in this furnishing should be connected to a properly grounded outlet only (see Grounding Instructions in
the device manual).
•
Les appareils utilisés avec ce type de mobilier devraient uniquement être connectés à une prise correctement mise à la
terre (voir les Instructions de mise à la terre dans le mode d'emploi de l'appareil).
CAUTION:
Risk of Personal Injury. Read and follow the steps below to reduce the risk of burns, fire, electric shock, or
injury to persons.
ATTENTION:
Risque de blessure mineure : Lisez et respectez les instructions ci-dessous afin d'éviter les risques de
brûlures, d'incendie, de choc électrique, ou de dommage corporel.
1.
Always unplug devices installed in this furnishing from outlets before putting on or taking off parts.
2.
Close supervision is necessary when this furnishing is used by, or near children, invalid, or disabled persons.
3.
Use this furnishing only for its intended use as described in these instructions. Do not use attachments not recommended by
the manufacturer.
4.
Never operate a device in this furnishing if it is not working properly, if it has been dropped or damaged, or dropped into
water. Return the device used in this furnishing to a service center for examination and repair.
5.
Never operate the furnishing with the air openings blocked. Keep the air openings free of lint, hair, and the like.
6.
Never drop or insert any object into any opening.
7.
Do not use outdoors.
8.
Do not operate where aerosol (spray) products are being used or where oxygen is being administered.
9.
To disconnect the devices, turn all controls to the off position, then remove plugs from outlet.
This product must be connected to a grounded metal, permanent wiring system, or an equipment-grounding conductor must
be run with the circuit conductors and connected to the equipment-grounding terminal or lead on the product.
WARNING: Risk of Personal Injury. Maximum load for the WMK 160 is 15 lbs (7 kg).
AVERTISSEMENT : Risque potentiel de blessure grave. La charge maximum pour le WMK 160 est 7 kg
(15 lbs).
The Extron WMK 160 Wall Mount Kit is used for hanging WallVault
short throw projector.
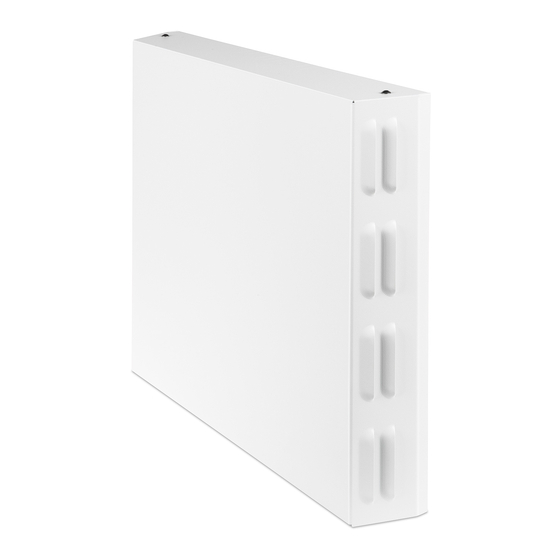
The WMK 160 has a 17.3 x 16.5 x 2.75 inches (439 x 419 x 69 mm) enclosure, and a base plate on which to mount the switcher
(for example the PVS 407D or PVS 405D) and the associated power supply, with room for cable management.
In addition, an accessory device can be mounted on the base plate. The cover has knockouts on three sides that allow external
raceways to be used where needed for cabling.
NOTE:
The WMK 160 is to be used only with Extron UL listed products.
IMPORTANT SAFETY INSTRUCTIONS
Risque de choc électrique. Débranchez ce furnishing avant cleaning.
SAVE THESE INSTRUCTIONS
GROUNDING INSTRUCTIONS
System AV products on a wall near a flat screen display or
®
1
Advertisement
Table of Contents

Related Manuals for Extron electronics WMK 160


Summary of Contents for Extron electronics WMK 160
- Page 1 The WMK 160 has a 17.3 x 16.5 x 2.75 inches (439 x 419 x 69 mm) enclosure, and a base plate on which to mount the switcher (for example the PVS 407D or PVS 405D) and the associated power supply, with room for cable management.
- Page 2 WMK 160 • Installation Guide (Continued) The key components (base plate, cover, and PVS switcher mounting plate) of the WMK 160 are shown in figure 1 at right. Included in the kit (4) 1/4" KapToggle (4) 1/4" ® Assemblies Asse are the following: (4) 1/4-20 x 2"...
- Page 3 If the cables are to be run behind the wall to the WMK 160 location, mark the cutout area on the wall for the signal cable access hole (see figure 3 on the previous page). Remove the base plate and set the plate aside.
- Page 4 WMK 160 • Installation Guide (Continued) Step 4. Cable the Switcher — Connect the cables from the PVT wallplates, control device (MediaLink Controller), speakers, and optional accessories (VoiceLift and Page Sensor Kit) to the rear ports of the switcher (see figure 7 below).
- Page 5 For full configuration and setup details, refer to the PoleVault System Installation Guide (featuring the PVS 407D Switcher), the MLC Plus 50/100/200 User Guide, and the PVS 407D User Guide, (or the appropriate PVS switcher guide), all available online at www.extron.com. Figure 8. Attach WMK 160 cover...
- Page 6 For information on safety guidelines, regulatory compliances, EMI/EMF compatibility, accessibility, and related topics, see the Extron Safety and Regulatory Compliance Guide on the Extron website. © 2013-2019 Extron Electronics — All rights reserved. www.extron.com All trademarks mentioned are the property of their respective owners.
Need help?
Do you have a question about the WMK 160 and is the answer not in the manual?
Questions and answers