Table of Contents
Advertisement
Quick Links
Advertisement
Table of Contents

Subscribe to Our Youtube Channel
Related Manuals for Tornado OB 28/20


Summary of Contents for Tornado OB 28/20
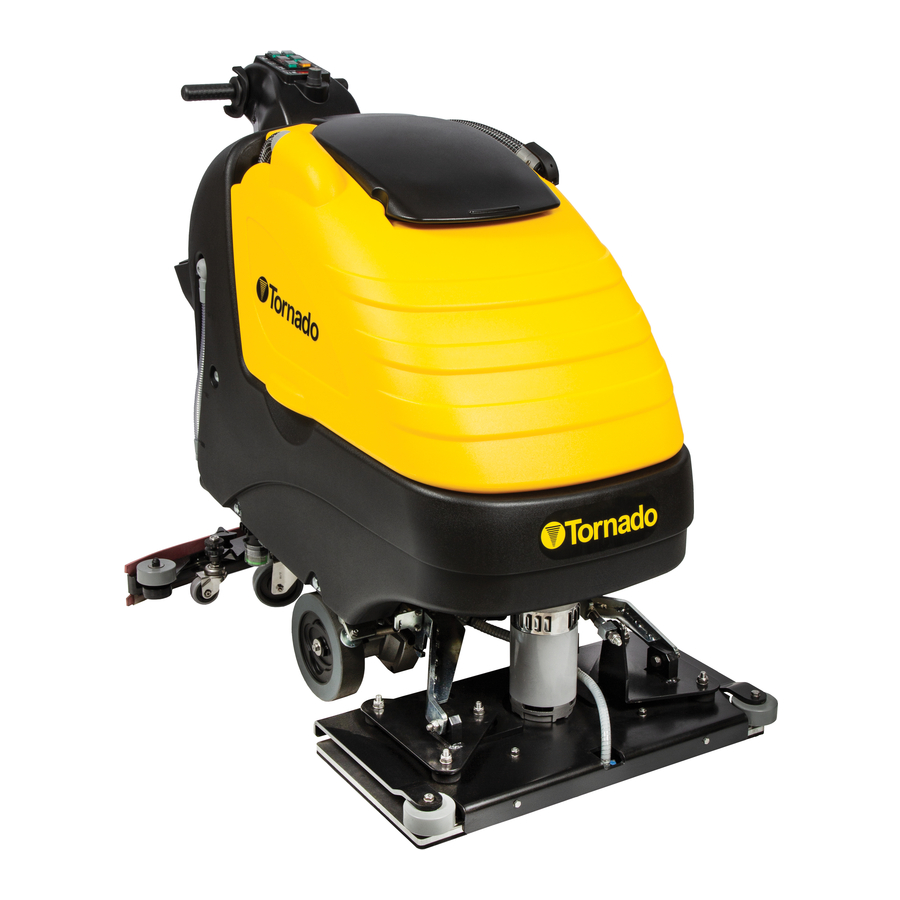
- Page 1 TORNADO INDUSTRIES, LLC 3101 WICHITA COURT FORT WORTH, TX 76140 PHONE 800-VACUUMS FAX 817-551-0719 WWW.TORNADOVAC.COM Operations & Maintenance Manual For Commercial Use Only OB 28/20 ORBITAL AUTOMATIC SCRUBBER MODEL NO: 99729 Form No. L9729AA 12/2018 ©Tornado Industries, LLC. All rights reserved...
- Page 2 For full details, contact your Authorized Tornado Distributor, Service Center, or the Tornado Technical Service Department. Tornado sales and service representatives are not authorized to waive or alter the terms of this warranty, or to increase the obligations of Tornado under the warranty. 10 Years*...
- Page 3 NOTES...
-
Page 4: Table Of Contents
SUMMARY TECHINICAL DESCRIPTION INTRODUCTORY COMMENT GENERAL RULES OF SAFETY Transfer Storage and disposal Correct use Maintenance GENERAL RULES OF THE BATTERIES LEGEND INSTRUMENT BOARD AND CONTROLS LEGEND MACHINE SYMBOLOGY ON THE MACHINE SYMBOLOGY ON THE MANUAL BEFORE USE Handling of the packed machine Unpacking of the machine Access to the battery compartment Battery installation... -
Page 5: Techinical Description
TECHNICAL DESCRIPTION Cleaning width in/mm 28/700 Squeegee width in/mm 39.4/1000 Working capacity, up to sqft/h/m 29,493/2740 Dimensions pad in/mm 28 x 14/ 700 x 350 RPM base motor 3530 Pressure on the base lbs/kg 132/60 Base motor 746/31A Traction motor 300/12.5 Suction motor 570/23.75... -
Page 6: Introductory Comment
Your new Tornado unit is a high quality, precision-made product. All parts used in the manufacturing of this unit have passed rigid quality control standards prior to assembly. Please safeguard the original receipt / invoice. If you experience any problems with your unit during the warranty period, the original receipt / invoice will act as proof of purchase. -
Page 7: General Rules Of Safety
GENERAL RULES OF SAFETY • Do not mix different detergents, avoiding harmful odours. The rules below have to be followed carefully in order to avoid • Avoid pad operation when the machine is standing still in injury to the operator and damage to the machine. order to prevent floor damages. -
Page 8: Legend Instrument Board And Controls
LEGEND INSTRUMENT BOARD AND CONTROLS 1. SWITCH WITH KEY 2. DISPLAY CHARGE LEVEL BATTERIES/HOUR METER 3. PUSH BUTTON VISUALIZATION HOUR METER (DISPLAY) 4. SIGNAL LAMP BRAKE ON 5. SWITCH SPEED SELECTION 6. SWITCH BASE MOTOR 7. SWITCH SUCTION MOTOR 8. SWITCH BRUSH BASE UP/DOWN 9. -
Page 9: Symbology On The Machine
SYMBOLOGY ON THE MACHINE Symbol denoting the solution valve. Indicates the switch of the brush motor. Indicates the solution valve lever. Symbol denoting the suction motor. Symbol denoting the brake lever of the Indicates the switch of the suction motor. emergency and parking brake. -
Page 10: Before Use
BEFORE USE HANDLING OF THE PACKED MACHINE The machine is supplied with suitable packing foreseen for fork lift truck handling. For the package dimensions please look at the “TECHNICAL DESCRIPTION” table. Do not place more than 2 packings on top of each other. -
Page 11: Battery Recharger
CHECK SETTING OF THE CHECK CARD ON THE DISPLAY (1). In case of GEL batteries installation, it is necessary to set the battery check card. Please contact the authorized technical assistance. BATTERIES RECHARGING Bring the machine on a levelled surface. 1. -
Page 12: Batteries Charge Level Indicator
A few seconds after from the blinking of the four lines, the base motor stops automatically. With the Never leave the batteries completely discharged remaining charge it is still possible to finish the even if the machine is not used. In case of lead/acid drying operation before proceeding to recharge. -
Page 13: Adjustment Of The Squeegee
PAD ASSEMBLY 3. Block the squeegee by rotating the two knobs (2) clockwise. 4. Insert the squeegee hose (4) into its coupling, To secure the pad proceed as follows: respecting its position as indicated in the figure. Use switch (1) to lift the base. Place the pad under the base, then lower it using switch (1). -
Page 14: Detergent Solution Tank
On the right side of the machine there is placed a level hose that permits to see easily the solution quantity inside the tank both during the filling of the solution and during the working. DETERGENT SOLUTION TANK The solution tank is provided with an inspection opening. -
Page 15: Forward Movement
10. During the first stretches check that the squeegee adjustment guarantees a perfect drying action and that the detergent solution flow is appropriate. It has to be sufficient to wet the floor uniformly. Always consider that the correct quantity of solution detergent depends on type of floor, dirtiness and machine speed. -
Page 16: Overflow Device
STOP OF THE MACHINE AFTER CLEANING OPERATION Before executing any type of maintenance: 1. Turn the base motor switch off (1). 2. Turn the suction motor switch off (2). 3. Lift the base using switch (3). In order not to overload the base motor, it is 4. -
Page 17: Suction Filter Cleaning
SQUEEGEE CLEANING SUCTION FILTER CLEANING 1. Open the cover (1) and unscrew the knob (2) to release the filter protection (3). Keeping the squeegee clean guarantees the best 2. Rotate the filter protection clockwise to release it. drying result. 3. Take off the filter and the filter protection. For its cleaning it is necessary to: 4. -
Page 18: Weekly Maintenance
WEEKLY MAINTENANCE 1. Bring the machine to an appropriate place for the detergent solution draining. REAR SQUEEGEE RUBBER CHECK 2. Unscrew the solution tank cap. 3. Unscrew the cap of the exhaust filter (1) so that the detergent solution flows out into appropriate Check the squeegee rubber wear and eventually containers. -
Page 19: Troubleshooting Guide
THE BASE MOTOR DOES NOT WORK TROUBLESHOOTING GUIDE The checking of all the other foreseen machine 1. Verify that the key switch (1) is in the correct operations is left to the authorized technical position. Switch off and on again the machine. assistance. -
Page 20: Insufficient Water On The Base
INSUFFICIENT WATER ON THE BASE THE SQUEEGEE DOES NOT DRY PERFECTLY 1. Check that the solution valve lever (1) is open. 1. Check that the squeegee rubbers are clean. 2. Check the level of the liquid in the solution tank. 2. - Page 21 Damage or defect arising from abuse, neglect or other misuse is excluded from this warranty. Other items may or may not apply based on your specific machine. If any defect occurs, and service is attempted by non-Authorized Tornado Service Centers, the warranty will be void.
Need help?
Do you have a question about the OB 28/20 and is the answer not in the manual?
Questions and answers