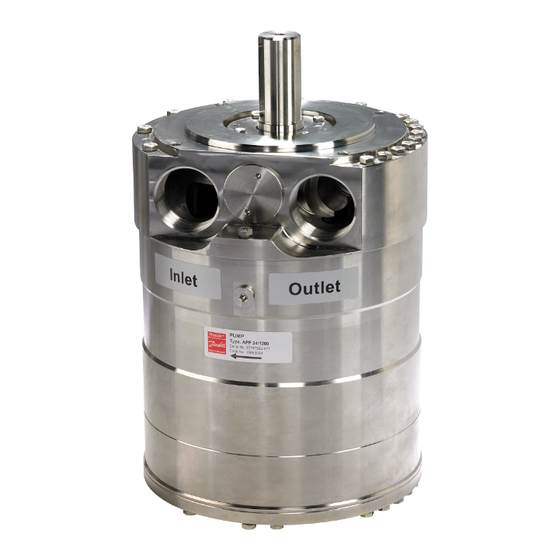
Summary of Contents for Danfoss APP 21-43
- Page 1 MAKING MODERN LIVING POSSIBLE Instruction Instruction APP pump instruction Disassembling and assembling APP 21-43 APP 21-43 ro-solutions.com ro-solutions.com...
-
Page 2: Table Of Contents
Instruction Disassembling and assembling APP 21-43 Table of Contents Introduction ................2 Disassembling . -
Page 3: Disassembling The Pump
Instruction Disassembling and assembling APP 21-43 3. Disassembling 1. Disconnect the pump and motor from the 2. Using a 10 mm combination wrench, unscrew system. Remove non-return valve and the four bolts from shaft seal flange. the pump connector from the pump. - Page 4 Instruction Disassembling and assembling APP 21-43 8. Using a 13 mm combination wrench, remove 9. Unscrew the remaining three bolts. Turn each all the bolts on the mounting flange except bolt one round at the time to make sure that the three shown in picture 9.
- Page 5 Instruction Disassembling and assembling APP 21-43 14. Remove the retainer guide, the 4 springs and 15. Mount a 8 mm eye bolt in the cylinder barrel. the spring guide. Pull straight upwards. A continuous lift will elevate the cylinder barrel out of housing.
-
Page 6: Assembling The Pump
Instruction Disassembling and assembling APP 21-43 4. Assembling the pump IMPORTANT: WARNING: It is essential that the pump is serviced in Do not use silicone when assembling the conditions of absolute cleanliness. All parts pump. Do not reuse dismantled O-rings;... -
Page 7: Warning
Instruction Disassembling and assembling APP 21-43 8. Place housing horizontally. Screw in the rest of 9. Place pump vertically. Place 10.5 mm guide pins the screws on port flange. Tighten screws to a in port flange. torque of 30 ± 2 Nm. - Page 8 Instruction Disassembling and assembling APP 21-43 16. Retainer guide, retainer ball and retainer plate 17. Ensure that retainer plate is oriented correctly, must be mounted in the order indicated in ie with its slant surfaces pointing downwards. picture below. 18. Place retainer plate in cylinder barrel.
- Page 9 Instruction Disassembling and assembling APP 21-43 24. Place pump horizontally to get access to shaft. 25. Lubricate shaft with clean filtered water. 26. Place stop for shaft seal and shaft seal on shaft. WARNING: Ensure that carbon ring is pointing outwards.
-
Page 10: Disassembling And Assembling Of The Swash Plate
Instruction Disassembling and assembling APP 21-43 5. Disassembling and WARNING: Make sure that the surface on the swash plate assembling of the does not get any marks. swash plate 1. Place the swash plate upside down. Remove 2. Check that the O-ring and pin are in good the 2 bolts holding the swash plate. -
Page 11: Disassembling And Assembling Of Of Cylinder Barrel-/ Valve
Instruction Disassembling and assembling APP 21-43 6. Disassembling and 1. Push a screwdriwer into the hole between 2. Remove the O-rings and backup rings. If they cylinder barrel and valve plate. Gently push have been removed they can not be reused. -
Page 12: Exploded View App 21-26, App 30/1500
Instruction Disassembling and assembling APP 21-43 Exploded view APP 21-26 and APP 30/1,500 180R9121 / 521B1018 / DKCFN.PI.013.A4.02 / 10.2013... -
Page 13: Exploded View App 30/1200, App 38/1500, App 43/1700
Instruction Disassembling and assembling APP 21-43 Exploded view APP 30/1,200, APP 38/1,500, APP 43/1,700 180R9121 / 521B1018 / DKCFN.PI.013.A4.02 / 10.2013... - Page 14 Denmark Danfoss can accept no responsibility for possible errors in catalogues, brochures and other printed material. Danfoss reserves the right to alter its products without notice. This also applies to products already on order provided that such alterations can be made without subsequential changes being necessary in specifications already agreed.


Need help?
Do you have a question about the APP 21-43 and is the answer not in the manual?
Questions and answers