Danfoss APP Series Service Manual
Disassembling and assembling
Hide thumbs
Also See for APP Series:
- Installation, operation and maintenance manual (118 pages) ,
- User manual (77 pages) ,
- Instruction (10 pages)

Subscribe to Our Youtube Channel
Related Manuals for Danfoss APP Series


Summary of Contents for Danfoss APP Series
- Page 1 Service guide APP pumps APP(W) 5.1-10.2 Disassembling and assembling hpp.danfoss.com...
-
Page 2: Table Of Contents
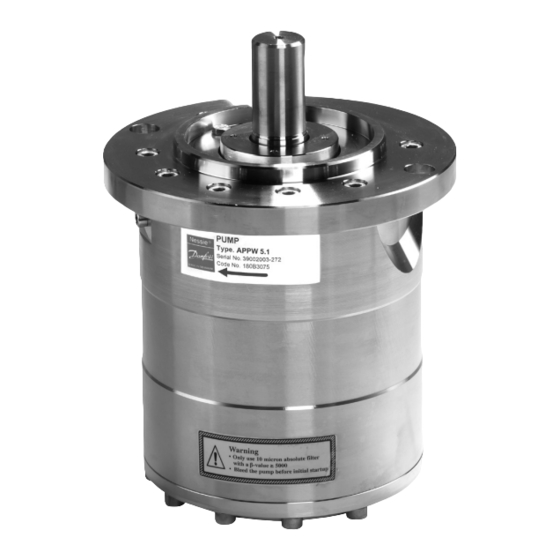
To understand the pump design better, please see exploded view on last page. 2 | 180R9238 | DKCFN.PI.078.F3.02 | 521B1196 © Danfoss | DCS (im) | 2017.06... -
Page 3: Disassembling The Pump
6. Remove the whole cylinder barrel and 7. Remove the pistons, retainer plate, stop carefully place it on a suitable clean bush and retainer ball from the cylinder surface. barrel. © Danfoss | DCS (im) | 2017.06 180R9238 | DKCFN.PI.078.F3.02 | 521B1196 | 3... - Page 4 11. Mount the new O-rings. 12. Carefully press, by hand, the cylinder barrel onto the valve plate. 13. Remove the port plate by hand. © Danfoss | DCS (im) | 2017.06 180R9238 | DKCFN.PI.078.F3.02 | 521B1196 | 4...
-
Page 5: Assembling The Pump
6. Position the new white stop bush on top 7. Mount the new shaft seal following the of the retainer guide. instructions in chapter 5 see page 8-11. © Danfoss | DCS (im) | 2017.06 180R9238 | DKCFN.PI.078.F3.02 | 521B1196 | 5... -
Page 6: Disassembling Swash Plate
60 ± 5 Nm. 3. Disassembling swash plate 1. Unscrew the screw in the mounting flange. 2. Turn the mounting flange upside down. © Danfoss | DCS (im) | 2017.06 180R9238 | DKCFN.PI.078.F3.02 | 521B1196 | 6... -
Page 7: Assembling Swash Plate
3. Position the swash plate on the mounting flange using the guide pins and fix it with 4. The mounting flange is now ready to be the screw. mounted on the housing. © Danfoss | DCS (im) | 2017.06 180R9238 | DKCFN.PI.078.F3.02 | 521B1196 | 7... -
Page 8: Change Of Shaft Seal
4. Wet the shaft and shaft seal with clean flange. filtered water. 5. Carefully remove the shaft seal assembly using the shaft-seal extractor supplied. The extractor must fit underneath the shaft seal. 8 | 180R9238 | DKCFN.PI.078.F3.02 | 521B1196 © Danfoss | DCS (im) | 2017.06... - Page 9 IMPORTANT: Be careful not to damage press the seal home against the shoulder the carbon seal face on the shaft seal. of the spacer. © Danfoss | DCS (im) | 2017.06 180R9238 | DKCFN.PI.078.F3.02 | 521B1196 | 9...
- Page 10 Ensure not to squeeze the O-ring. 84-201 from Klüber lubrication. 15. Remove the ceramic ring from the seal retaining ring. 16. Wet the parts with clean filtered water. 10 | 180R9238 | DKCFN.PI.078.F3.02 | 521B1196 © Danfoss | DCS (im) | 2017.06...
- Page 11 21. Tighten the retaining ring to a torque of 60 ± 5 Nm using the tool provided. Seal retaining ring Rubber seal Carbon ring Ceramic ring O-ring Stop bush © Danfoss | DCS (im) | 2017.06 180R9238 | DKCFN.PI.078.F3.02 | 521B1196 | 11...
-
Page 12: Exploded View For App (W) 5.1-10.2
6. Exploded view for APP (W) 5.1-10.2 Danfoss A/S High Pressure Pumps Nordborgvej 81 DK-6430 Nordborg Denmark © Danfoss | DCS (im) | 2017.06 180R9238 | DKCFN.PI.078.F3.02 | 521B1196 | 12...
Need help?
Do you have a question about the APP Series and is the answer not in the manual?
Questions and answers