Table of Contents
Advertisement
Quick Links
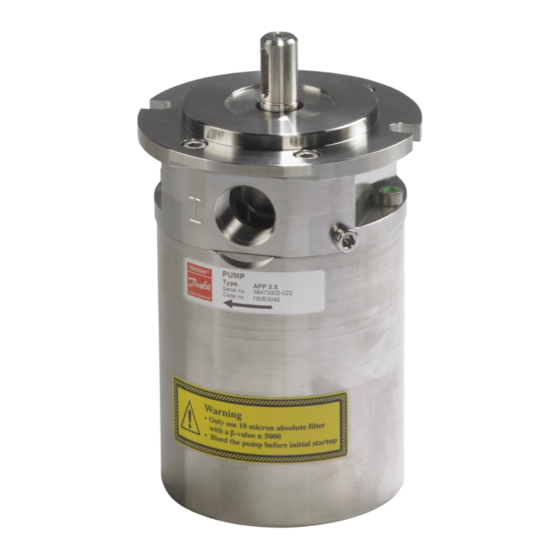
This document covers the instructions for changing internal pump elements on the axial piston pumps APP 1.5-2.5
Note: It is essential that the pump is serviced in conditions of absolute cleanliness.
Tools needed:
. Toolset (code no. 180B4148)
.
Shaft bush
.
Press bush
.
Allen key 5 mm
.
2 screwdrivers
To understand the pump design better, please see exploded view on last
page.
1.
Unscrew the 4 mounting screws and remove the seal SAE
flange. Do not yet unscrew the 2 lower screws.
2.
Wet the shaft and shaft seal with clean (filtered) soap-water.
Gently lever the shaft seal assembly free using 2 screwdrivers.
3.
Unscrew the 2 lower screws.
521B0741
4.
Carefully turn the whole pump over so that the shaft is facing
down. Support the pump in a suitable hollow base so that the
pump is not supported by the shaft.
5.
Remove the housing.
DKCFN.PI.013.EF4.02
INSTRUCTION
Internal pump elements
APP 1.5-2.5
08-2013
Advertisement
Table of Contents

Related Manuals for Danfoss APP 1.5-2.5


Summary of Contents for Danfoss APP 1.5-2.5
- Page 1 INSTRUCTION Internal pump elements APP 1.5-2.5 This document covers the instructions for changing internal pump elements on the axial piston pumps APP 1.5-2.5 Note: It is essential that the pump is serviced in conditions of absolute cleanliness. Tools needed: . Toolset (code no. 180B4148)
- Page 2 Remove the pistons, retaining plate, retaining ball, spring guide Remove the port plate. and spring from the cylinder barrel. Gently lever the valve plate assembly free with the aid of a screw-driver. Remove the cylinder barrel. Replace the O-rings and the back-up rings on the valve plate. Mount the new back-up rings on the new valve plate first and then mount the new O-rings.
- Page 3 Wet the O-rings and back-up rings with clean (filtered) soap- Turn flushing valve upside down. If not properly assembled, water. spring will fall off. Gently press, by hand, the valve onto the cylinder barrel. Mount flushing valve by pressing it into the hole. Gently push flushing valve out using the Allen key.
- Page 4 Position the new spring, new spring guide, new retainer guide, new retainer plate and new pistions. Position the housing on the port flange and over the guide pin. Hold the pump together and carefully turn it over to rest on the housing.
- Page 5 Mount the new shaft seal following the instructions in changing “Shaft seal - APP 1.5 - 2.5” (180R9089) Wet the torpedo and new shaft seal with soap. Do not use silicone grease. Slide the shaft seal over the torpedo with the carbon seal face pointing upwards.
-
Page 6: Exploded View
Exploded view DKCFN.PI.013.EF4.02 521B0741...
Need help?
Do you have a question about the APP 1.5-2.5 and is the answer not in the manual?
Questions and answers