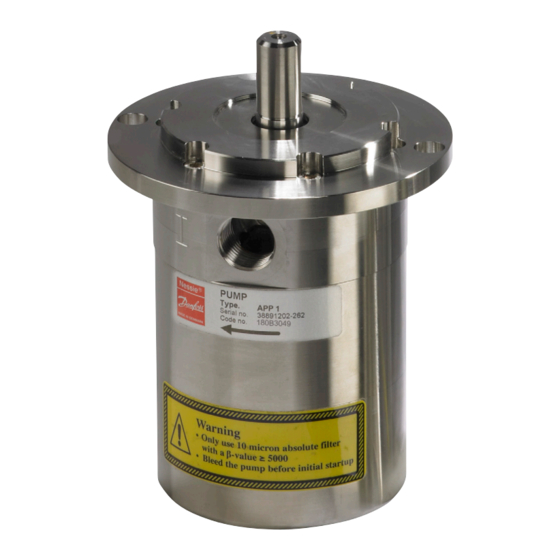
Danfoss APP 0.6 Service Manual
Disassembling and assembling
Hide thumbs
Also See for APP 0.6:
- Instruction manual (8 pages) ,
- Installation, operation and maintenance manual (70 pages)
Summary of Contents for Danfoss APP 0.6
- Page 1 Service guide APP pumps APP 0.6 - 1.0 Disassembling and assembling hpp.danfoss.com...
-
Page 2: Table Of Contents
Disassembling and assembling the pump ......................3 Removal of flushing valve.............................6 Change of shaft seal ...............................7 Exploded view APP 0.6-1.0 ............................10 Introduction NOTE: If the pump is disassembled within the warranty period, the pump is no longer covered by the warranty. -
Page 3: Disassembling And Assembling The Pump
Service guide | Disassembling and Assembling, APP 0.6-1.0 1. Disassembling and assembling the pump 1. Unscrew the 4 mounting screws and 2. Wet the shaft and shaft seal with clean remove seal SAE flange. (filtered) soap water. Gently lever the shaft Do not yet unscrew the 2 lower screws. - Page 4 IMPORTANT: Make sure that the guide 11. Gently press, by hand, the valve onto the pin is located in the locating hole in the cylinder barrel. port plate 4 | 180R9092 | DKCFN.PI.013.EC5.02 | 521B0739 © Danfoss | DCS (im) | 2017.08...
- Page 5 Service guide | Disassembling and Assembling, APP 0.6-1.0 O-ring 13. Replace O-ring on the port flange and 14. Position the new spring, new spring position the new cylinder barrel on the guide, new retaining ball, new retainer port plate. and new pistons.
-
Page 6: Removal Of Flushing Valve
Then mount the new O-ring on poppet guide. 6 | 180R9092 | DKCFN.PI.013.EC5.02 | 521B0739 © Danfoss | DCS (im) | 2017.08... -
Page 7: Change Of Shaft Seal
Service guide | Disassembling and Assembling, APP 0.6-1.0 6. It must be pressed down so it levels with the surface of the port flange (same level). In order to find out if the valve is working correctly, the pump needs to be further dismantled. - Page 8 8. Position the O-ring on the seal SAE flange. the face with the rubber seal is positioned against the shoulder in the flange. Wet the parts with clean (filtered) soap- water before assembly. 8 | 180R9092 | DKCFN.PI.013.EC5.02 | 521B0739 © Danfoss | DCS (im) | 2017.08...
- Page 9 Service guide | Disassembling and Assembling, APP 0.6-1.0 9. To prevent cold welding, lubricate threads on the 4 screws with grease and screw them into the pump and tighten by hand. Use Molykote® D paste from Dow Corning or Klüber UH1 84-201 from Klüber lubrication.
-
Page 10: Exploded View App 0.6-1.0
Disassembling and Assembling, APP 0.6-1.0 Service guide | 4. Exploded view APP 0.6-1.0 10 | 180R9092 | DKCFN.PI.013.EC5.02 | 521B0739 © Danfoss | DCS (im) | 2017.08... - Page 11 Service guide | Disassembling and Assembling, APP 0.6-1.0 © Danfoss | DCS (im) | 2017.08 180R9092| DKCFN.PI.013.EC5.02 | 521B0739| 11...
- Page 12 Denmark Danfoss can accept no responsibility for possible errors in catalogues, brochures and other printed material. Danfoss reserves the right to alter its products without notice. This also applies to products already on order provided that such alterations can be made without subsequential changes being necessary eady agreed.


Need help?
Do you have a question about the APP 0.6 and is the answer not in the manual?
Questions and answers