Advertisement
Advertisement

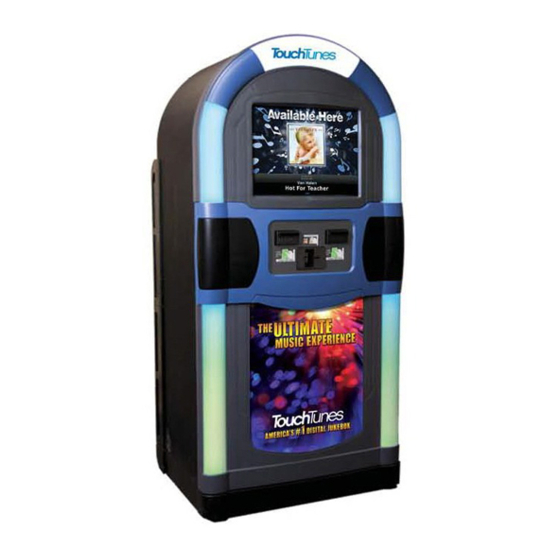
Related Manuals for TouchTunes Allegro


Summary of Contents for TouchTunes Allegro
- Page 2 Montreal, Quebec, Canada H4N 3L4 Telephone: 1-847-419-3300 Fax: (847) 419-3304 TouchTunes may use or distribute whatever information you supply in any way it believes appropriate without incurring any obligations to you. Copyright © 2010 TouchTunes Interactive Networks. All rights reserved, including those to reproduce this publication or parts thereof in any form without permission in writing from TouchTunes Interactive Networks.
-
Page 3: Table Of Contents
Connecting the DMX System to TouchTunes Digital Jukeboxes ....... . . -
Page 5: Dmx512 Light Show: Introduction
DMX512. This document is intended as a reference for Operators of TouchTunes Digital Jukeboxes and their technicians when implementing such a connection. It is also intended as a reference for TouchTunes technical support and field service personnel. -
Page 6: Disclaimer And Important Safety Information
TouchTunes Interactive Networks is not responsible for any damage resulting from the improper installation or connection of any external equipment to your digital jukebox. Nor is TouchTunes responsible for any damage caused during shipment (except the shipment to the original purchaser) or any damage caused by: •... - Page 7 Disclaimer and Important Safety Information Clean only with a dry cloth—and as directed in this document. Unplug this product from the wall outlet before cleaning. Do not block any ventilation opening. Install in accordance with the manufacturer’s instructions—To ensure reliable operation of the product and to protect it from overheating, put the product in a position and location that will not interfere with its proper ventilation.
- Page 8 DMX512 Light Show: Introduction...
-
Page 9: Installation
TouchTunes Digital Jukebox. DMX Software Protocol TouchTunes DMX protocol is organized in sets of 3 DMX channels for each of 6 sets of independent lighting color changers on a TouchTunes Jukebox. An installer may choose to use these 18 DMX channels in sets of 3 or as 18 individual channels. -
Page 10: Hardware Connection Methods
Hardware Connection Methods Note: Several non-standard connections exist, depending on the manufacture of your hardware. Before attempting to connect your system to the TouchTunes jukebox, please consult the equipment manual(s) for your system to ensure correct connections. Due to the numerous lighting systems and configurations available, TouchTunes does not supply cables for connecting your DMX system. - Page 11 Hardware Connection Methods 2. RJ45 to XLR 5-pin (typical) To lighting console To jukebox 3. RJ45 to XLR 3-pin To lighting console To jukebox...
-
Page 12: Important Installation Notes
Installation Important Installation Notes Before proceeding with the connection of your lighting system, please take a few moments to read these important notes which will assist you in ensuring a successful installation. 1. Use good cable routing practices. • In order to prevent noise or electro-magnetic interference which may adversely affect the signals transmitted over your DMX communication cables, avoid running the cables close to AC wiring, line-level cables, or speaker wires. -
Page 13: Connecting The Dmx System To Touchtunes Digital Jukeboxes
There are two procedures for connecting your DMX system to the TouchTunes Digital Jukebox, depending on the jukebox model: • For the TouchTunes Allegro and Ovation models, you connect the DMX data cable to the DMX Out RJ45 connector on the jukebox’s control board. - Page 14 Once the cable channel is open and the wire-strain relief bracket is loose, you are ready to connect the jukebox to the lighting console. 5. Locate the Allegro’s control board. The control board is usually mounted on or near the rear of the Allegro’s touchscreen. 6. Locate the RJ45 cable for the DMX connection.
- Page 15 Connecting the DMX System to TouchTunes Digital Jukeboxes 7. Connect the RJ45 end of the cable to the DMX Out connector on the Allegro’s control board. 8. Route the free end of the cable into the jukebox through the cable channel and then pass it through the opening underneath the wire-relief strain bracket.
- Page 16 Installation Wire strain relief bracket 2. Using a screwdriver, loosen the screws for the wire-strain relief bracket to adjust the bracket. 3. Adjust the wire-strain relief bracket so you can bring cables into the jukebox through the cable channel opening. 4.
- Page 17 Connecting the DMX System to TouchTunes Digital Jukeboxes 8. Route the free end of the cable into the jukebox through the cable channel and then pass it through the opening underneath the wire-relief strain bracket. 9. Connect the free end of the cable to the DMX input connector of your lighting console.
- Page 18 Installation 4. Tighten the screws for the wire-strain relief bracket to keep open the cable channel opening. Once the cable channel is open and the wire-strain relief bracket is loose, you are ready to connect the jukebox to the lighting console. 5.
- Page 19 TouchTunes Interactive Networks, Inc. TouchTunes Interactive Networks, Inc. Technical Support 400 Sainte Croix Avenue, Suite 200 E 3455 Salt Creek Lane, Suite 100 847-353-1954 Montreal, Quebec, Arlington Heights, IL 60005 www.touchtunes.com Canada, H4N 3L4 Copyright © 2009 TouchTunes Interactive Networks...
Need help?
Do you have a question about the Allegro and is the answer not in the manual?
Questions and answers