Table of Contents
Advertisement
Quick Links
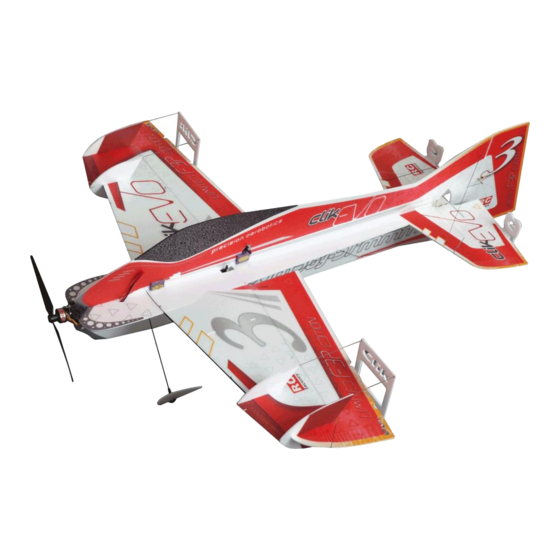
Thank you for choosing our product, the Clik Evo. You have just bought a
high performance model for indoor type (F3P) aerobatics.
Please read these Building Instructions carefully. You may prevent
Team RC Factory recommendation:
You may use several types of glue
(for the rest of this document, when we say CA, we mean foam safe or
„
"
styro CA), polyurethane glue (Purex), 5 minute Epoxy. We prefer
UHUpor type glue for depron parts and CA for smaller parts. For good
results and low weight, you may try thinning the contact glue by
technical gasoline or by warming up the glue.
–
Contact glue
how to use: apply a thin layer to both parts and let settle
for 3 to 10 minutes (the glue should not be completely dry, only a bit
tacky). After that, hold the parts firmly together. Be careful, because
they cannot be separated again without a big risk of damaging them.
Use paper towel to remove all excess glue. You will have a lighter and
better looking model.
You will be asked to „sharpen the end of a carbon stick". How to do
it:
Use cca 400 grade sand paper and rub the end of the stick against the
sandpaper, while turning it slowly in your fingers. The angle of the
stick is cca 30 in relation to your workbench.
How to split the carbon sticks:
Use your hobby knife blade to roll the stick on your workbench, pushing
down on the blade until the the stick splits.
•
Do not forget to vaccum the carbon dust, if you happen to make any.
You will do your health a big favour!
•
Build your model at standard room temperature (20
•
Ventilate your workshop well, glue fumes are harmful for your
health.
Building Instructions
undesirable outcomes...
°
–
a contact glue (UHUPor), foam safe CA
–
°
22 C).
Advertisement
Table of Contents

Related Manuals for RC Factory Clik Evo


Summary of Contents for RC Factory Clik Evo
-
Page 1: Building Instructions
Building Instructions Thank you for choosing our product, the Clik Evo. You have just bought a high performance model for indoor type (F3P) aerobatics. Please read these Building Instructions carefully. You may prevent undesirable outcomes... Team RC Factory recommendation: –... - Page 2 Please check the completeness of your kit by comparing it to the attached parts list. In case of questions or complaints, feel free to contact us: info@rc-factory.cz . Now you can start building: Diagram 1: Use sharp knife to cut the bevel to wing and aileron parts where the aileron is hinged.
- Page 3 1,5x200mm, their location fixed by the slots in the fuselage and the holes near the wing leading edge. The leg-fuselage intersection is reinforced by the parts No. 6 from the plywood frame. The leg-axe joint is part 7 of the plywood frame. Make sure that the geometry of the axes in relation to the airframe is correct.
- Page 4 To achieve the correct geometry and be able to change the aileron differential if necessary, we use the aileron extension servo horn (part 5 on the plywood frame). Trimming your Clik Evo We expect that you know how to connect the receiver to the ESC and to the servos, the ESC to the motor etc.
- Page 5 ° somewhat higher rate on elevator (40 45 ). The rest is up to you, remember that training makes perfect! Enjoy your new F3P plane! Your RC Factory team. Technical specifications: wingspan: 800 mm lenght: 930 mm – AUW: 115...
Need help?
Do you have a question about the Clik Evo and is the answer not in the manual?
Questions and answers