Nice ROBO Instructions And Warnings For The Fitter
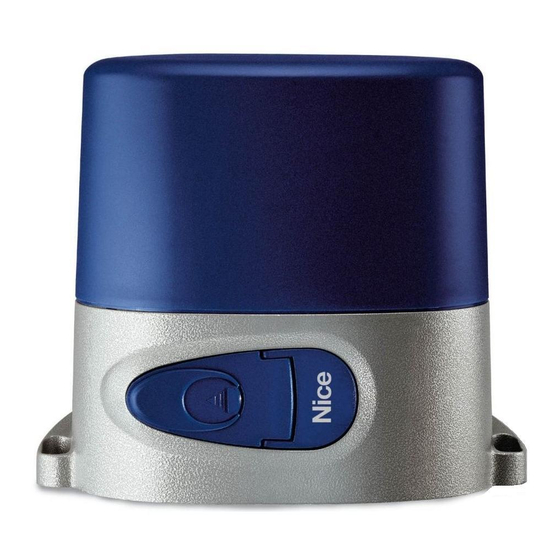
Gate and door automation unit
Hide thumbs
Also See for ROBO:
- User manual ,
- Instructions and warnings (88 pages) ,
- Original instructions manual and parts (12 pages)
Table of Contents
Advertisement
control unit
robo, thor, otto
Instructions and warnings for the fitter
Istruzioni ed avvertenze per l'installatore
Instructions et recommandations pour l'installateur
Anweisungen und Hinweise für den Installateur
Instrucciones y advertencias para el instalador
Instrukcje i uwagi dla instalatora
Aanwijzingen en aanbevelingen voor de installateur
Advertisement
Table of Contents

Related Manuals for Nice ROBO


Summary of Contents for Nice ROBO
- Page 1 Instructions and warnings for the fitter Istruzioni ed avvertenze per l’installatore Instructions et recommandations pour l’installateur Anweisungen und Hinweise für den Installateur Instrucciones y advertencias para el instalador Instrukcje i uwagi dla instalatora Aanwijzingen en aanbevelingen voor de installateur...
- Page 2 robo,th...
- Page 3 or,otto...
-
Page 4: Table Of Contents
Table of contents: page page Description of the product Programmable functions Description of functions Installation Typical system layout Using 2 control units on opposed leafs Electrical connections 2.2.1 Electrical diagram Accessories 2.2.2 Description of connections 2.2.3... -
Page 5: Description Of The Product
Description of the product: The control unit features input status Led’s located near such inputs, This gate and door automation unit controls the ROBO, OTTO and while another Led near the microprocessor indicates that the internal THOR gearmotors with single-phase alternating current. -
Page 6: Installation
5) Pair of “Photo 2” photocells In particular, please note that: • All the photocells produced by NICE feature the synchronism system which eliminates the problem of interference between two pairs of photocells (please consult the photocell instructions for further details). •... -
Page 7: Electrical Diagram
2.2.1) Electrical diagram 2.2.2) Description of connections A brief description of the possible control unit output connections follows. Terminals Functions Description Power input = Mains power line Flashing light = Output for connecting flashing light to mains voltage (max. 40W) 24 Vac = 24Vac output to 24Vac services (Photo, Radio, etc.) Max. -
Page 8: Phototest
7 and synchronised operation. 8 of the “PIU” board. The maximum current that the “PIU” board can use on the “Phototest” output is 100mA (2 pairs of nice If a “Phototest” input is not used (e.g.: Photo2) but the “phototest” photocells) function is required, jumper the unused input as shown in fig. -
Page 9: Checking Connections
2.2.4) Checking connections but with one basic difference: the safety devices are ignored in The following operations entail working on live circuits; most of the closing manoeuvre which is normally the most dangerous, these run on extra-low safety voltage so they are not dangerous but and they will trigger in the opening manoeuvre causing the gate some are contain mains voltage which means they are HIGHLY to close against the obstacle with disastrous results! -
Page 10: Testing
4) Testing After the above checks and adjustments, the system can now be tested. The automation system must be tested by qualified and expert personnel who must establish what tests to perform according to the relative risk. Testing is the most important part of the whole installation phase. Each single component, e.g. the gearmotor, emergency stop, photocells, etc., may require a specific test phase;... -
Page 11: Operating Modes
Switch 7: = Gradual departure Switch 8: = Deceleration Switch 9: = Brake Switch 10: (on Robo) = Gate open indicator with proportional flashing Without PIU board (on Otto) = Courtesy light time 4 minutes With PIU board = “Phototest” function... -
Page 12: Description Of Functions
As well as reducing the speed of the manoeuvre, the deceleration function also reduces motor torque by 70%. For systems requiring elevated torque, this decrease may cause the motor to stop immediately. ROBO – THOR version: OTTO version: Following the opening or closing manoeuvre which takes place at Following the closing manoeuvre the deceleration phase lasts 3 s if the end of the Working Time. -
Page 13: Using 2 Control Units On Opposed Leafs
At the end of the movement a motor brake procedure is performed, initially slight and then more incisive in order to stop the gate rapidly but without jolts. Switch 10: ROBO - THOR OTTO Without the PIU board fitted: Without the PIU board fitted: •... -
Page 14: Accessories
“RADIO” Card The control unit features a connector for plugging in a radio card, produced by Nice, which activates the “Step-by-Step” input and allows the control unit to be remote-controlled with a transmitter. 9) Maintenance The control unit, being electronic, needs no particular maintenance. -
Page 15: What To Do If
: For indicator lamps at 24 Vac, maximum power 2 W Operating temperature : -20 ÷ 70 °C Working Time on ROBO/THOR : Adjustable from 2.5 to >60 s, or from <50 a to >120 s with TLM Working Time on OTTO : Adjustable from 2.5 to >20 s, or from <20 to >40 s with TLM...
Need help?
Do you have a question about the ROBO and is the answer not in the manual?
Questions and answers