U-tec Ultraloq UL3 Series Installation Instructions Manual
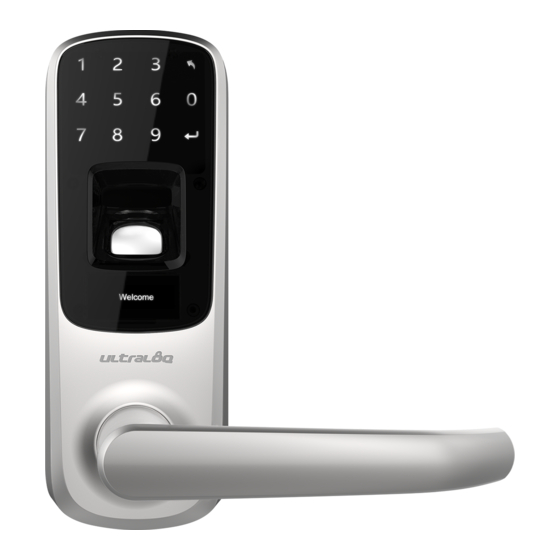
Fingerprint and touchscreen smart lock
Hide thumbs
Also See for Ultraloq UL3 Series:
- User manual ,
- Installation instructions manual (33 pages) ,
- User manual (40 pages)

Related Manuals for U-tec Ultraloq UL3 Series


Summary of Contents for U-tec Ultraloq UL3 Series
- Page 1 Ultraloq UL3 Series Fingerprint and Touchscreen Smart Lock Installation Instructions ( V1.4 ) Welcome...
-
Page 2: Installation Video
Touchscreen Smart Lock. www.u-tec.com/support If you have questions regarding the installation process Please contact us at support@u-tec.com Important Notes • Do not use a power drill for installation. • Install and test the lock with the door open to avoid being locked out. -
Page 3: Included In The Box
Included in the box Exterior Interior Interior Assembly Mounting Plate Assembly Strike Latch Backup Keys Spring Screw A Screw B Screw C Screw D Screw E Spindle Screwdriver Handle AA Batteries - 2 -... - Page 4 Preparing Door Check the door’s dimensions ” 1 ” (35 mm-44mm) Door Edge ” (70 mm) ” (60 mm) ” (53 mm) Hole 1” (25 mm) Remove the current lock and latch from the door. - 3 -...
- Page 5 Preparing Lock If your door thickness is over 16.5”(42mm), Please install this spring. Interior Spring ×1 Before installing the lock on the door 1. Slide the battery cover up and out (note the two tabs at the bottom of the battery cover). 2.
- Page 6 Installing Latch and Strike 1. Install latch on the door. Make sure the latch angle faces door jamb. 2. Install the strike on the door frame, ensuring you allow for the bolt to be centered in the strike. Screw A: Actual Size Angle faces jamb Adjust the latch basket length...
-
Page 7: Installing Exterior Assembly
Installing Exterior Assembly 1. Install the exterior assembly. Route the cable under bolt and through hole stated below. - 6 -... - Page 8 Installing Interior Mounting Plate Install interior mounting plate. Secure it to the exterior assembly using screws B. Screw B: Actual Size Route wire over the hole - 7 -...
- Page 9 Plug in the spindle. Spindle: Actual Size Plug in the spindle - 8 -...
-
Page 10: Installing Interior Assembly
Installing Interior Assembly 1. Attach the cable to the connector on interior assembly by lining up notches on the cable connector to slots on that connector. Press the connector in firmly using thumbs until completely seated. 2. Secure interior assembly using screws. Screw C: Actual Size Screw D: Actual Size Connect the cable... -
Page 11: Installing Batteries
Installing Batteries 1. Insert 3 AA alkaline batteries. 2. Install battery cover and tighten the screw. Screw E: Actual Size - 10 -... -
Page 12: Installing Handles
Installing Handles 1. Press lever handles onto handle posts. 2. Test the mechanical operation of the lock by rotating handle from inside. The movement of the bolt should be smooth and unobstructed. If the operation is not smooth, review the previous steps to ensure proper installation. If the handles are installed in the wrong direction, you need to remove them and re-install. - Page 13 Keep Your Records Note: It is recommended to register several Admin fingerprints and PIN codes. DATE ADMIN CODE NAME USER ID USER CODE Will Smith 12345678 Example...
- Page 14 Note Date...
- Page 15 Note Date...
- Page 16 U-tec and Ultraloq brands and products are trademarked and protected under law in the United States. Unauthorized use is prohibited. Ultraloq is sub-brand of U-tec Group Inc. 2016 © U-tec Group Inc. All Rights Reserved.
Need help?
Do you have a question about the Ultraloq UL3 Series and is the answer not in the manual?
Questions and answers