
Related Manuals for CONVECTAIR SAMBA II 7837


Summary of Contents for CONVECTAIR SAMBA II 7837
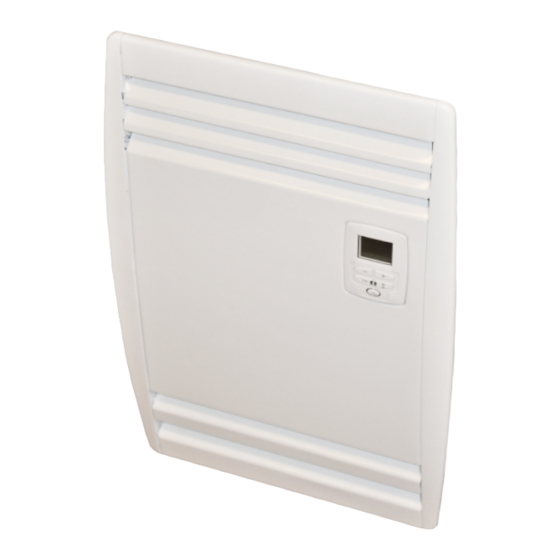
- Page 1 SAMBA II 7837 Installation & Operating Instructions (IMPORTANT : To be read and kept by the user)
-
Page 2: Table Of Contents
- FOREWORD - Dear owner, Congratulations on the purchase of this premium electric heater. CONVECTAIR develops and produces the highest quality heating product in the electrical industry. To obtain the best results and the ultimate in performance and comfort, please take a moment to read the installation, operation and maintenance instructions detailed in this manual. -
Page 3: Quick Start Guide
Press on the " " (D) key, the heater will run full power (2000 W) for the duration set on the timer (adjustable from 5 to 90 minutes) (see page 9). Troubleshooting : See page 12. To contact CONVECTAIR : See page 12. -
Page 4: 1- Specifications
READ CAREFULLY : These instructions are essential to install and safely use your new SAMBA II. - Your heater must be installed in accordance with national and local codes and CONVECTAIR recommends an installation by a qualified electrician. - Your heater must be installed so that the control panel is out of reach from anyone in the bathtub or in the shower. -
Page 5: 3- Installation And Mounting
10 cm. (4 in) on each side of the heater, 50 cm. (20 in) on the top and 60 cm. (24 in) in front for a proper air circulation. Convectair recommends that the heater be installed at 30 cm. (12 in) from the floor. - Page 6 To dismantle the heater : - Remove the probe by unscrewing its screw (Fig. 4 A) and the two bottom screws (Fig. 4). Next, take off the front panel. - Take off the ventilation block by removing the 3 screws (Zone A, Fig. 5) and slide the ventilation block to clear the hooks (Zone B, Fig.
- Page 7 - Insert the enclosure box and secure it to the wall with appropriate hardware (Fig. 7 A) (not included). - Insert and hook the ventilation block and the control panel inside the enclosure box (Zone B, Fig. 5). Secure the ventilation box with 3 screws (Fig.5). - Connect the electrical wires (Page 8).
-
Page 8: 4- Electrical Connection
- You must connect the ground wire of the heater (green wire with the copper wire. - The purple wire with the seal at the extremity should not be used for the electrical connection. - The purple wire is used only if the heater is connected with the CONVECTAIR Programmer system. -
Page 9: 5- Operating Instructions
OPERATING INSTRUCTIONS A- ''ON / OFF'' key B- Temperature setting keys C- Auto programming function 24H D- Timer function E- Backlit LCD screen F- Temperature setting display G- Locked controls indicator H- Heating indicator symbol I- Comfort indicator symbol J- Accelerated fan-forced heating indicator - To turn the heater ON Press on the "... - Page 10 - To use the «Timer » function Pressing the « » (D) button triggers the «Timer » function for a period of 15 minutes (default).The red indicator light will turn on. Successive presses on «-» and «+» (B) allow to modify the duration between 5 and 90 minutes in steps of 5 minutes. Hold the « » (D) key for 3 seconds to select the new default duration.
-
Page 11: 6- Overheat Control
DISCONNECTED. Recommendations and advice Your CONVECTAIR heater will become hot when in use. Caution is advised when young children are present. Do not insert small objects in the heater : this could cause an electrical short circuit, fire or damage to the inner components. -
Page 12: 8- Troubleshooting
2- Press on the ''ON /OFF'' (A) key to turn on your heater. 3- Activate the timer function (D). If the light is still off, and no heat is generated, call CONVECTAIR's customer service department at 1 800 463-6478 or contact the nearest Service Center.
Need help?
Do you have a question about the SAMBA II 7837 and is the answer not in the manual?
Questions and answers