Advertisement
Quick Links
Assembly & Installation Instructions:
Keyboard Mounting:
Parts Included
A
Metro Keyboard
Platform
Qty: 1
Required
Adjustable Keyboard Arm
Note: Mount your keyboard arm to your worksurface using the instructions that came with your keyboard arm.
1
Configuring Optimizer Models for Left Handed Use
Metro Platforms are pre-configured for right
handed use but can easily be converted to left
handed use.
Remove the Wrist Rest by removing the two
Phillips Head Wood Screws and Washers from the
right two hole locations and reattach in the left
two hole locations. Apply the Mouse Pad on left in
Step 3.
2
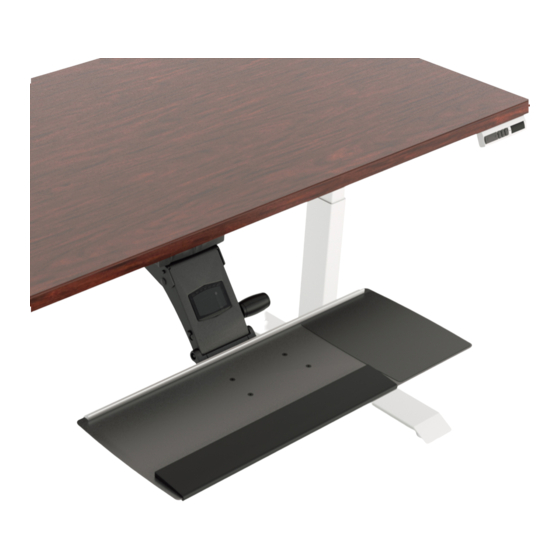
Mount Keyboard Platform to Arm
Place the Keyboard Platform (A) on the keyboard
a
arm and align the four holes on the platform with
the four holes in the arm.
Insert the #10-32 × ½" Flat Head Screws (C)
b
through holes on platform, through the holes in
the arm and fasten using four ⅜" #10-32 Keps
Nuts(D). Tighten securely using Phillips head
screwdriver.
1 of 2
Metro
B
Mouse Pad
Qty: 1
Tools Required
Wrench with ⅜" socket
#2 Phillips screwdriver or drill/driver
Wrist Rest
Hardware Kit #AKP-HDWR-ULT
C
#10-32 × ½" Flat
Head Screw
Qty: 4
E
Cable Clips
Qty: 3
B
Phillips screws & washers
C
A
a
D
Workrite Ergonomics | (800) 959–9675 www.workriteergo.com
D
⅜" #10-32 Keps Nuts
Qty: 4
F
Friction Pads
Qty: 2
b
Worksurface
Keyboard Arm
Advertisement

Subscribe to Our Youtube Channel
Summary of Contents for Workrite Ergonomics Metro 6
-
Page 1: Tools Required
Insert the #10-32 × ½" Flat Head Screws (C) through holes on platform, through the holes in the arm and fasten using four ⅜" #10-32 Keps Nuts(D). Tighten securely using Phillips head screwdriver. Worksurface Keyboard Arm 1 of 2 Workrite Ergonomics | (800) 959–9675 www.workriteergo.com... - Page 2 Arm User Guide for Go to www.workriteergo.com/instructions to find complete instructions the Leader Arm User Guide for instructions on how to set up this product for ideal ergonomic benefit. 2 of 2 Workrite Ergonomics | (800) 959–9675 www.workriteergo.com 1500356 Rev B...


Need help?
Do you have a question about the Metro 6 and is the answer not in the manual?
Questions and answers