Advertisement
Assembly & Installation Instructions:
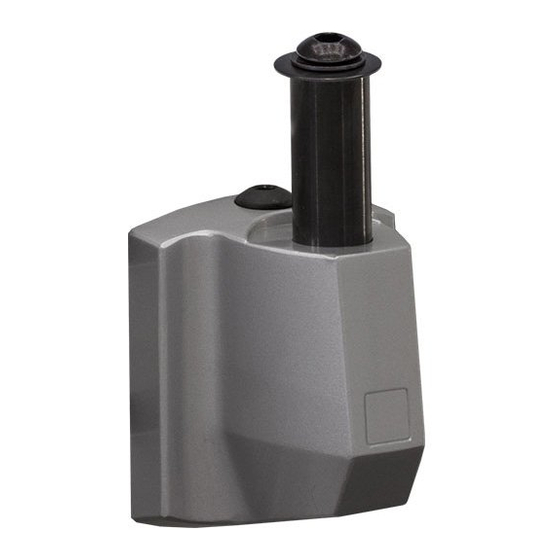
Conform Base, Tool Bar/Slatwall
CONF-BSE-TSB-S
Parts Included
A
Tool Bar/Slatwall
Assembly
Qty: 1
Required Parts Sold Separately
Conform Monitor Arm
Do not exceed 48 lb. on Workrite Tool Bar
Do not exceed weight limit for other manufacturers' Slatwalls.
1
Attach the Base to Tool Bar
Using a Phillips head screwdriver, open or close the jaws so the
metal clips grip both the top and bottom of the Tool Bar/Slatwall
and slide.
1 of 4
Parts Included, Hardware kit
B
5 mm Allen Wrench
Qty: 1
C
4 mm Allen Wrench
Qty: 1
D
2.5 mm Allen Wrench
Qty: 1
Tools Required
Phillips head screwdriver, 2.5 mm Allen Wrench, 5 mm
Allen Wrench
Workrite Ergonomics | 800.959.9675 www.workriteergo.com
E
30 × 7 mm Static Arm Spacer
Qty: 1
F
Sticker
Qty: 1
G
Interchangeable
alternate clip
Qty: 1
Top Clip
Bottom Clip
Advertisement
Table of Contents

Subscribe to Our Youtube Channel
Related Manuals for Workrite Ergonomics Conform Base CONF-BSE-TSB-S


Summary of Contents for Workrite Ergonomics Conform Base CONF-BSE-TSB-S
- Page 1 Attach the Base to Tool Bar Using a Phillips head screwdriver, open or close the jaws so the metal clips grip both the top and bottom of the Tool Bar/Slatwall and slide. Top Clip Bottom Clip 1 of 4 Workrite Ergonomics | 800.959.9675 www.workriteergo.com...
- Page 2 Insert Spacer and Bolt Remove Bolt and Washers Choose the appropriate spacer and re-assemble pin with selected spacer. Static Arm Spacer (E) Articulating Arm Spacer 2 of 4 Workrite Ergonomics | 800.959.9675 www.workriteergo.com...
- Page 3 Shown After M8 x 90 mm bolt has been Note: installed and set screw has been tightened with 2.5 mm Allen Wrench (D), apply the sticker (F) to cover the set screw. 3 of 4 Workrite Ergonomics | 800.959.9675 www.workriteergo.com...
- Page 4 Using a Phillips head screwdriver, rotate the screw clockwise until the two clips are roughly positioned for placement on Slatwall. Return to step 2. Alternate Clip (G) (Lip up) Remove Lower Clip 4 of 4 Workrite Ergonomics | 800.959.9675 www.workriteergo.com 1500253 Rev A...
Need help?
Do you have a question about the Conform Base CONF-BSE-TSB-S and is the answer not in the manual?
Questions and answers