Avaya JBM24 Using Instruction
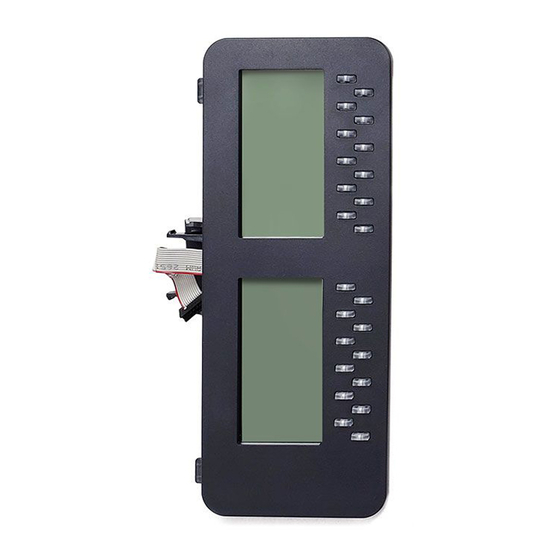
Button module
Hide thumbs
Also See for JBM24:
- Installing (282 pages) ,
- Installing and administering (354 pages) ,
- Installing and administering (191 pages)
Table of Contents
Advertisement
Advertisement
Table of Contents

Related Manuals for Avaya JBM24


Summary of Contents for Avaya JBM24
- Page 1 Using Avaya JBM24 Button Module Release 4.0.4 Issue 1 January 2020...
- Page 2 RESERVES THE RIGHT TO TAKE LEGAL ACTION AGAINST YOU the express behalf of Avaya. End User agrees to indemnify and hold AND ANYONE ELSE USING OR SELLING THE SOFTWARE harmless Avaya, Avaya's agents, servants and employees against all WITHOUT A LICENSE.
- Page 3 MAY BE OBTAINED FROM MPEG LA, L.L.C. SEE HTTP:// written consent of Avaya can be a criminal, as well as a civil offense WWW.MPEGLA.COM. under the applicable law. Compliance with Laws...
- Page 4 AC adapters shipped with the equipment or specified by Avaya to be used with the equipment. If you use any • Consult the dealer or an experienced radio/TV technician for other equipment, it may cause failures, malfunctioning, help.
-
Page 5: Table Of Contents
Adjusting the expansion module brightness ..................11 Adjusting the Button Module Contrast Chapter 6: Maintenance......................12 .................... 12 Resetting a customized key label ..................12 Restoring customized keys to default January 2020 Using Avaya JBM24 Button Module Comments on this document? infodev@avaya.com... -
Page 6: Chapter 1: Introduction
Chapter 1: Introduction Purpose This document describes how to use JBM24 Button Module features. This document is intended for people who use JBM24 Button Module features. January 2020 Using Avaya JBM24 Button Module Comments on this document? infodev@avaya.com... -
Page 7: Chapter 2: Overview
Chapter 2: Overview JBM24 Button Module overview The JBM24 Button Module extends the number of call appearances and feature buttons on the Avaya J169/J179 IP Phone. Each button module provides 24 additional lines for incoming calls, outgoing calls, autodialing, and calling features. The Avaya J169/J179 IP Phone supports up to three button modules, and each button module can take both Stand and Wall mount positions together with the phone. - Page 8 The red light indicates that the line is in use or the feature has been disabled. For an incoming call, or for an enabled feature, the green LED blinks. For more information about setting visual alerts, see Using Avaya J169/J179 IP Phone SIP. January 2020 Using Avaya JBM24 Button Module Comments on this document? infodev@avaya.com...
-
Page 9: Chapter 3: Getting Started
Type the name of the label, and press OK. 10. To delete a key, do the following: • Press Delete. • In the confirmation window, press Delete. January 2020 Using Avaya JBM24 Button Module Comments on this document? infodev@avaya.com... -
Page 10: Chapter 4: Call Operations
LED. Procedure To answer a call using JBM24 Button Module, do one of the following: • Press the flashing line button on the JBM24 Button Module to turn on the Speaker and answer the call. • Pick up the handset. -
Page 11: Chapter 5: Display Settings
4. Scroll to Contrast, and press Select. 5. Select the attached button module. 6. (Optional) If there are more than one JBM24 Button Module attached, select the module by the Module number. 7. Use the horizontal Arrow keys to increase or decrease the contrast. -
Page 12: Chapter 6: Maintenance
3. Scroll to Phone, and press Select. 4. Scroll to Phone keys customization, and press Select. 5. Scroll to Restore, and press Select. 6. In the confirmation window, press Restore. January 2020 Using Avaya JBM24 Button Module Comments on this document? infodev@avaya.com... - Page 13 ........answering a call ..............introduction overview ................. legal notices ................settings customizing keys resetting key labels ..........12 restoring keys to default ........display settings brightness .............. January 2020 Using Avaya JBM24 Button Module Comments on this document? infodev@avaya.com...
Need help?
Do you have a question about the JBM24 and is the answer not in the manual?
Questions and answers