
Subscribe to Our Youtube Channel
Related Manuals for LUCCI Air AIRLIE HUGGER


Summary of Contents for LUCCI Air AIRLIE HUGGER
- Page 1 LUCCI AIRLIE HUGGER CEILING FAN INSTALLATION OPERATION MAINTENANCE WARRANTY INFORMATION CAUTION READ INSTRUCTIONS CAREFULLY FOR SAFE INSTALLATION AND FAN OPERATION. V1.0 - EN (12/2018)
-
Page 2: Safety Precautions
Airlie Hugger Fan Installation Instructions THANK YOU FOR PURCHASING Thank you for purchasing this quality Lucci product. To ensure correct function and safety, please read and save all instructions before using the product. SAFETY PRECAUTIONS The information contained in the following pages has been prepared to ensure you of trouble-free operation of your ceiling fan. - Page 3 Airlie Hugger Fan Installation Instructions all-pole safety switch at the switchboard, then this is considered to be an all-pole disconnection to the ceiling fan electrical circuit, meeting the requirements of clause 7.12.2 of AS/NZS 60335.1. A single-pole switch on the active of the receiver input of remote control must also be included in the wiring, and located the same room as the ceiling fan.
-
Page 4: Before Installation
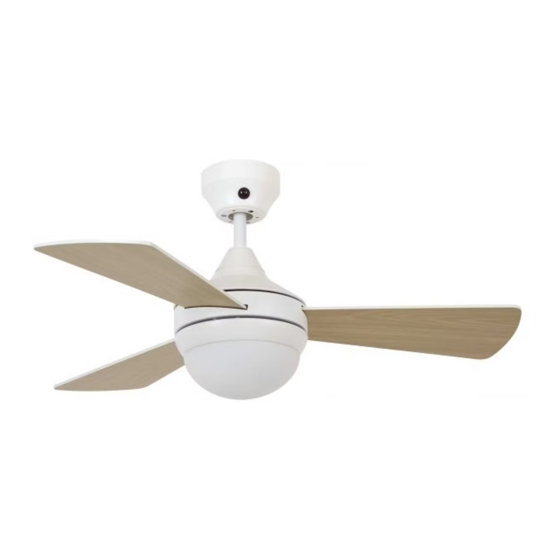
Airlie Hugger Fan Installation Instructions BEFORE INSTALLATION Unpack the fan and carefully identify the parts. Please refer to Fig 1. Fig. 1 Blades x 3 Pre-assembled Fan motor, down rod, and canopy x 1 Glass shade x 1 Mounting Bracket x 1... -
Page 5: Installing The Mounting Bracket
Airlie Hugger Fan Installation Instructions INSTALLING THE MOUNTING BRACKET • The ceiling fan must be installed in a location so that the blades are a minimum 300mm spacing from the tip of the blade to the nearest objects or walls. -
Page 6: Blade Installation
Airlie Hugger Fan Installation Instructions BLADE INSTALLATION BLADE ATTACHMENT (Fig. 5) 1. Remove the two screws (1) from the covering plate (2) on the top of the motor housing, and remove the plate. 2. Insert the blade (4) into the square slot of the motor. -
Page 7: Electrical Wiring Diagram
Airlie Hugger Fan Installation Instructions Close to ceiling Lift up the fan assembly and ensure the round hole (B) of the canopy is positioned into the hook (A) of the mounting bracket. Fig. 8 ELECTRICAL WIRING DIAGRAM WARNING: FOR YOUR SAFETY ALL ELECTRICAL CONNECTIONS MUST BE UNDERTAKEN BY A LICENSED ELECTRICIAN. -
Page 8: Finishing The Installation
Airlie Hugger Fan Installation Instructions FINISHING THE INSTALLATION Cover the mounting bracket with the canopy. Ensure all electrical wiring is tucked inside the canopy and that the wires are not damaged during this step. Secure the canopy to the hanger bracket using the screws provided. - Page 9 Airlie Hugger Fan Installation Instructions OPERATING THE REMOTE: Before you start using the remote, take the time to read through this section and get familiar with the buttons and function of each button. 1. IR TRANSMITTER 2. HI button: Press the button to set fan running at High speed.
-
Page 10: After Installation
Airlie Hugger Fan Installation Instructions REVERSE FUNCTION Your ceiling fan can operate either in fan mode or reverse fan mode. SUMMER Mode: The reverse switch should be in the “down” (SUMMER) position to make the fan rotate in the anticlockwise direction. The airflow will be directed downwards, for cooling in summer. -
Page 11: Technical Information
Airlie Hugger Fan Installation Instructions the motor run – All electric motors are audible to some extent. CARE AND CLEANING: • Every 6 months periodic cleaning of your ceiling fan is the only maintenance required. Use a soft brush or lint free cloth to avoid scratching the paint finish.
Need help?
Do you have a question about the AIRLIE HUGGER and is the answer not in the manual?
Questions and answers