
Related Manuals for MakerBot Smart Extruder+


Summary of Contents for MakerBot Smart Extruder+
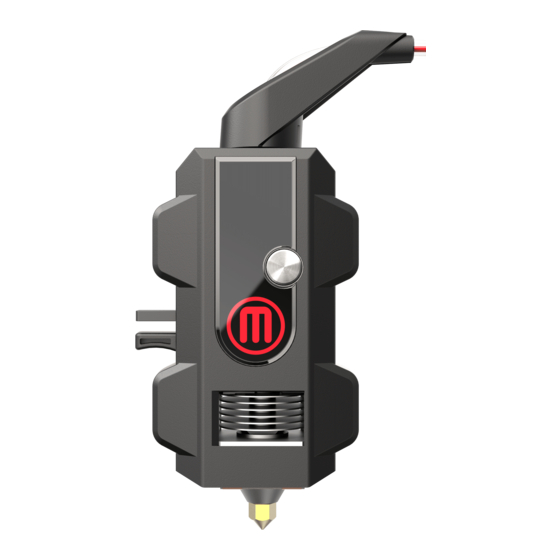
- Page 1 MakerBot Smart Extruder+ The MakerBot Replicator+ is optimized for large (0.90 kg) and small (0.22 kg) spools of MakerBot PLA filament.
- Page 2 Installing a Filament Spool Open the filament drawer by pulling up the back section of the frame of the MakerBot Replicator+. Position the filament spool so that it will unwind counterclockwise and fit the spool onto the filament spindle. Be careful not to let the filament loosen or tangle on the spool.
- Page 3 Hold the top of the filament drawer with one hand and depress the latch on the filament drawer. Slide the filament drawer closed. Loading Filament into the Smart Extruder+ 1. Use the control panel dial to select Filament > Load Filament. 2.
- Page 4 3. Once prompted, cut the end of your filament to create a clean edge. You can use scissors or wire cutters to cut a clean edge on the end of your filament. You don't want to load anything with a bulged, twisted or sharp edge. 4.
- Page 5 5. Wait until you see plastic emerging from the extruder nozzle before pressing the control panel dial to finish the filament load process. 6. Fit the filament guide tube securely into the extruder's loading tube.
-
Page 6: Start A Print
You should follow these steps before printing whenever you install an extruder for the first time. Once your extruder is set up for a specific MakerBot 3D printer, you can attach and detach it as many times as you like without going through this process again. - Page 7 How to Change Filament The easiest way to change the filament for your MakerBot Replicator+ is to use the control panel. 1. Select Filament > Unload Filament. 2. The Smart Extruder+ will start to heat up. When the extruder is fully heated, it will go through a two-part unloading process.
Need help?
Do you have a question about the Smart Extruder+ and is the answer not in the manual?
Questions and answers