Advertisement
Quick Links
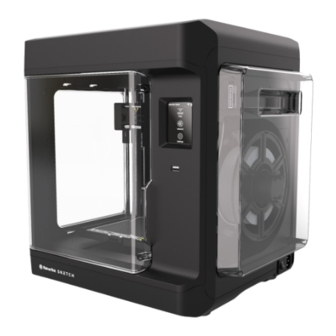
MakerBot Sketch Extruder Coupler Replacement
MakerBot
Tools Needed:
2.5 mm Hex Driver
Phillips Screw Driver
Pair of thin Tweezers
Small Container for Screws
10 mm Gear Wrench
Color Guide:
Action
Button Heads Screw
Socket Cap Screw
Flat Head Screw
Thread Forming Screw
1
Advertisement

Related Manuals for MakerBot Sketch


Summary of Contents for MakerBot Sketch
- Page 1 MakerBot Sketch Extruder Coupler Replacement Tools Needed: Color Guide: 2.5 mm Hex Driver Action Phillips Screw Driver Button Heads Screw Socket Cap Screw Pair of thin Tweezers Flat Head Screw Small Container for Screws Thread Forming Screw 10 mm Gear Wrench...
- Page 2 MakerBot Sketch MakerBot Replicator Before we start let's take care of some preliminary steps: 1. Unload any filament. 2. Allow for extruder to safely cool down to fifty (50) degrees Celsius. 3. Power down the printer and unplug it. "Let's get started!"...
- Page 3 Carriage Assembly To avoid causing accidental harm slide out the FFC and lay it over the right top side of the Sketch printer and pin it down with some tape. Please make sure not to create any kinks in the FFC or you...
- Page 4 MakerBot Sketch MakerBot Replicator Using a 2.5mm hex driver remove the silver screw located on the top front of the carriage. Once the screw is removed lift Carriage Cover up and away from carriage to detach. MakerBot...
- Page 5 MakerBot Sketch MakerBot Replicator Using a 10mm gear wrench, turn the Coupler counter clockwise until it comes out. Remove replacement coupler out of packaging and place it in to carriage assembly. Remove replacement Coupler out of packaging and place it in to carriage assembly.
- Page 6 MakerBot Sketch MakerBot Replicator Once the Coupler is secure, place back carriage cover. Use the rear locking features to align the top cover and push down firmly to snap it back in place Insert the silver screw and tighten it using the 2.5mm hex driver until it is finger tight.
- Page 7 MakerBot Sketch MakerBot Replicator Re-attach filament guide tube (not shown). Re-attach FFC (make sure that it is straight and properly seated Re-attach top window Turn on printer and run the load filament script and run a quick test print. MakerBot...
Need help?
Do you have a question about the Sketch and is the answer not in the manual?
Questions and answers