Renishaw VIONiC RTLC20-S Installation Manual
Linear encoder system
Hide thumbs
Also See for VIONiC RTLC20-S:

Related Manuals for Renishaw VIONiC RTLC20-S


Summary of Contents for Renishaw VIONiC RTLC20-S
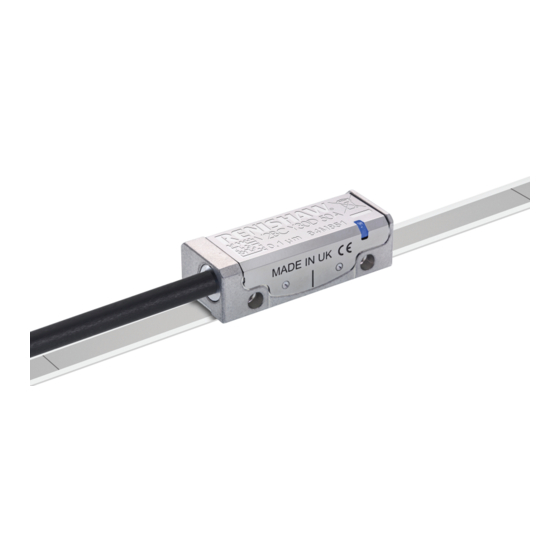
- Page 1 Installation guide M-6195-9108-03-B VIONiC RSLM high accuracy linear encoder RTLC20-S linear encoder system ™...
-
Page 2: Table Of Contents
Reference mark selector and limit magnet installation Datum clamp VIONiC encoder system quick-start guide Readhead mounting and alignment System calibration Output signals Speed Electrical connections Output specifications General specifications Scale technical specifications Reference mark Limit switches VIONiC RTLC20-S installation guide... -
Page 3: Product Compliance
The packaging of our products contains the following materials and can be recycled. received, including interference that may cause undesired operation. The user is cautioned that any changes or modifications not expressly approved by Renishaw plc or Packaging Component Material... -
Page 4: Storage And Handling
Methylated Chlorinated CHOHCH COCH Spirits Solvents Storage Operating Humidity +70 °C +70 °C Minimum bend radius −20 °C 0 °C RTLC20-S – 150 mm 95% relative humidity NOTE: Ensure self-adhesive tape (non-condensing) to is on the outside of bend. IEC 60068‑2‑78 VIONiC RTLC20-S installation guide... -
Page 5: Vionic Readhead Installation Drawing
Scale thickness 0.4 counterbore) and the recommended (including adhesive) tightening torque is between 0.25 and 0.4 Nm. 11.5 (Pitch tol. ±1°) Rideheight: 2.1 ±0.15 † Optical centreline marker † Extent of mounting face. Dimension from substrate surface. VIONiC RTLC20-S installation guide... -
Page 6: Rtlc20-S Scale Installation Drawing
NOTES: The reference mark selector and limit actuator locations are correct for the readhead orientation shown. External magnetic fields greater than 6 mT, in the vicinity of the readhead, may cause false activation of the limit and reference sensors. VIONiC RTLC20-S installation guide... -
Page 7: Scale Application
Direction of scale application (see ‘RTLC20-S scale installation drawing’ on page adhesion. Thoroughly clean and degrease the substrate using recommended solvents Clean the scale using Renishaw scale (see ‘Storage and handling’ on page 2). Allow the substrate to dry RTLC20-S cleaning wipes (A-9523-4040) or a clean, before applying scale. -
Page 8: Reference Mark Selector And Limit Magnet Installation
The datum clamp does not need to be fitted adjacent to a reference mark. It can be positioned anywhere along the axis depending upon the customers’ requirements. A-9585-0028 Ensure the adhesive wicks along the entire length of the cut-out. VIONiC RTLC20-S installation guide... -
Page 9: Vionic Encoder System Quick-Start Guide
9). Repeat the installation and calibration routine. For more details refer to the Advanced Diagnostic Tool ADTi-100 and ADT View software quick-start guide (Renishaw part no. M-6195-9321) and Advanced Diagnostic Tool ADTi-100 and ADT View software user guide (Renishaw part no. M-6195-9413). -
Page 10: Readhead Mounting And Alignment
NOTE: When re-installing the readhead, factory defaults should be restored (see page Alarm 4 red flashes Low signal or over signal; system in error Readhead set-up LED status 0° ±0.4° Green Orange flashing flashing flashing Pitch 0° ±1° Roll 0° ±0.5° Green spacer Rideheight 2.1 ±0.15 mm VIONiC RTLC20-S installation guide... -
Page 11: System Calibration
0 V for < 3 seconds. The LED will then stop flashing. Settings stored Blue single flashing None, restore factory defaults and recalibrate Blue double flashing Incremental only Blue (auto-complete) Incremental and reference mark VIONiC RTLC20-S installation guide... -
Page 12: Output Signals
0.107 0.054 0.027 0.013 3.63 1.81 0.730 0.360 0.181 0.145 0.091 0.073 0.036 0.018 0.009 4.53 0.910 0.450 0.180 0.090 0.045 0.036 0.023 0.018 0.009 0.005 0.002 1038 *For a readhead with a 1 m cable. VIONiC RTLC20-S installation guide... -
Page 13: Electrical Connections
For JST variants the ferrule should be connected to machine earth. 0.05 Maximum readhead cable length: 3 m 0.16 0.04 Maximum extension cable length: Dependent on cable type, readhead cable length and clock speed. Contact your local Renishaw representative for more information. 0.025 0.08 0.02 Recommended signal termination 0.04 0.01... -
Page 14: General Specifications
Extension cables available. Contact your local Renishaw representative for details. (A-9653-0143) customer positioned CAUTION: Renishaw encoder systems have been designed to the relevant EMC standards, but must L ≤100 mm Single reference mark at scale centre be correctly integrated to achieve EMC compliance. In particular, attention to shielding arrangements is L >100 mm Reference marks at 50 mm spacing (first reference mark... - Page 15 Renishaw reserves the right to change specifications without notice. RENISHAW and the probe symbol used in the RENISHAW logo are registered trade marks of Renishaw plc in the United Kingdom and other countries. apply innovation and names and designations of other Renishaw products and technologies are trade marks of Renishaw plc or its subsidiaries.
Need help?
Do you have a question about the VIONiC RTLC20-S and is the answer not in the manual?
Questions and answers