
Related Manuals for Garudan GP-110-147


Summary of Contents for Garudan GP-110-147
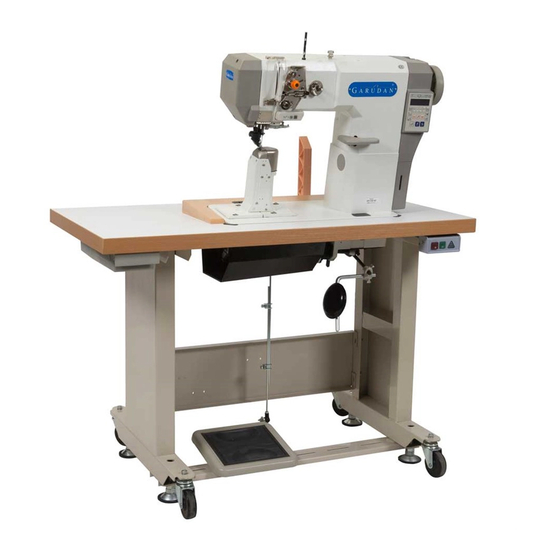
- Page 1 User’s Manual GP-110-147 GP-124-147 ANITA B s.r.o. Průmyslová 2453/7 680 01 Boskovice Czech Republic tel: +420 516 454 774 +420 516 453 496 fax: +420 516 452 751 e-mail: info@anita.cz MP02800EN_180126...
- Page 2 © ANITA All rights reserved. Property of Anita B s.r.o. and protected by copyright. The use of this content without written consent of Anita B s.r.o. is prohibited. Copyright © Anita B s.r.o. (2018) MP02800EN_180126...
-
Page 3: Table Of Contents
© ANITA Obsah 1 SAFETY ............................. 4 2 SPECIAL FEATURES AND APPLICATIONS .................. 4 3 SPECIFICATIONS ........................5 4 CONTROLS ..........................5 4.01 CONTROLS ON/OFF SWITCH ..................... 5 4.02 KEYS ON THE MACHINE HEAD ................... 5 4.03 PEDAL..........................6 4.04 LEVER FOR LIFTING ROLLER PRESSER ................6 4.05 KNEE LEVER ........................ -
Page 4: Safety
© ANITA 1 SAFETY • This machine may only be operated by adequately trained operators and only after having completely read and understood the Instruction Manual! • This machine may only be used for the purpose for which it is intended and may not be operated without its safety devices. -
Page 5: Specifications
© ANITA 3 SPECIFICATIONS Stitch type DP5X16 (#11-#20) Max stitch length 7 mm Single Needle, 5mm Double Needle S.P.M 2000 r/min Noise data 73db (±2.5db) 70 KG 76 KG Sewing head dimensions: Length 615 mm Width 180 mm Height (above table) 500 mm Bedplate dimensions: 518 x 178 mm... -
Page 6: Pedal
© ANITA 4.03 PEDAL 0 = Neutral position +1 = Sewing -1 = Raise roller presser -2 = Trim sewing threads Fig. 3 4.04 LEVER FOR LIFTING ROLLER PRESSER The roller presser can be raised by turning lever 1. Fig.4 MP02800EN_180126... -
Page 7: Knee Lever
© ANITA 4.05 KNEE LEVER The roller presser can be raised by pressing the knee lever 1 in the direction of the arrow. Fig. 5 4.07 SWING OUT ROLLER PRESSER When the roller presser is raised, it can be swung out by pulling it lightly downwards. Fig. -
Page 8: Installation
© ANITA 5 INSTALLATION The method of packaging used requires that the table top be lowered for transport. The following is a description of how to adjust the height of the table top. 5.01 ADJUSTING THE TABLE-TOP HEIGHT Fig. 7 Loosen screws 1 and 2 and set the desired table-top height Tighten screws 1 well. -
Page 9: Fitting The Reel Stand
© ANITA 5.02 FITTING THE REEL STAND Fig. 8 Fit the reel stand as shown 6 COMMISSIONING All instructions and regulations in this instruction manual must be observed. Special attention must be paid to all safety regulations! be carried out by personnel with the appropriate training. For all setting-up work the machine must be disconnected from its power supply by turning off the on/off switch, or removing the plug from the electric power socket. -
Page 10: Winding The Bobbin Thread, Adjusting The Thread Tension
© ANITA Switch off the machine! Danger of injury due to unintentional starting of the machine! • Raise the roller presser 1 and swing it out. • Loosen screw 2 and insert the needle as far as possible. The long groove must face to the left (Single Needle). -
Page 11: Removing/Inserting The Bobbin Case
© ANITA The bobbin fills up during sewing. • The tension of the thread on bobbin 1 can be adjusted with knurled screw 4. • The bobbin winder stops automatically when bobbin 1 is full. • Remove the filled bobbin 1 and cut the thread on knife 5. If the thread is wound unevenly, loosen nut 6 and turn thread guide 7 accordingly. -
Page 12: Threading The Needle Thread And Regulating Its Tension (Single Needle)
© ANITA 6.05 THREADING THE NEEDLE THREAD AND REGULATING ITS TENSION (SINGLE NEEDLE) Fig. 14 Switch the machine off! Danger of injury if the machine is started accidentally! • Tilt up the eye guard 1. • Thread the needle thread as shown. The needle is threaded from the left to the right. -
Page 13: Threading The Needle Thread And Regulating Its Tension (Double Needle)13
© ANITA 6.06 THREADING THE NEEDLE THREAD AND REGULATING ITS TENSION (DOUBLE NEEDLE) Fig. 15 Switch the machine off! Danger of injury if the machine is started accidentally! • Tilt up the eye guard 1. • Thread both needle threads as shown. •... -
Page 14: Setting The Stitch Length
© ANITA 6.07 SETTING THE STITCH LENGTH Fig. 16 • Press key 1 and at the same time turn the balance wheel until the stitch setter clicks into position. • Hold down key 1 and turn the balance wheel to and fro until the stitch length required is shown on the scale 2 opposite the bottom edge 3 of the belt guard recess. -
Page 15: Cleaning
© ANITA 7.02 CLEANING Clean the hook, hook compartment and toothed wheel 3 daily, several times if in continuous use. Fig. 17 Switch the machine off! Danger of injury if the machine is started accidentally! Fig. 18 Bring the needle bar to its highest position. •... -
Page 16: Oiling The Hook
© ANITA 7.03 OILING THE HOOK Switch the machine off! Danger of injury if the machine is started accidentally! • Before commissioning the machine, and after long periods out of operation, pour a few drops of oil into the hook race (see arrow). Fig. -
Page 17: Lubricating The Bevel Gears
© ANITA 7.05 LUBRICATING THE BEVEL GEARS Fig. 21 Switch the machine off! Danger of injury if the machine is started accidentally! • All bevel gears must be supplied with new grease once a year. • Tilt the sewing head back onto the support. 7.06 OILLING THE OIL RESERVOIR OF THE THREAD LUBRICATION UNIT Check the oil level before each use.
Need help?
Do you have a question about the GP-110-147 and is the answer not in the manual?
Questions and answers