Table of Contents
Advertisement
Advertisement
Table of Contents

Subscribe to Our Youtube Channel
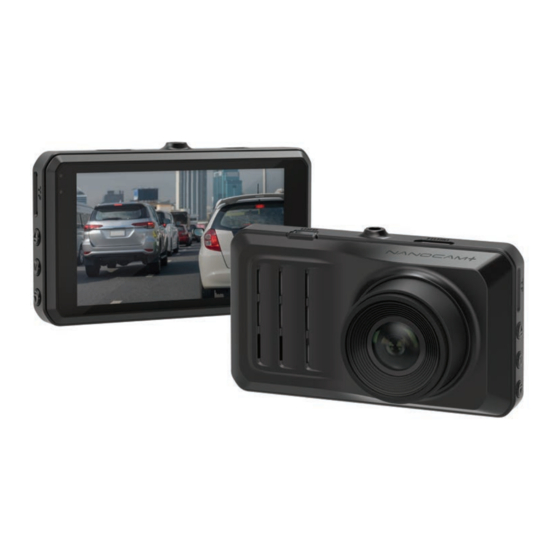
Summary of Contents for NanoCam Plus NCP-DVR1080P
-
Page 3: Table Of Contents
Package Contents ................8 Product Overview .................9 BUTTON FUNCTIONS ................10 GETTING STARTED ..................11 Inserting a Micro SD Card ..............11 Removing a Micro SD Card ..............12 Installing the NCP-DVR1080P ............13 Adjusting the Angle of the NCP-DVR1080P ........14 Connecting to Power ................15 LED Indicator ..................16... - Page 4 POWERING THE NCP-DVR1080P ON/OFF ..........16 Auto Power On/Off ................16 Manual Power On ................16 Manual Power Off ................17 Reset the Car DVR ................17 INITIAL SETTINGS ...................17 Formatting the Inserted Micro SD Card ..........17 SETTING THE TIME AND DATE ..............18 VIDEO MODE ...................19 INTERFACE .....................20...
- Page 5 12.0 PLAYBACK ....................27 12.1 Removing the Existing 3M Mount from my Windscreen ....27 13.0 WARRANTY TERMS & CONDITIONS ............28...
-
Page 6: Caution
CAUTION • Ensure you are using your Car Dash Cam within your countries’ road laws. Please make sure you are familiar with your local road legislation before use. • Avoid leaving your Dash Cam in direct sunlight for extended periods of time in an unventilated space. -
Page 7: Battery Warning
BATTERY WARNING Always charge the Car Dash Cam using the provided charger. Improper charging of the Car Dash Cam and may result in failure of the internal battery. Never dismantle the Car Dash Cam or expose the internal battery. Do not dispose of the Car Dash Cam in fire. Dispose of the Car Dash Cam observing local regulations being mindful of the internal battery. -
Page 9: Introduction
• Do not expose your NCP-DVR1080P to liquids, excessive dusty conditions or temperatures exceeding 60°C. • Only use the included cables to power and charge the NCP-DVR1080P. • Please do not attempt to adjust the NCP-DVR1080P position or settings whilst you are operating your vehicle. -
Page 10: Package Contents
• Ensure you are using your NCP-DVR1080P within your countries’ road laws. Please make sure you are familiar with your local road legislation before use. -
Page 12: Button Functions
BUTTON FUNCTIONS MODE BUTTON When Device is not recording, press the M button to switch between Video Mode / Photo Mode / Play Back mode. OK BUTTON Press the OK Button to start/stop video recording in Video mode. Press the OK Button to take photo in Camera mode. Press the OK Button to play/pause current video on playback mode. -
Page 13: Getting Started
UP BUTTON In the Settings menu use the Up Button to toggle between the settings. RESET BUTTON Press to reset to factory settings. Microphone Position TF CARD SLOT Micro SD Card Slot. Minimum 16GB and maximum 32 GB, Class 6 SD Card. USB INTERFACE Mini USB Power cable to connect with power adapter provided in the packaging. -
Page 19: Manual Power On
MANUAL POWER OFF Make sure that recording has been stopped and then press the Power button on the lower right hand side of the car DVR. After powering down the device please wait for 10 seconds before turning the Car DVR back on. RESET THE CAR DVR If the Car DVR does not function normally, try restarting the car DVR. -
Page 23: Setup Menu
Park Mode: The highlighted bar indicates the sensitivity of Park mode with 1 Bar indicates Low Sensitivity. G-Sensor: The highlighted bar indicated the sensitivity of G-Sensor with 1 Bar indicates Low Sensitivity. Microphone: Turns on or off the Microphone. Micro SD Card: Indicates inserted SD Card. 10. - Page 30 This warranty is provided in addition to your rights under the Australian & New Zealand Consumer Law. NanoCam Plus warrants that this product is free from defects in material and workmanship for a period of 12 months from the date of purchase or for the period stated on the packaging.
- Page 31 The retailer will contact you when the product is ready for collection. All costs involved in claiming this warranty, including the cost of the retailer sending the product to NanoCam Plus, will be borne by you. NanoCam Plus Address:...


Need help?
Do you have a question about the NCP-DVR1080P and is the answer not in the manual?
Questions and answers