Concept2 BikeErg Assembly Instructions Manual
Hide thumbs
Also See for BikeErg:
- User manual ,
- Product manual (28 pages) ,
- Assembly instructions manual (8 pages)
Advertisement
Quick Links
x 16
3/4" (1.9 cm)
PN 1201
x 4
3/4" (1.9 cm)
PN 1248
x 2
3" (7.62 cm)
PN 1267
Questions? Comments? Problems?
Contact Concept2 directly at
800.245.5676 (U.S. and Canada)
or visit us at concept2.com
0719
ASSEMBLY INSTRUCTIONS
6-lobe Driver
PN 2230
6 mm L-key
PN 2333
Assembly Instructions
EN
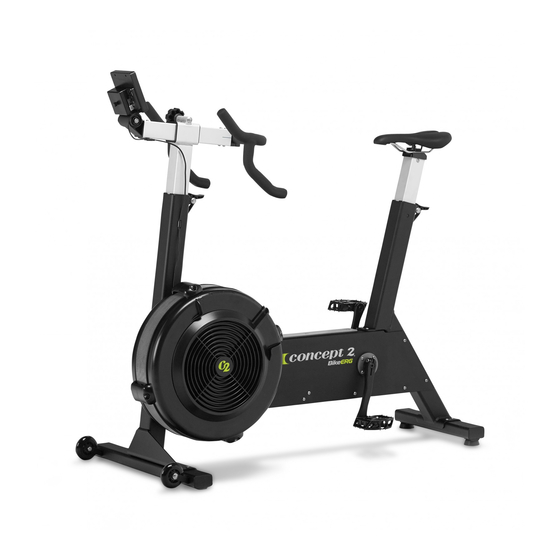
BikeErg weight: 58 lb (26 kg)
Space required for use (training area):
48 in x 60 in
(122 cm x 152 cm)
Notice de montage
FR
Poids du BikeErg : 26 kg
Espace nécessaire pour l'utilisation
(zone d'entraînement) :
122 cm x 152 cm
Montage Anleitung
DE
Gewicht des Gerätes: 26 kg
Maße (bei Benutzung):
122 cm x 152 cm
Instrucciones de
ES
Montaje
Peso del BikeErg: 58 lb (26 kg)
Espacio requerido para su uso (zona
entrenamiento):
48 in x 60 in
(122 cm x 152 cm)
Istruzioni per il
montaggio
BikeErg peso: 58 lb (26 kg)
Spazio neccesario per l'uso:
48 in x 60 in
(122 cm x 152 cm)
Instruções de
Montagem
Peso do BikeErg: 58 lb (26 kg)
Espaço necessário para uso
(área de treino):
48 in x 60 in
(122 cm x 152 cm)
Samle instruktioner
BikeErg, vægt: 58 lb (26 kg)
Pladsforbrug (træningsareal):
48 in x 60 in
(122 cm x 152 cm)
Installatie Instructies
Gewicht BikeErg: 58 lb (26 kg)
Vereiste ruimte voor gebruik
(trainingplaats):
48 in x 60 in
(122 cm x 152 cm)
Monteringsanvisning
BikeErg vikt: 58 lb (26 kg)
Träningsutrymmets
minimummått:
48 in x 60 in
(122 cm x 152 cm)
Asennusohjeet
BikeErg paino: 58 lb (26 kg)
Käyttöön tarvittava tila
(harjoitusalue):
48 in x 60 in
(122 cm x 152 cm)
Monteringsveiledning
BikeErg vekt: 58 lb (26 kg)
Plass nødvendig for bruk
(treningsområde):
48 in x 60 in
(122 cm x 152 cm)
BikeErg 组装说明
中
BikeErg 重量:58 lb (26 kg)
所需使用空间(训练区域):
48 in x 60 in
(122 cm x 152 cm)
組立の説明
BikeErg 重量:58 lb (26 kg)
使用スペース:
48 in x 60 in
(122 cm x 152 cm)
Advertisement

Related Manuals for Concept2 BikeErg


Summary of Contents for Concept2 BikeErg
- Page 1 48 in x 60 in Instrucciones de (122 cm x 152 cm) Montaje Monteringsveiledning Peso del BikeErg: 58 lb (26 kg) BikeErg vekt: 58 lb (26 kg) x 16 6-lobe Driver Espacio requerido para su uso (zona Plass nødvendig for bruk 3/4”...
- Page 2 BikeErg Assembly Instructions 1. Box frame assembly 2. Pedal 3. Rear leg with seat post and saddle 4. Handlebar assembly 5. Front leg with handlebar post 6. Performance Monitor 5 (PM5) 7. Rear foot 8. Front foot with casters IMPORTANT: To ensure that fasteners are properly...
- Page 3 1. Montagem da estrutura do quadro 1. Runko ja komponentit 2. Pedal 2. Poljin 3. Perna traseira com coluna e selim 3. Takajalka, satulan putki ja satula 4. Montagem do guiador 4. Tanko 5. Perna dianteira com coluna de guiador 5.
- Page 4 BikeErg Assembly Instructions (4) 3/4” (1.9 cm) PN 1201 Attach the front foot with casters on the front leg using four fasteners. Assemblez le pied avant avec roulettes à la tige de guidon. Befestigen Sie den Vorderfuß mit Rollen mit Hilfe von vier Schrauben am Vorderfuß.
- Page 5 (4) 3/4” (1.9 cm) PN 1201 Attach the rear leg with foot assembly to the box frame using four fasteners (two fasteners per side). Finger tighten only. These fasteners will be tightened fully in the next step. Fixez l’ensemble arrière au carter en utilisant quatre vis (deux vis par côté).
- Page 6 BikeErg Assembly Instructions Using the foam packing insert labeled “D” orient the seat in the foam and tilt the machine so that it’s standing upright as shown. Utilisez le bloc de mousse marqué « D » pour insérer la selle dedans et basculez le vélo comme indiqué.
- Page 7 (2) 3” (7.62 cm) (2) 3/4” (1.9 cm) PN 1267 PN 1267 PN 1201 Attach the front leg to the box frame assembly using four fasteners. Check that the monitor cable is routed properly and not pinched. Fixez la tige de guidon au carter à l’aide des vis fournies. Vérifiez que le câble du moniteur est correctement positionné...
- Page 8 BikeErg Assembly Instructions Insert the PM5 into the handlebar stem. Do not insert any fasteners at this time. Insérez le PM5 dans l’extrémité de la potence. N’insérez pas de vis pour le moment. Setzen Sie den PM5 in den Lenker Vorbau ein. Setzen Sie zu diesem Zeitpunkt noch keine Schrauben ein.
- Page 9 (4) 3/4” (1.9 cm) PN 1248 Note: Be sure to use the four fasteners without patch. Insert two fasteners through the monitor cable tab and into the bottom of the handlebar stem as shown in photo A. Do not tighten screws completely. Insert two fasteners into the top of the handlebar stem as shown in photo B.
- Page 10 BikeErg Assembly Instructions (continued) Note: Be sure to use the four fasteners without patch. Montera nu fast kabel hållaren på styrstammen enligt bild A. Dra inte åt skruvarna fullt i detta moment. Montera nu de 2 skruvarna på ovansidan av styrstammen enligt bild B. Anslut displaykabelns kontaktdon i monitorn enligt bild C.
- Page 11 6 mm L-key PN 2333 Thread the right side pedal spindle into the crank arm using the long end of the 6 mm L-key as shown in photo A. Fully tighten the pedal using the short end of the L-key as shown in photo B. Commencez à...
- Page 12 Draai beide verstelknoppen vast. Raadpleeg de Le BikeErg doit être utilisé sur une surface stable et plane. producthandleiding van de BikeErg voor meer informatie Le vélo doit être mis à niveau autant que possible. Les pieds over aanpassingen aan het stuur en het zadel.
Need help?
Do you have a question about the BikeErg and is the answer not in the manual?
Questions and answers