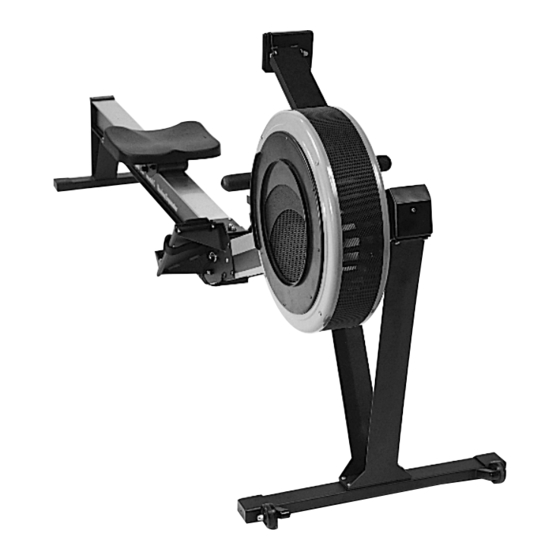
Summary of Contents for Concept2 C Indoor Rower
- Page 1 Model C Indoor Rower Assembly Manual MORRISVILLE, VERMONT USA EMAIL:ROWING@CONCEPT2.COM WEB:WWW.CONCEPT2.COM...
- Page 2 Schematic Diagrams with Part Seat Numbers Carriage FLYWHEEL SIDE OF MACHINE Return Idler Pulley PN 1024 Idler Axle PN 1130 Mechanism Flywheel Axle PN 1113 and Sprocket PN 1112 Chain Assembly PN 1716 Shock Cord (12.5') PN 1731 Travelling Pulley Assembly PN 1756 Shock Cord Pulleys (4) PN 1011 and Axles (2) PN 1130 S.C.A.M.s (2) PN 1104...
- Page 3 UNPACKING YOUR CONCEPT2 INDOOR ROWER You should find the following parts in your Indoor Rower shipping box. If any parts are missing, please call us toll-free at 1.800.245.5676. PN 1736 PN 1746 PN 1118 PN 1117 PN 296 PN 1752...
- Page 4 Assembly of Front Legs Tool Needed: Allen Wrench (provided) Parts needed: 4 washers 4 screws (actual size) 23.5" (60 cm) Long 19" (49 cm) Short 3 ⁄ " 2 cm Note that longer leg (I) attaches to same side as wheels.
- Page 5 Attaching Front Leg Parts needed: Tool Needed: 4 washers Allen Wrench 4 screws (provided) 1 ⁄ " (actual size) 1,25 cm Front Leg Assembly Long Leg Short Insert socket screws in this order. Please note direction of wheels. CORRECT Leg Assembly INCORRECT Leg Assembly Wheels Wheels...
- Page 6 Installation of Framelock Tool Needed: Allen Wrench (provided) Insert axle through axle tube on framelock. Parts needed: 2 washers 2 screws 1 ⁄ " (actual size) 1,25 cm Place framelock between footplates on Indoor Rower. The two footplates may need to be pulled apart slightly for the axle tube to fit.
-
Page 7: Using The Indoor Rower
Using the Indoor Rower attaching the monorail Place the flywheel and monorail sections of the Indoor Rower end to end. Step 1. Using one of the footstraps as a handle, lift the footboard end of the flywheel section until it rolls on the caster wheels. -
Page 8: Setting The Flexfoot
SETTING THE FLEXFOOT To set the Flexfoot, pull the toe piece toward you to release the footpiece from the two pegs. Slide the toe piece up or down to achieve the proper setting, then press the toe piece back down onto the pegs. Begin by setting the Flexfoot heel so the strap crosses the ball of your foot. - Page 9 If you do not find the standard seat to be com- pletely comfortable, you may wish to try the seat pad which is available from Concept2. Order PN1409. STORAGE: The two parts may be placed upright as shown here for more Remove monorail with the other hand.
- Page 10 SAFETY Pull straight back with both hands. Do not let handle fly into chain guide. Chain Guide Handle Hook Place handle against the chain guide or in handle hook Never twist chain or pull from side to side. before letting go. Rollers Do not row with one hand only.
-
Page 11: Important Safety Notes
• Use of this machine with a worn or weakened part, such as the chain, sprocket, swivel connector, handle U-bolt, or shock cord, may result in injury to the user. When in doubt about the condition of any part, Concept2 strongly advises that it be replaced immediately with genuine Concept2 parts.


Need help?
Do you have a question about the C Indoor Rower and is the answer not in the manual?
Questions and answers