
Related Manuals for Satel SLIM-DUAL-PRO


Summary of Contents for Satel SLIM-DUAL-PRO
- Page 1 SLIM-DUAL-PRO Digital dual technology motion detector with anti-mask Firmware version 1.00 slim-dual-pro_en 10/19 SATEL sp. z o.o. • ul. Budowlanych 66 • 80-298 Gdańsk • POLAND tel. +48 58 320 94 00 www.satel.eu...
- Page 2 Changes, modifications or repairs not authorized by the manufacturer shall void your rights under the warranty. SATEL aims to continually improve the quality of its products, which may result in changes in their technical specifications and software. Current information about the changes being introduced is available on our website.
-
Page 3: Table Of Contents
CONTENTS Features ........................... 2 Description........................2 Operation modes ......................2 Active IR anti-mask......................2 Supervision features ......................3 LED indicators ........................3 Remote configuration mode enable/disable..............3 Electronics module ......................4 Terminal block ........................5 Selecting a mounting location................... 6 Installation ........................ -
Page 4: Features
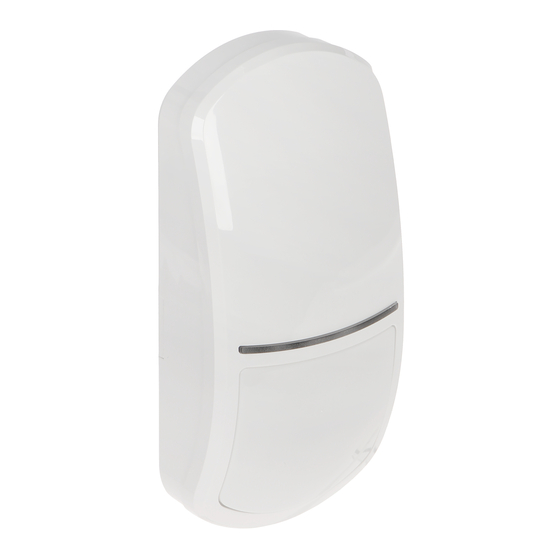
SLIM-DUAL-PRO SATEL The SLIM-DUAL-PRO detector detects movement in the protected area. This manual applies to the detector with electronics version D. The detector meets requirements of the EN 50131-2-4 standard for Grade 3. 1. Features Motion detection with two sensors: passive infrared sensor (PIR) and microwave sensor (MW). -
Page 5: Supervision Features
SATEL SLIM-DUAL-PRO A change in the level of received infrared radiation activates the anti-mask output. The output will remain on as long as the detector detects masking. The active anti-mask feature meets the EN 50131-2-4 requirements. Anti-mask delay The detector with factory default settings will report masking if it receives a wrong amount of infrared radiation for 1 second. -
Page 6: Electronics Module
Fig. 13 (mounting on bracket). microwave sensor. infrared receiver allowing to configure the detector by means of OPT-1 keyfob. The keyfob is available in SATEL's product range. MODE button used for configuring the detector (see “Configuring the detector”). tamper switch activated by cover removal. -
Page 7: Terminal Block
SATEL SLIM-DUAL-PRO pins to enable/disable the LED indicators. anti-mask system LEDs. On the other side of the electronics module is a tamper switch activated by removing the detector from the wall. 4. Terminal block The terminal block is located on the enclosure base (Fig. 6). To get access to the terminals, you must remove the electronics module (Fig. -
Page 8: Selecting A Mounting Location
SLIM-DUAL-PRO SATEL 5. Selecting a mounting location Do not install the detector outdoors (A). Install the detector at the recommended height (B). When choosing the installation location, keep in mind that the detector performance will be the best where the expected direction of the intruder movement will be across the coverage pattern (C). - Page 9 SATEL SLIM-DUAL-PRO 1. Remove the front cover (Fig. 7). 2. Move the electronics module down to unlock it, and then remove it from the enclosure base (Fig. 8). 3. Make the openings for screws (Fig. 9 or Fig. 10) and cable in the enclosure base.
- Page 10 SLIM-DUAL-PRO SATEL 4. Pass the cable through the prepared opening. If the detector is to be mounted on the bracket, run the cable and the wires of tamper switch located in the bracket as shown in Fig. 10. 5. Secure the enclosure base to the wall (Fig. 9) or a bracket fastened with screws to the wall or ceiling (Fig.
- Page 11 SATEL SLIM-DUAL-PRO 10. Replace the cover.
- Page 12 SLIM-DUAL-PRO SATEL...
-
Page 13: Configuring The Detector
To configure the detector, you can use the buttons on the electronics module or the OPT-1 keyfob. The OPT-1 keyfob is available in SATEL's product range. Starting configuration mode Press the MODE button on the detector electronics module for 3 seconds or connect the SRVC terminal to common ground. -
Page 14: Ending Configuration Mode
SLIM-DUAL-PRO SATEL Function Description of parameter to be programmed number LED indicators light color after motion is detected by PIR sensor You can program from 1 to 8 (1-7 – color; 8 – no light). By default: 4 (purple). In addition to the presentation of value (flashing green), the LEDs show the color assigned to that value (for 2 seconds). -
Page 15: Separate Testing Of Sensors
2.4 m. Figure 18 shows the coverage area of the SLIM-DUAL-PRO detector with a wide- angle lens (WD), which is installed in the detector by default. You can use the enclosure cover with another lens. -
Page 16: Specifications
SLIM-DUAL-PRO SATEL 9. Specifications Supply voltage ....................12 VDC ±15% Standby current consumption ..................21 mA Maximum current consumption ..................85 mA EOL resistors ..............2 x 1.1 k / 2 x 4.7 k / 2 x 5.6 k, Outputs alarm (NC relay, resistive load)..............40 mA / 24 VDC anti-mask (NC relay, resistive load) .............
Need help?
Do you have a question about the SLIM-DUAL-PRO and is the answer not in the manual?
Questions and answers