Advertisement
Installation, Precautions & Servicing
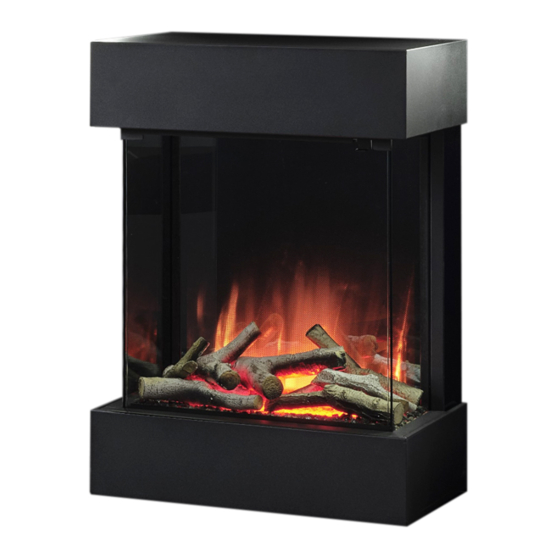
Carefully remove the fire from the packing checking neither the heater nor the power
cable has been damaged during transport. Do not operate the fire if damaged. Please
bear in mind the weight of the fire before removal from the packaging and installation.
Consider if help is required. Always read this manual first before attempting to install
or use and keep in a safe place. Any alteration to the power cable should only be done
Your fire is guaranteed for one year from the date of purchase. In the unlikely event of
a breakdown you have access to our customer services team, simply call 01543 251122
during office hours, 9am – 5pm or e-mail on
are found in a box that is packed at the side of the fire.
This product is only suitable for well insulated spaces or occasional use
Glazer
600 900 1000 1500
IMPORTANT
by a qualified electrician.
info@flameritefires.com
The accessories
1 |
P a g e
Advertisement
Table of Contents

Related Manuals for Flamerite Fires Glazer 600


Summary of Contents for Flamerite Fires Glazer 600
- Page 1 Installation, Precautions & Servicing Glazer 600 900 1000 1500 IMPORTANT Carefully remove the fire from the packing checking neither the heater nor the power cable has been damaged during transport. Do not operate the fire if damaged. Please bear in mind the weight of the fire before removal from the packaging and installation. Consider if help is required.
-
Page 2: Important Safety Information And Warnings
Important Safety Information and Warnings • For indoor use only. • Do not use the fire in the vicinity of a bath, shower or swimming pool. • Never use the fire to dry laundry. • Never install the fire directly underneath a fixed main socket. •... -
Page 3: Electrical Connections
RECYCLING Please recycle responsibly. Take your item to your local recycling centre. You can easily locate your nearest centre on the www.recyclenow.com website or check with your retailer for details on either a collection service or a store take-back scheme (some may apply charges). -
Page 4: Installation Instructions
Installation Instructions DO NOT TWIST, FORCE OR SQUEEZE THE FIRE DURING THE INSTALLATION PROCESS. Using in a chimney breast, fireplace or an internal studwork and plaster board wall. The fire must be well supported in a structure when mounting above the floor. A wall support or lintel should be fitted at the required height to ensure the appliance does not support the weight of the finished wall or chimney breast. - Page 5 Slide the fire into the channel created by the top and bottom brackets. Screw the top bracket back onto the fire with the 13mm self-tappers and bolt each corner of the bottom bracket through the slots either side into the fire using the M6 bolts and washer supplied. At this point you will be able to level the fire accordingly at the base by loosening and tightening the bottom bolts.
- Page 6 Slide the top from the front D between the flange running around the opening and the pull-out tabs. Make sure the top of each gloss black decorative panel C fits into the recess around the cut out as the top pushes back towards the wall.
- Page 7 Stud wall, chimney & fireplace fitting There must be enough clearance for the fire to comfortably fit into the hole. DO NOT SQUEEZE INTO THE OPENING this may deform the case and stop the glass from moving correctly. Converting from 3-sided glass viewing into a 2 or 1 sided glass viewable fire Each blanking panel consists of two parts that maybe be fitted directly over the glass sides.
- Page 8 Log Effect The logs effects must be positioned according to the images below. Care must be taken to ensure there is enough room between the front of the logs and the glass channel at the front of the opening so the glass may tilt open freely into the fire and trigger the micro switch.
- Page 9 900 & 1000 P a g e...
- Page 10 1500 10 | P a g e...
- Page 11 Glass Fitting & Removal We recommend two persons to fit the Glazer 1500 glass Push the side glass back towards the rear of the case A You will notice there is a long gap on the underside of the opening 10mm in width that runs along and in front of the heater grills.
-
Page 12: Maintenance
Remove and replace the lamps, fuel bed, fuel effect and glass. Please note that replacement Lamps are only covered from purchase by a 2-year warranty. Replacements are available from Flamerite Fires Ltd Cleaning The fire can be cleaned with a soft cloth and nonabrasive glass cleaner. -
Page 13: Information Requirements
Type of heat output/room temperature control With distance control option Room temperature control, with open window detection Adaptive Start With electronic room temperature control plus week timer Contact details: Flamerite Fires Ltd. Greenhough Road, Lichfield. Staffs. WS137AU 13 | P a g e... -
Page 14: Wiring Diagram
Wiring Diagram 14 | P a g e...
Need help?
Do you have a question about the Glazer 600 and is the answer not in the manual?
Questions and answers