Table of Contents
Advertisement
Quick Links
I
N
S
Please keep in a safe place for future reference
T
A
L
L
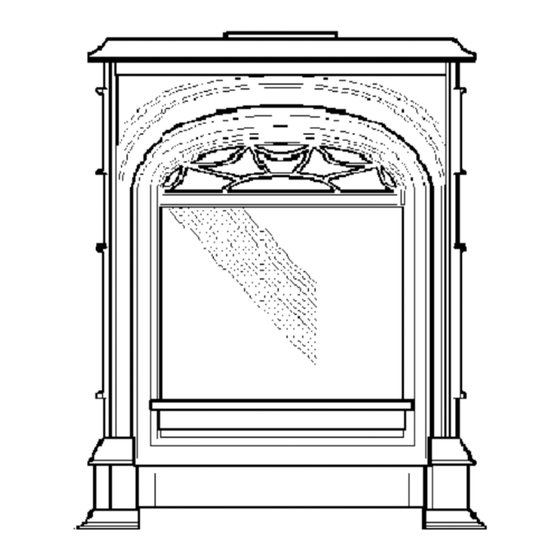
MODEL 530U
( G . C . 3 2 - 0 3 2 - 2 1 )
PRESIDENT
UNIVERSAL
FREE STANDING GAS STOVE
(Type B appliance)
( w i t h L o g s o r C o a l s )
( w i t h L o g s o r C o a l s )
( w i t h L o g s o r C o a l s )
( w i t h L o g s o r C o a l s )
E
R
for
with
Open Flue*
* Discard the installation and
owner's manual supplied with the
original Balanced flued Type C
appliance when using the open
flue conversion kit no. 9500388.
Install in accordance with this
manual.
G
U
I
D
E
600B264/06
Advertisement
Table of Contents

Related Manuals for Wonderfire 530U PRESIDENT


Summary of Contents for Wonderfire 530U PRESIDENT
- Page 1 MODEL 530U ( G . C . 3 2 - 0 3 2 - 2 1 ) PRESIDENT UNIVERSAL FREE STANDING GAS STOVE with Open Flue* (Type B appliance) ( w i t h L o g s o r C o a l s ) ( w i t h L o g s o r C o a l s ) ( w i t h L o g s o r C o a l s ) ( w i t h L o g s o r C o a l s )
- Page 2 This Installer Guide gives sufficient details to enable the appliance to be installed and maintained. If further information is required, our Wonderfire service department will be pleased to help. Please phone us on 0121 386 6203. In the Republic of Ireland call 353 183 75114.
-
Page 3: Table Of Contents
OPTIONS....................................4 1.1. Appliance styles ....................................4 1.2. Additional optional features ................................4 1.3. LP Gas ........................................4 1.4. Flues ......................................... 4 APPLIANCE DATA ................................5 GENERAL INSTALLATION REQUIREMENTS...................... 6 PACK CONTENTS................................7 APPLIANCE PREPARATION ............................8 Detach the window..................................... 8 5.2. -
Page 4: Options
O P T I O N S Heater engine unit 9500384 (with logs) or 9500398 (with Coals), open flue conversion kit No. 9500388 and Selkirk draughthood connector Code No. 29304 are used with all installations. 1.1. Appliance styles The free standing stove case is available in the following alternative finishes: Black textured - Kit No 9500385. -
Page 5: Appliance Data
A P P L I A N C E D A T A This product uses fuel effect pieces, burner compartment walls and gaskets containing Refractory Ceramic Fibres (RCF), which are man-made vitreous silicate fibres. Excessive exposure to these materials may cause temporary irritation to eyes, skin and respiratory tract. -
Page 6: General Installation Requirements
G E N E R A L I N S T A L L A T I O N R E Q U I R E M E N T S The installation must be in accordance with these instructions. For the user’s protection, in the United Kingdom it is the law that all gas appliances are installed by competent persons in accordance with the current edition of the Gas Safety (Installation and Use) Regulations. -
Page 7: Pack Contents
P A C K C O N T E N T S Engine unit No. 9500384 (with Logs) Open flue conversion kit No. or 9500398 (with Coals) 9500388 Appliance engine unit fitted Flue adapter unit with flue with window monitor switch Set of restrictor plates * Thermocouple interrupter Port cover... -
Page 8: Appliance Preparation
A P P L I A N C E P R E P A R A T I O N 5.1. Detach the window 1. Release the top of the window by pulling forward and rotating outwards the two bars at the top corners. -
Page 9: Install The Open Flue Kit
5.4. Install the Open flue Kit 5.4.1. Fit the flue adapter unit 1. Remove the rear outer flue collar and seal by unscrewing 12 screws (See figure 5). 2. Fit the rear cover plate (supplied with the kit) using the seal and 12 screws previously removed. -
Page 10: Flue Installation & Appliance Fixing
F L U E I N S T A L L A T I O N & A P P L I A N C E F I X I N G 6.1. Preparing for Floor Fixing If it is intended to fix the stove to the floor, position the appliance in its final location checking that the flue unit can be correctly installed. -
Page 11: Fitting Sides & Switch
F I T T I N G S I D E S & S W I T C H 1. a) If fitting with appliance side switch only • Snap fit the switch into the opening in the switch mounting bracket. See figure 15 •... -
Page 12: Gas Supply Installation
2. Fit the sides to the engine unit case with two machine screws and washers per side. See figure 21. 3. For appliance side switch Fit the switch mounting bracket to the right side casting with two thread cutting screws supplied. -
Page 13: Ceramic Fuel Bed Installation
C E R A M I C F U E L B E D I N S T A L L A T I O N 9.1. Ceramic Walls Installation 1. Locate the ceramic rear wall in the channel at back of the firebox and flat against the back of the firebox. -
Page 14: Ceramic Logs Installation
9.2. Ceramic Logs Installation (See Section 9.3 for ceramic coals) 1. Place the base log on the supports in the firebox and against the firebox back. See figure 26. 2. Place the rear log over the base log. Locate the holes in the top log into the pegs in the base log. -
Page 15: Ceramic Coals Installation
9.3. Ceramic Coals Installation (See section 9.2 for ceramic logs) 1. Place the base coal on the supports in the firebox and against the firebox back. See figure 31. 2. Place the left front coal in position behind the metal lip at the front of the firebox. -
Page 16: Window Refitting & Checking
1 0 . W I N D O W R E F I T T I N G & C H E C K I N G 1. Place the window centrally against the engine unit and resting on the support at bottom front of the engine. -
Page 17: Full Operating Checks
1 1 . F U L L O P E R A T I N G C H E C K S 11.1. Control operation check (See figure 39) 1. Turn on the gas supply and check all joints for leaks using a soap solution or leak detection fluid. -
Page 18: Installation Completion
1 2 . I N S T A L L A T I O N C O M P L E T I O N 1. Fix the self-adhesive spillage test label inside the steel base panel next to the data label. 2. -
Page 19: Final Review
1 3 . F I N A L R E V I E W 1. Recheck ignition and all controls 2. Instruct the user on the correct operation of the fire and especially mentioning: The fire has a pilot. To light the pilot, the gas control knob must be operated as described in the owner’s guide. - Page 20 All Wonderfire appliances are manufactured to the highest standards of quality and excellence under the BS EN ISO 9001 quality system accepted by the British Standards Institute. All Wonderfire gas appliances must be installed by a competent person in accordance with the Installer Guide. If in doubt always use the services of a CORGI Registered Installer Please fill in the following information for your own future reference.
Need help?
Do you have a question about the 530U PRESIDENT and is the answer not in the manual?
Questions and answers