Table of Contents
Advertisement
Quick Links
Door/Window Sensor Installation Instructions
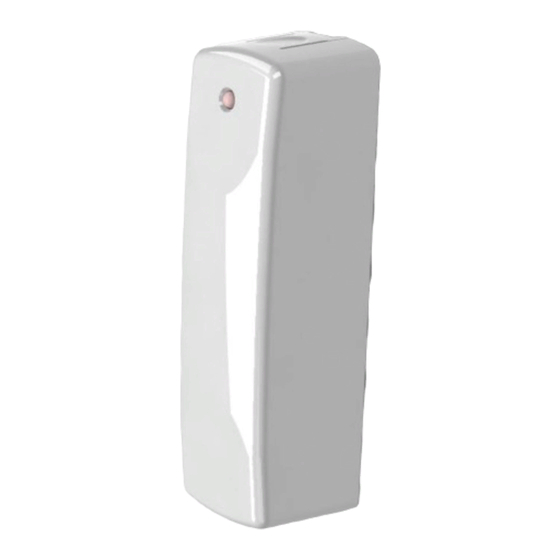
Product Overview
Z-Wave Plus enabled device which provides open/closed position status
Transmits open/closed status
Reports tamper condition when cover is open
Product Specifications
For indoor use only
Operating frequency: 868.42, 869.85 MHz
Operation range: Up to 100 feet (30.5 meters) line-of-sight
Operating temperature: 0° – 50°C, 32° – 122°F (ambient temperature)
Battery type required: 3V Lithium CR123A
Battery life approximately 3 years
Network Inclusion
The sensor must be added to a Z-Wave network prior to use. To include the
sensor in a network both the sensor and the network controller must be in
inclusion mode at the same time. Refer to the instructions provided by the
manufacturer of your specific controller for details on initiating the controller's
inclusion mode.
STEP ONE
Start by placing the controller into inclusion mode.
STEP TWO
Activate inclusion mode for the sensor by removing the plastic pull-tab from the back of the sensor. When the
inclusion process is complete, the LED on the sensor will be solid blue, then go out.
STEP THREE
Test the sensor. Place the magnet next to the sensor to represent a closed position (see Installation section
to see where to position the magnet). If the LED flashes ONE TIME, it is successfully communicating on your
Zwave network. If the LED on the sensor flashes slow and steady for 5 seconds, you need to repeat the
inclusion process.
Notes:
If you need to repeat the inclusion process, repeat STEP ONE above, then for STEP TWO you will need to simply remove the cover of the sensor, remove the
battery for 10 seconds, reinsert the battery, and replace the sensor cover. This will re-enter the sensor in inclusion mode.
Network Inclusion: Key Points to Remember
© 2018 Ecolink Intelligent Technology Inc.
PN H114101
Advertisement
Table of Contents

Related Manuals for Ecolink H114101


Summary of Contents for Ecolink H114101
- Page 1 If you need to repeat the inclusion process, repeat STEP ONE above, then for STEP TWO you will need to simply remove the cover of the sensor, remove the battery for 10 seconds, reinsert the battery, and replace the sensor cover. This will re-enter the sensor in inclusion mode. Network Inclusion: Key Points to Remember © 2018 Ecolink Intelligent Technology Inc. PN H114101...
-
Page 2: Installation
First make sure you have a flat clean surface to mount the sensor and magnet to. Please verify the correct orientation of the sensor and location of the magnet before you continue on to mounting the sensor and magnet. Magnet Location © 2018 Ecolink Intelligent Technology Inc. PN H114101... - Page 3 Mount the sensor and magnet to a clean dry surface with the adheasive tape and/or the screws provided Adhesive Mounting Screws Magnet Tape Bracket (optional) Adhesive Mounting Screws Sensor Tape Bracket (optional) © 2018 Ecolink Intelligent Technology Inc. PN H114101...
- Page 4 ( OPTIONAL ) Included with every Ecolink Door/Window Sensor is a second set of plastics in BROWN. If your door or window is darker in color, you may choose to use the BROWN cover for the sensor and the BROWN plastics for the magnet.
-
Page 5: Factory Default
Most of the time an end user would not do this, but if the sensor needs to be configured after inclusion, an end user can follow the instructions below for sending Wake-Up notifications. © 2018 Ecolink Intelligent Technology Inc. PN H114101... - Page 6 This sensor also supports Network Wide Inclusion such that the Sensor can be included into the Z-Wave network over the mesh network and not directly near the main controller. This mode is automatically activated after regular inclusion was not successful © 2018 Ecolink Intelligent Technology Inc. PN H114101...
- Page 7 Notification Report of Power Yes via Notification Set of notification Management (0x08), Replace battery Type (0x08) and status of 0x00: This type now (0x0B) of notification turned off 0xFF: This type of notification turned on © 2018 Ecolink Intelligent Technology Inc. PN H114101...
- Page 8 Notification Reports. Parameter Number: 2 Sensor will send only Notification Reports and NOT Size: 1 Sensor Binary Reports when the sensor is faulted Configuration Value: 0xFF and restored. ENGLISH © 2018 Ecolink Intelligent Technology Inc. PN H114101...
-
Page 9: Guarantee Terms And Conditions
UNIVERSAL ELECTRONICS / ECOLINK. This warranty does not cover damage or failures caused by products or services not supplied by UNIVERSAL ELECTRONICS / ECOLINK, or which result from not mounting the product according to manual instructions. This also applies when the product has been modified / repaired by others than UNIVERSAL ELECTRONICS / ECOLINK or if a fault is the result from accident, misuse, abuse, neglect, mishandling, misapplication, faulty installation, improper maintenance, alteration, modifications, fire, water, lightning, natural disasters, wrong use or carelessness. -
Page 10: Caution Notice
Z-WAVE CERTIFICATION This product is Z-Wave certified. The Z-Wave Certification # is ZCXX-XXXXXXX. For more information, please visit www.z-wave.com This product is covered by one or more claims of patents found at: http://sipcollc.com/patent-list © 2018 Ecolink Intelligent Technology Inc. PN H114101...
Need help?
Do you have a question about the H114101 and is the answer not in the manual?
Questions and answers