Advertisement
Quick Links
Tilt Sensor Installation Instructions
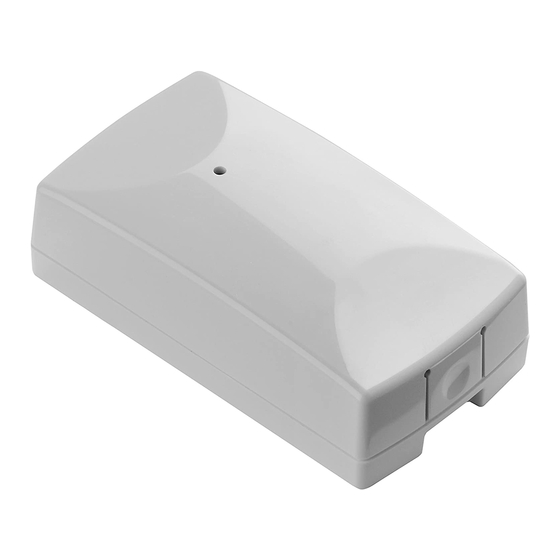
Product Overview
TM
Z-Wave+
enabled device which transmits when a garage door is opened or closed
Uses a tilt sensor to detect the angle of a door and transmits open/closed status
Reports tamper condition if cover is removed
Product Specifications
For indoor use only
Operating frequency: 908.42 MHz
Operating range: Up to 100 feet (30.5 meters) line-of-sight
Operating temperature: 0˚C to 49˚C, 32˚F to 120˚F (ambient temperature)
Battery type: 3V Lithium CR123A
Battery life: 5 to 8 years depending upon operating conditions
Network Inclusion
The sensor must be added to a Z-Wave network prior to use. To
include the sensor in a network both the sensor and the network controller must be in inclusion mode at the same time. Refer to the
instructions provided by the manufacturer of your specific controller for details on initiating the controller's inclusion mode.
STEP ONE Start by placing the controller into inclusion mode.
STEP TWO Activate inclusion mode for the sensor by inserting the battery. When the inclusion process is complete the red
LED will turn on for approximately 10 seconds and then it will go out. If the LED continues to flash, repeat the
inclusion process.
STEP THREE
Test the garage door sensor before mounting it. Hold the sensor in your hand. Flip the sensor upside-
down and watch the LED while doing so. The LED will flash each time the position of the sensor is changed. If
your Z-Wave network has a software interface you may verify that the messages from the sensor are being
received each time the sensor is flipped.
Notes:
If you need to repeat the inclusion process, repeat STEP ONE above, then for STEP TWO you will need to simply remove the cover of the sensor, remove the
battery for 5 seconds, reinsert the battery, and replace the sensor cover. This will re-enter the sensor in inclusion mode.
© 2015 Ecolink Intelligent Technology Inc.
PN TLT-ZWAVE2.5 R1.03
Advertisement

Related Manuals for Ecolink TLT-ZWAVE2.5


Summary of Contents for Ecolink TLT-ZWAVE2.5
- Page 1 If you need to repeat the inclusion process, repeat STEP ONE above, then for STEP TWO you will need to simply remove the cover of the sensor, remove the battery for 5 seconds, reinsert the battery, and replace the sensor cover. This will re-enter the sensor in inclusion mode. © 2015 Ecolink Intelligent Technology Inc. PN TLT-ZWAVE2.5 R1.03...
-
Page 2: Installation
Use the adhesive tape for any garage door that is thinner than the length of the provided screws (including many modern metal garage doors). © 2015 Ecolink Intelligent Technology Inc. PN TLT-ZWAVE2.5 R1.03... - Page 3 Place the mounting bracket in the desired position on the garage door. Use the mounting bracket as a template to mark the location of the screw holes with a pencil. Drill a small hole through each of the marked locations. Use a screwdriver to fasten the mounting bracket to the door. Adhesive Mounting Senso Bracket Senso Tape Screws Bracket (optional) Screw © 2015 Ecolink Intelligent Technology Inc. PN TLT-ZWAVE2.5 R1.03...
- Page 4 The Tilt sensor must be located on the top panel AND have the arrow on the side of the sensor pointing UP in order to operate properly. Z-Wave Device Class and Command Class Information © 2015 Ecolink Intelligent Technology Inc. PN TLT-ZWAVE2.5 R1.03...
- Page 5 This sensor also supports Network Wide Inclusion such that the Sensor can be included into the Z-Wave network over the mesh network and not directly near the main controller. This mode is automatically activated after regular inclusion was not successful © 2015 Ecolink Intelligent Technology Inc. PN TLT-ZWAVE2.5 R1.03...
- Page 6 Notification Report of Power Yes via Notification Set of notificationType Management (0x08), Replace battery (0x08) and status of 0x00: This type of now (0x0B) notification turned off 0xFF: This type of notification turned on © 2015 Ecolink Intelligent Technology Inc. PN TLT-ZWAVE2.5 R1.03...
- Page 7 Notification Reports. Parameter Number: 2 Sensor will send only Notification Reports and NOT Size: 1 Sensor Binary Reports when the sensor is faulted Configuration Value: 0xFF and restored. © 2015 Ecolink Intelligent Technology Inc. PN TLT-ZWAVE2.5 R1.03...
- Page 8 Consult the dealer or an experienced radio/TV contractor for help. Warning: Changes or modifications not expressly approved by Ecolink Intelligent Technology Inc. could void the user’s authority to operate the equipment. This device complies with Industry Canada licence-exempt RSS standard(s). Operation is subject to the following two conditions: (1) this device may not cause interference, and (2) this device must accept any interference, including interference that may cause undesired operation of the device.
- Page 9 Warranty Ecolink Intelligent Technology Inc . warrants that for a period of 3 years from the date of purchase that this product is free from defects in material and workmanship. This warranty does not apply to damage caused by shipping or handling, or damage caused by accident, abuse, misuse, misapplication, ordinary wear, improper maintenance, failure to follow instructions or as a result of any unauthorized modifications.
Need help?
Do you have a question about the TLT-ZWAVE2.5 and is the answer not in the manual?
Questions and answers