Advertisement
Quick Links
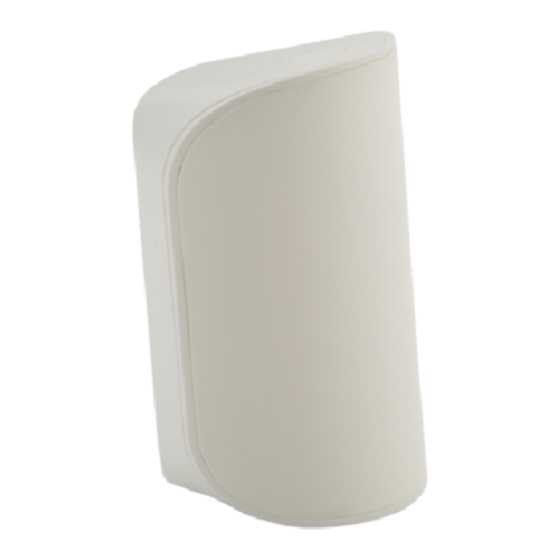
WST-742 Wireless PIR Motion Sensor with Pet Immunity
Installation Instructions and User Manual
1. Specifications
Frequency:
Operating Temperature:
Operating Humidity:
Battery:
Battery Life:
Compatibility:
Pet Immunity:
Supervisory Interval:
Coverage Area:
Light Immunity:
Coverage Pattern:
Side View:
7.5 ft
0
3
6
10 13
Top View:
0
3
6
10
13
16
19
23
26
29
33
36
40
29 26 23 19 16 13 9 6 3 0 3 6 9 13 16 19 23 26 29
345 MHz
32°-120°F (0°-49°C)
5-95% RH non-condensing
1x CR123A, Lithium 3V DC
up to 5 Years
Honeywell and 2GIG receivers
Up to 50 lbs
Approximately 60 minutes
40 feet by 40 feet, 90° angle
2000 Lux
16 19
23
26
29
33 36 40
(feet)
0
3
6
10
13
16
19
23
26
29
33
36
40
(feet)
2. Package Contents
1x Sensor
1x Sensitivity Jumper
4x Screws & Wall Anchor
1x CR123A battery (installed)
2x Sensor Case Screw
1x Back Mounting 2-Sided Adhesive Tape
1x Manual
2x Side Mounting 2-Sided Adhesive Tape
3. Component Identification
Case Release Button
4. Enrollment:
To enroll the motion sensor, set your panel into programming mode
according to the panel manufacturer's instruction. When prompted by the
panel, enter the 7 digit serial number printed on the sensor label. Make sure
the loop number is set to Loop 1.
Some panels can enroll your sensor by capturing the serial number
transmitted by your sensor. The sensor can be enrolled by triggering wireless
transmissions. Place the sensor into walk test mode by holding down the
sensor's tamper switch while inserting the battery. The red LED will begin to
flash for 30 seconds. When the LED stops flashing, the sensor can be triggered
by waving your hand in front of the motion sensor. The sensor will transmit
every time motion is detected. Trigger the motion sensor as many times as
necessary until the panel recognizes the sensor's serial number. Make sure
the loop number is set to Loop 1.
Tamper Switch
Sensitivity Jumper
CR123A Battery
Sensor Case Screws
Advertisement

Subscribe to Our Youtube Channel
Summary of Contents for Ecolink WST-742
- Page 1 4x Screws & Wall Anchor 1x CR123A battery (installed) 2x Sensor Case Screw 1x Back Mounting 2-Sided Adhesive Tape WST-742 Wireless PIR Motion Sensor with Pet Immunity 1x Manual 2x Side Mounting 2-Sided Adhesive Tape Installation Instructions and User Manual 3.
- Page 2 Walk test mode ends after twenty motion detections or if no motion is seen false alarms. Note that this protection does not prevent insects from crawling across the for one minute. It is recommended that the WST-742 PIR is tested monthly to lens of the PIR, which could trigger the PIR.
- Page 3 PIR. A little vibration can cause havoc with the PIR’s field of view, thus the PIR Ecolink Intelligent Technology Inc. warrants that for a period of 2 years from the date of may see a change in energy and trigger the alarm.


Need help?
Do you have a question about the WST-742 and is the answer not in the manual?
Questions and answers