Advertisement
Quick Links
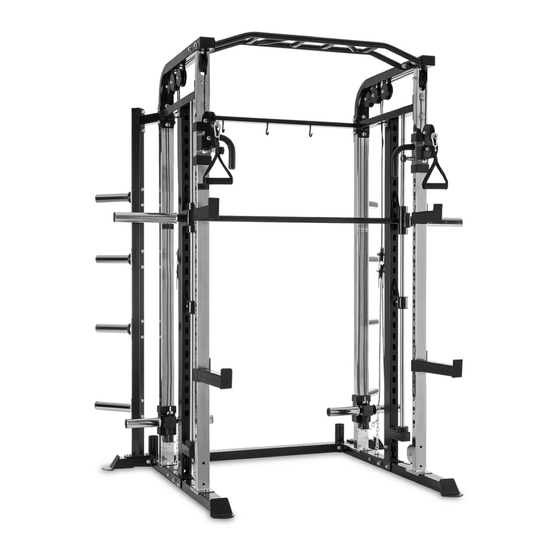
GS10 Multi Station
Product may vary slightly from the item pictured due to model upgrades
Read all instructions carefully before using this product. Retain this owner's manual for future
reference.
NOTE: This manual may be subject to updates or changes. Up to date manuals are available through our website at
www.lifespanfitness.com.au
Advertisement

Related Manuals for LifeSpan CORTEX GS10


Summary of Contents for LifeSpan CORTEX GS10
- Page 1 GS10 Multi Station Product may vary slightly from the item pictured due to model upgrades Read all instructions carefully before using this product. Retain this owner’s manual for future reference. NOTE: This manual may be subject to updates or changes. Up to date manuals are available through our website at www.lifespanfitness.com.au...
- Page 2 TABLE OF CONTENTS IMPORTANT SAFETY INSTRUCTIONS PARTS LIST ASSEMBLY INSTRUCTIONS WARRANTY GS10 Multi Station...
-
Page 3: Important Safety Instructions
1. IMPORTANT SAFETY INSTRUCTIONS WARNING - Read all instructions before using this machine. • Install the product on a flat level surface • Place your unit on a solid, level surface when in use • Never allow children on or near the machine. Keep hands away from all moving parts. - Page 4 2. PARTS LIST GS10 Multi Station...
- Page 5 GS10 Multi Station...
- Page 6 3. ASSEMBLY INSTRUCTIONS STEP 1 1. With bolt (46) M10 X60, gasket Φ 10 (61), and nut (63) M10, assemble the parts (24 & 25) to the part (2). 2. With bolt (47) M12X100, gasket (62) Φ 12, and nut (64) M12, assemble the parts (2 & 23) to the part (1); Repeat on other side.
- Page 7 3. With bolt (47) M12X100, gasket (62) Φ 12, and nut (64) M12, assemble the part (10) to part (2); GS10 Multi Station...
- Page 8 4. With bolt (59) and gasket Φ 10 (61), assemble the left & right column (3 & 4) to the part (1). GS10 Multi Station...
- Page 9 STEP 2 1. Insert the adjusting handle (18 & 19) into the front column (25) (pay attention to the direction); Slide (5) is set on the rear column (4 & 3), (pay attention to the direction as shown). 2. With bolt (49) M12X70, gasket (62) Φ12, and nut (64) M12, assemble one end of the part (8) to the upper part (3 &...
- Page 10 3. Insert the pulley (38) into the part (6) (as shown); insert the pulley bracket at the top of the part (6) into the groove on the top of the part (25). Connect them with bolt (53) M10X75, gasket Φ 10 (61), and nut (63) M10. Repeat on other side.
- Page 11 5. With bolt (51) M10X90, gasket Φ 10 (61) and nut (63) M10, assemble the parts (21 & 17) to the parts (6 & 24). GS10 Multi Station...
- Page 12 STEP 3 1. With bolt (47) M12X100, gasket (62) Φ12 and nut (64) M12, assemble the parts (22 & 9) to the part (6). 2. With bolt (47) M12X100, gasket (62) Φ12 and nut (64) M12, assemble the part (20) to the parts (18 & 19). 3.
- Page 13 STEP 4 1. Insert the parts (33), (14), (33) and (12) into the part (26) in sequence from top to bottom. 2. With bolt (59) M10X20, bolt (55) M10X55 and gasketΦ10 (61), assemble the part (26) to the parts (7 & 10), as shown. 3.
- Page 14 4. WARRANTY AUSTRALIAN CONSUMER LAW Many of our products come with a guarantee or warranty from the manufacturer. In addition, they come with guarantees that cannot be excluded under the Australian Consumer Law. You are entitled to a replacement or refund for a major failure and compensation for any other reasonably foreseeable loss or damage.
Need help?
Do you have a question about the CORTEX GS10 and is the answer not in the manual?
Questions and answers