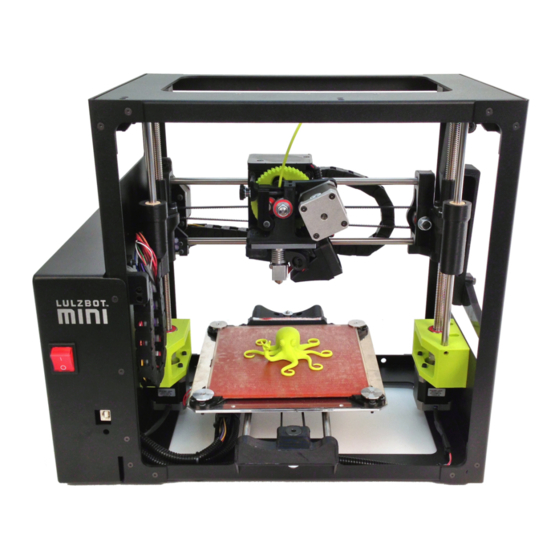
LulzBot Mini Quick Start Manual
Enclosure v2
Hide thumbs
Also See for Mini:
- User manual (148 pages) ,
- Quick start manual (32 pages) ,
- User manual (90 pages)
Table of Contents
Advertisement
Quick Links
Advertisement
Table of Contents

Related Manuals for LulzBot Mini


Summary of Contents for LulzBot Mini
- Page 1 LulzBot Mini and Mini2 Enclosure v2 Designed and manufactured by This work is licensed under a Creative Commons Attribution-ShareAlike 4.0 International License. Created by David Randolph and printedsolid.com Page 1 of 6 LulzBot Mini Enclosure v2 2018...
- Page 2 Do not over tighten the screws. Tighten them just enough to hold without moving around. If you do crack a panel please contact support@lulzbot.com or call 1-970-377-1111 for assistance. The enclosure is made from cast acrylic for optical clarity that helps reduce visual distortions. Do not use household cleaners to clean the Acrylic.
- Page 3 Set the black ABS top cover (Part K) on the top of the printer with the cutout for the spool arm aligned. It is a good idea to have the spool holder in the upright position for assembly. Page 3 of 6 LulzBot Mini Enclosure v2 2018...
- Page 4 Step 4: If you have an LCD screen on your Mini remove the screw in the picture below then set the black ABS short side cover (Part I) on the left side of the printer by inserting the tabs into the slot on the top cover. Make sure that the vent holes are towards the front of the printer.
- Page 5 Step 10: Set the front panel with the Lulzbot logo (Part A) on top with the logo in the upper right corner. The 8 square nut sits in the slot on the sides/top/bottom and the 8 M3-10mm bolt goes through the top panel into the 8 square nut.
- Page 6 When using larger dimension spools of filament, removing the optional top cover can help prevent unnecessary drag. On some Mini's you may notice a slight lift of the optional plate cover when at max Z travel. This is normal and will not cause any damage to the printer.
Need help?
Do you have a question about the Mini and is the answer not in the manual?
Questions and answers