Table of Contents
Advertisement
Quick Links
Advertisement
Table of Contents

Related Manuals for Cuisinart SM50U


Summary of Contents for Cuisinart SM50U
- Page 1 Precision Stand Mixer SM50U...
- Page 2 Congratulations on your purchase of the Cuisinart Precision Stand Mixer. For over 30 years Cuisinart’s aim has been to produce the very finest kitchen equipment. All Cuisinart products are engineered for exceptionally long life, and designed to be easy to use as well as to give excellent performance day after day.
-
Page 3: Table Of Contents
ontents Product Control Guide ...................... 4 Important Safety Cautions ....................5 Safety During Use ......................7 Instructions for Use ......................8 A Assembling the Stand Mixer ......................8 B Operation and Suggested Speed Settings .................. 9 C Hints & Tips ............................10 D Cleaning and Maintenance ......................12 E Troubleshooting ..........................12 UK Guarantee &... -
Page 4: Product Control Guide
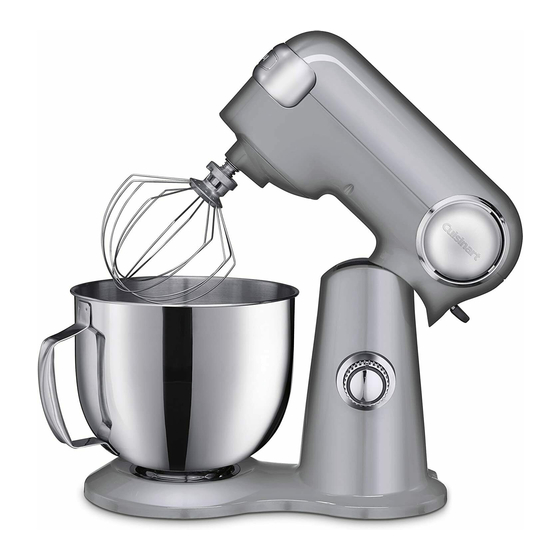
Product Control Guide 500 Watt motor Tilt Back head Accessory Port Head Lift Release Lever On/Off Speed Control Dial 5.2L Stainless Steel Mixing Bowl Splash Guard with Dough Hook Pour Spout Flat Mixing Paddle Chef’s Whisk... -
Page 5: Important Safety Cautions
5. Always inspect the appliance before use for noticeable signs of damage. Do not use if damaged, or if the appliance has been dropped. In the event of damage, or if the appliance develops a fault, contact the Cuisinart Customer Care Line (refer to “UK After Sales Service section“ for further information). - Page 6 10. Always disconnect the appliance from the electrical supply if it is left unattended and before assembling, disassembling or cleaning. 11. For indoor, domestic use only. 12. This product complies fully with all appropriate EU and UK legislation and the standards relevant to this type and class of appliance. We are an ISO9001:2015 accredited company that continually evaluates our Quality Management System performance.
-
Page 7: Safety During Use
Precision Stand Mixer. n Do not use the stand mixer for anything other than its intended use. Cuisinart will not accept any liability if the appliance is subject to improper use, or failure to comply with these instructions. -
Page 8: Instructions For Use
After fitting an attachment and lowering the stand mixer head, slide the splash guard onto the bowl (check the guard is the correct way up by ensuring the Cuisinart logo can be read correctly). Attach the pour spout by placing it into the tabs on the splash guard ring and slide it into place. -
Page 9: B Operation And Suggested Speed Settings
Operation and Suggested Speed Settings To begin, select which attachment is suitable for the ingredients you will mix. As a guide, the three attachments can be used for the following functions: Flat Mixing Paddle (for normal to heavy mixtures) Stir, mix or beat - perfect for cakes, cookies, batters, pastry, icing/frosting and mashed potato. -
Page 10: C Hints & Tips
To operate the Stand Mixer, turn the speed control dial clockwise to turn the unit on and select the desired speed setting from 1 to 12 (the blue light on the dial will illuminate). Turn the dial anti clockwise to decrease the speed. Turn to ‘O’ to switch off. Maximum Capacities In order to avoid spillage of ingredients, or damage to the motor and attachments, please see maximum capacities below. - Page 11 Egg Whites Make sure the bowl is spotlessly clean and dry before starting. Egg whites at room temperature are best for whisking. Add a small amount of acid such as cream of tartar, lemon juice or vinegar when whisking egg whites to stabilize them and allow them to reach their optimum volume and stiffness.
-
Page 12: D Cleaning And Maintenance
Cleaning and Maintenance Before first use and after every use, clean each part thoroughly. Once you have finished mixing, turn the control dial to the ‘0/Off’ position and unplug the power cord from the mains. Power Unit The housing base can be wiped clean with a soft, damp cloth. Never use an abrasive cleaner or harsh pad. -
Page 13: Uk Guarantee & After Sales Service
UK Guarantee This Cuisinart appliance is guaranteed for consumer use for 3 years. This guarantee covers defects under normal use from date of purchase and ceases to be valid in the event of alteration or repairs by unauthorised persons. If the appliance does not perform satisfactorily due to defects in materials or manufacture, it will be repaired or replaced through Conair UK After Sales Service. -
Page 14: Uk Wiring Instructions
UK Wiring Instructions The wires in the mains lead are coloured in accordance with the following code: BLUE = NEUTRAL BROWN = LIVE YELLOW & GREEN = EARTH As the colours of the wire in the mains lead of this appliance may not correspond with the colour marking identifying the terminals on your plug, proceed as follows: The wire which is coloured BLUE must be connected to the terminal which is marked with the letter N... - Page 16 www.cuisinart.co.uk...
Need help?
Do you have a question about the SM50U and is the answer not in the manual?
Questions and answers