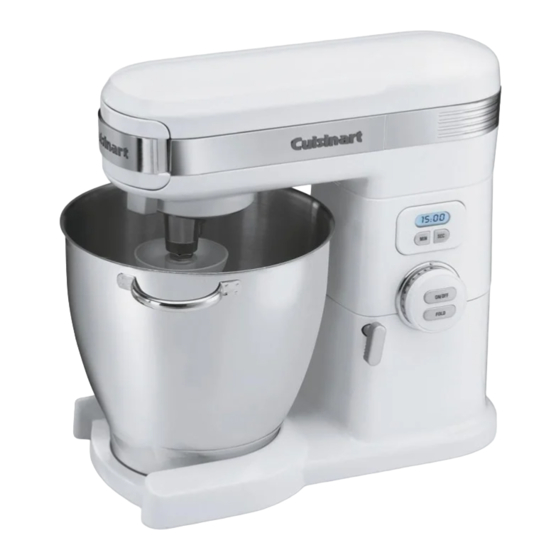
Cuisinart SM-70 Instruction Booklet
Cuisinart 7.0 quart stand mixer sm-70 instruction booklet
Hide thumbs
Also See for SM-70:
- Recipes (62 pages) ,
- Instruction/recipe booklet (16 pages) ,
- Instruction booklet (13 pages)

Related Manuals for Cuisinart SM-70


Summary of Contents for Cuisinart SM-70
- Page 1 7.0 Quart Stand Mixer For your safety and continued enjoyment of this product, always read the instruction booklet carefully before using. SM-70 INSTRUCTION BOOKLET RECIPE BOOKLET REVERSE SIDE IB-6383 89280...
-
Page 2: Important Safeguards
5. The use of attachments not recom- mended or sold by Cuisinart may cause fire, electric shock or injury. 6. Do not use more than one attachment at a time. -
Page 3: Table Of Contents
WARNING: TO REDUCE THE RISK OF FIRE OR ELECTRIC SHOCK, NO USER-SERVICEABLE PARTS INSIDE REPAIR SHOULD BE DONE BY AUTHORIZED SERVICE PERSONNEL ONLY INTRODUCTION This is the mixer that does it all! Your new ™ extra-large Cuisinart has the power, capacity and precision to handle any job your recipes require. -
Page 4: Features And Benefits
4. Mid Speed Power Outlet Citrus Juicer attachment (sold separately) connects to the front power outlet on the top of the stand mixer. 4a. Mid Speed Power Outlet Plug 5. Slow Speed Power Outlet Large Meat Grinder and Pasta Maker... -
Page 5: Assembly Instructions, Diagram
ASSEMBLY INSTRUCTIONS 1. Raise Mixer Head – Pull up the head-lift release lever and raise the stand mixer head until it locks into place. 2. Attach Accessory – Place flat mixing paddle, chef’s whisk or dough hook into the accessory power port. Turn counterclockwise until it locks. -
Page 6: Operating Instructions
Each pulse generates 1½ to 2½ revolutions of the flat mixing paddle, chef’s whisk or dough hook. CLEANING AND MAINTENANCE ™ Unplug your Cuisinart Stand Mixer before cleaning. Power Unit: Wipe with a damp cloth and dry. Never use abrasives or immerse in water. -
Page 7: Suggested Speed Control Guide
SUGGESTED SPEED CONTROL GUIDE • Adding ingredients at the end of mixing FOLD • Blending dry ingredients • Has the gentle start – use for stirring and starting all mixing/whipping tasks • Adding dry ingredients (flour) to batters and liquids to dry ingredients or batters •... -
Page 8: Maximum Capacities
• Carefully follow each mixing step in a recipe. Take care not to over- or under- mix. Make use of the Countdown Timer feature of the Cuisinart help with suggested mixing times. • Don’t crowd the oven, and avoid opening the oven door during baking –... -
Page 9: Cookie Baking
• For whipping egg whites, both the mixing bowl and chef’s whisk must be spotlessly clean and dry. Any trace of fat or oil will prevent the egg whites from whipping properly. • To check the freshness of eggs, place them in a bowl of warm water –... -
Page 10: Cake Baking
2 tablespoons of the granulat- ed sugar from your recipe, 2 tablespoons water, and a pinch of cream of tartar in ™ the Cuisinart mixing bowl and stir until smooth. Place over the pan of simmering water and stir constantly with a spotlessly clean rubber spatula until the mixture registers 160°F on an instant-read ther-... -
Page 11: Whipping Cream
– two on the top and one on the front – for a variety of attachments that can be purchased separately. Simplify your life, and save valuable counter space, by using your stand mixer as a power source for these versatile attachments: Pasta Maker – makes delicious homemade pasta. -
Page 12: Limited Three-Year Warranty
Limited Three-Year Warranty This warranty is available to consumers only. You are a consumer if you own a Cuisinart Stand Mixer which was purchased at retail for personal, family or household use. Except as otherwise required under applicable law, this warranty is not available to retailers or other commercial purchasers or owners.
Need help?
Do you have a question about the SM-70 and is the answer not in the manual?
Questions and answers