Table of Contents
Advertisement
Quick Links
Advertisement
Table of Contents

Related Manuals for Asko CW4939S/WS90FETGG


Summary of Contents for Asko CW4939S/WS90FETGG
- Page 1 Instructions for use COOKER HOOD CW4939S / WS90FETGG...
- Page 2 Instructions for use EN 3 - EN 15 Pictograms used Important information EN 2...
-
Page 3: Table Of Contents
CONTENTS Your cooker hood Introduction Description Operation Switching on/off the extraction Switching off the extraction automatically Switching on/off the LED spots Indicator signals Maintenance Cleaning the hood Cleaning the grease collector Replacing the filters Replacing the LED lights Technical data EU Product Fiche EU Product Data Environmental aspects... -
Page 4: Your Cooker Hood
YOUR COOKER HOOD Introduction Congratulations on your choice of this ASKO cooker hood. This product was designed with simple operation and optimum comfort in mind. This manual describes the best way to use this cooker hood. In addition to information on operation, you will also find background information that may come in handy when using the appliance. -
Page 5: Description
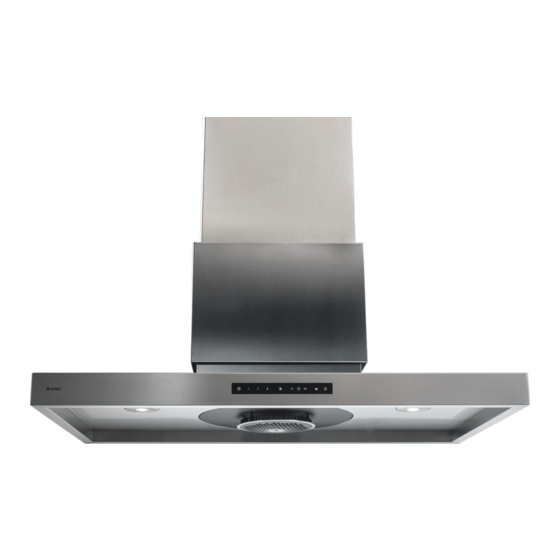
YOUR COOKER HOOD Description 1. Telescopic chimney 2. Ribbon 3. Control panel 4. LED spots 5. Grease collector + fan 6. Service tool Control panel 7. On/off key; switching the hood to standby or switching it off completely. If the hood is in standby, the on/off key is illuminated 100%. All the other keys and ▷... -
Page 6: Operation
OPERATION Switching on/off the extraction The hood is equipped with three different extractor settings. 1. Press the on/off key. The key becomes illuminated for 100%; the hood is in standby. The grease collector indicator signal becomes illuminated for 100% also. If the indicator ▷... -
Page 7: Switching On/Off The Led Spots
OPERATION Switching on/off the LED spots You can always switch on the spots, even if the hood isn’t in standby. 1. Press the lighting key. The key becomes illuminated for 100% and the lighting will switch on at maximum setting. 2. - Page 8 OPERATION Air quality indicator signal The hood can be equipped with a carbon filter or a plasma filter (depending on the model). These filters are additional accessories; they are not included. • If the indicator signal is illuminated 50%, the cooking vapour is discharged outside. •...
-
Page 9: Maintenance
MAINTENANCE Cleaning the hood Attention! For all maintenance first switch off the mains power to the cooker hood by pulling the plug out of the socket or by turning off the home’s master switch. The hood needs to be cleaned regularly, both inside as well as outside. Do not use abrasive cleaners. - Page 10 MAINTENANCE 2. Gently pull the grease collector + fan straight downwards. Attention! Keep the grease collector in the position as shown in the picture. 3. Now you can clean the parts in the dishwasher or by hand. You don’t have to disassemble the grease collector, the fan and the service tool. You can ▷...
- Page 11 MAINTENANCE 4. Allow the parts to dry well before replacing them into the hood. 5. Replace the grease collector + fan assembled with the service tool; push it up into the hole until you hear a ‘click’. ‘CLICK’ 6. Turn the service tool a half turn to the left and again push it up into the hole until you hear a ‘click’.
-
Page 12: Replacing The Filters
MAINTENANCE 7. Turn the service tool to the left until it comes loose. Attention! The memory has been reset now; after 3 months the indicator signal becomes illuminated orange again to indicate that the grease collector has to be cleaned. Replacing the filters Attention! This hood can be fitted with a carbon filter or a plama filter (depending on the model). -
Page 13: Technical Data
TECHNICAL DATA EU Product Fiche Data determined according to: standard EN61591 and Commission Regulations (EU) No 65/2014 and (EU) No 66/2014. Trade mark ASKO Type of model CW4939S / WS90FETGG Annual Energy Consumption (AEC 19,8 kWh/a hood Energy Efficiency Class... - Page 14 TECHNICAL DATA Tips for energy-efficient cooking with hoods • Use a low extractor setting and use the highest setting (boost) if necessary. • A well-ventilated kitchen makes the range hood more efficient. • Clean filters regularly and replace filters when needed to keep the filter efficiency high, as a saturated filter cannot perform and leads to longer usage times.
-
Page 15: Environmental Aspects
ENVIRONMENTAL ASPECTS Disposal of packaging and appliance Sustainable materials have been used during manufacture of this appliance. This appliance must be disposed of responsibly at the end of its service life. Ask your local authorities for more information about how to do this. The appliance packaging is recyclable. - Page 16 The appliance rating label is located on the inside of the appliance. When contacting the service department, have the complete type number to hand. You will find the addresses and phone numbers of the service organisation on the guarantee card. *622989* 622989...
Need help?
Do you have a question about the CW4939S/WS90FETGG and is the answer not in the manual?
Questions and answers