Table of Contents
Advertisement
Advertisement
Table of Contents

Related Manuals for Asko CC4840S


Summary of Contents for Asko CC4840S
- Page 1 OPERATING INSTRUCTIONS COOKER HOOD...
-
Page 3: Operating Instructions
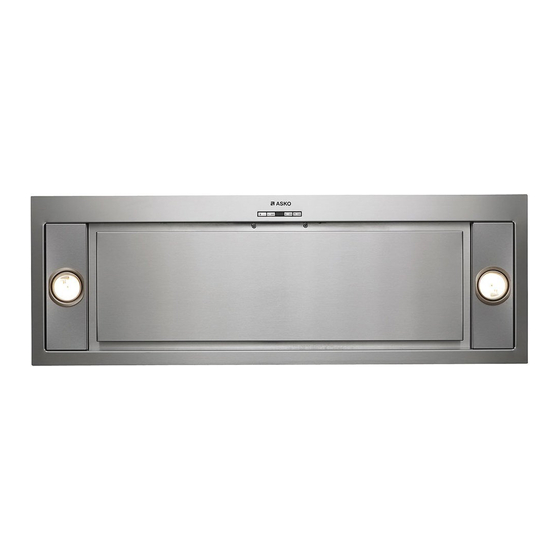
Operating Instructions Cooker Hood Dear Customer, Thank you for choosing this quality product from ASKO. We hope it will meet your expectations and fulfil your needs for many years to come. Scandinavian design combines clean lines, everyday functionality and high quality. These are key characteristics of all our products and the reason they are greatly appreciated throughout the world. - Page 4 GENERAL Carefully read the following important information regarding installation safety and maintenance. Keep this information booklet accessible for further consultations. The appliance has been designed for use in the ducting version (air exhaust to the outside – Fig.1B), filtering version (air circulation on the inside – Fig.1A) or with external motor (Fig.1C).
- Page 5 BLUE = N neutral • If the hob is electric, gas, or induction, the minimum distance between the lower part of the hood and the Hob burners or hotplates must be at least 65 cm. Exhaust: If a connection tube composed of two parts is used, the upper part must be placed outside or over the lower part.
- Page 6 possible to use the dishwasher for this task). - After a few washes, the colour of the filters may change. This does not mean they have to be replaced. If the replacement and washing instructions are not followed, the anti-grease filters may present a fire hazard. •...
- Page 7 If the OFF button is pressed for at least 2 seconds, regardless from the selected motor speed, the hood will switch off. Button C = Display The display can alternate GREEN LEDs which indicate the motor speed, with RED LEDs which indicate the alarm status (See special functions).
- Page 8 Activation: In order to activate the function apply a light pressure to the Timer button. When the function is active the LED indicator of the set speed starts flashing. When the lights are on, at the end of the Timer function, these automatically reduce the light intensity by 30-40%.
- Page 9 � � - In order to check if the electronic memory has been activated or deactivated on the active carbon filters indica- tors, press simultaneously the buttons LIGHT and TIMER for 5 seconds. - if the function is active, the screen will display all the GREEN LEDs for 3 seconds. - if the function is not active, the screen will display all the RED LEDs for 3 seconds.
- Page 10 � � � � � � � ������ � � ������ ������ ������� ���� ������� �� �� ������ - 10 -...
- Page 11 ������ � � � � � ������� � � � � � � � � � �������� ������ � ������� ������� � ������ - 11 -...
- Page 12 � � ������ ������ ������ ������� � � � � � ������� - 12 -...
- Page 13 - 13 -...
- Page 14 - 14 -...
- Page 15 - 15 -...
- Page 16 3LIK0638...
Need help?
Do you have a question about the CC4840S and is the answer not in the manual?
Questions and answers