Advertisement
Available languages
Available languages
B2300Pub1000002859
3/6/06
3:22 PM
PLEASE READ AND SAVE THIS USE AND CARE BOOK.
VEUILLEZ LIRE ET CONSERVER CE GUIDE D'ENTRETIEN ET D'UTILISATION.
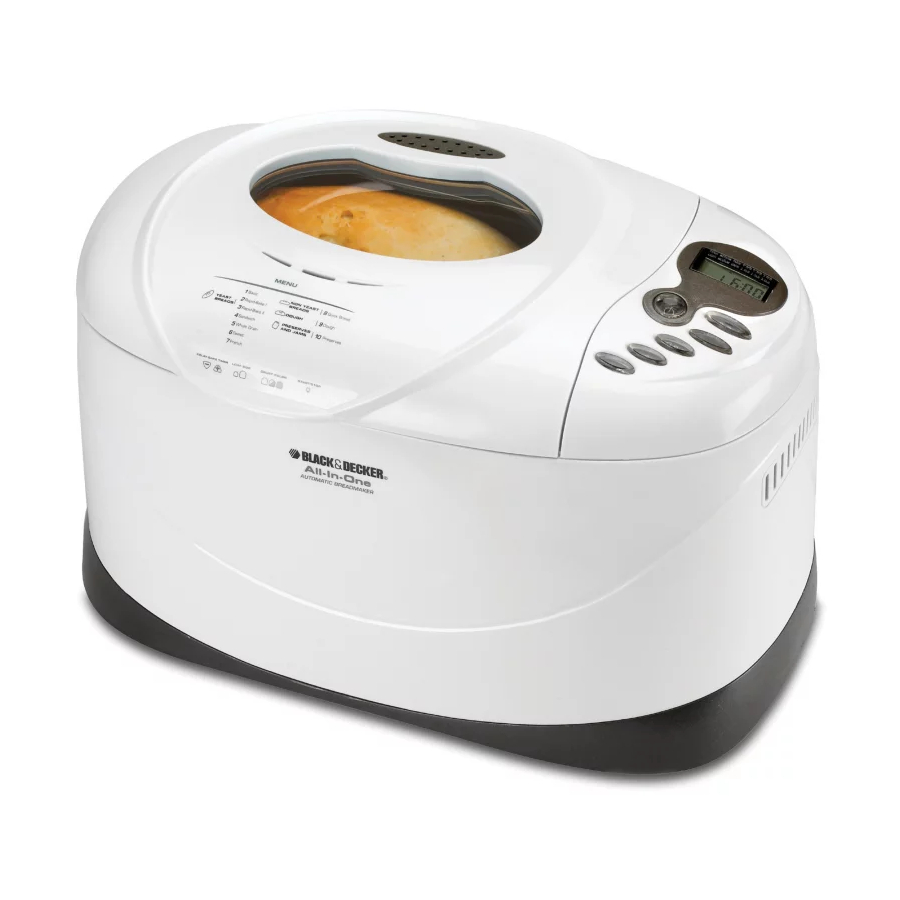
All-In-One Horizontal
Deluxe
Automatic Breadmaker
Robots boulanger
USA/Canada
1-800-231-9786
www.blackanddecker.com
Accessories/Parts
(USA/Canada)
Accessoires/Pièces
(É.-U./Canada)
1-800-738-0245
Page 1
®
Model
Modèle
❑ B2300
Advertisement
Chapters

Related Manuals for Black & Decker B2300


Summary of Contents for Black & Decker B2300
- Page 1 Page 1 PLEASE READ AND SAVE THIS USE AND CARE BOOK. VEUILLEZ LIRE ET CONSERVER CE GUIDE D’ENTRETIEN ET D’UTILISATION. All-In-One Horizontal Deluxe Automatic Breadmaker Robots boulanger USA/Canada 1-800-231-9786 www.blackanddecker.com Accessories/Parts (USA/Canada) Accessoires/Pièces (É.-U./Canada) 1-800-738-0245 ® Model Modèle ❑ B2300...
-
Page 2: Table Of Contents
B2300Pub1000002859 3/6/06 3:22 PM Page 2 TABLE OF CONTENTS IMPORTANT SAFEGUARDS ......GETTING FAMILIAR WITH YOUR UNIT . -
Page 3: Tamper-Resistant Screw
3. Viewing window 4. Steam vent 5. LCD digital display 6. Control panel † 7. Nonstick, bread pan (Part # B2300-01) † 8. Kneading blades (Part # B2300-02 and B2300) 9. Rotating shafts 10. Heating element 11. Oven chamber 12. Wire handle †13. -
Page 4: Control Panel Overview
B2300Pub1000002859 3/6/06 3:22 PM Page 6 Control Panel Start/Stop Button Press to begin the cycle and to display the total time for the selected bread to be completed. To cancel the cycle, press and hold for about 3 seconds until you hear a beep. The unit beeps to indicate that it has stopped. -
Page 5: How To Use
B2300Pub1000002859 3/6/06 3:22 PM Page 8 Program Settings The following program settings will make it easy for you to make a great variety of bread doughs and preserves. For each selected setting, the baking time has been preprogrammed. The recipes provided on pages 14-22 will help you determine which program setting you should use. -
Page 6: Getting Started
B2300Pub1000002859 3/6/06 3:22 PM Page 10 9. Avoid delay: The delay-bake function cannot be used for Rapid Bake I and II or the Dough setting. It is not recommended for Whole Grain, Quick Bread or Preserves. 10. Test the water: For most breads, use water that is 80°... -
Page 7: Insert Bread Pan
B2300Pub1000002859 3/6/06 3:22 PM Page 12 Insert Bread Pan • Insert bread pan into the unit and push down firmly until it is secure in place.(G). • Close the lid and plug the unit into an electrical outlet. The unit beeps and program setting 1 (Basic) displays as the default setting (H). -
Page 8: Recipes
Tip: To advance the time quickly, press and hold down the buttons. RECIPES MODEL B2300 button to decrease the time. BASIC ......Golden Potato Bread RAPID I . -
Page 9: Basic Setting
B2300Pub1000002859 3/6/06 3:22 PM Page 16 Program Setting: 1 (Basic) GOLDEN POTATO BREAD 3⁄4 cup potato cooking water (80 to 90° F.)* 2 tbsp. unsalted butter or margarine, cut into pieces 3 tbsp. dry skim milk powder 2 tbsp. potato starch 1 tsp. -
Page 10: Whole Grain Setting
B2300Pub1000002859 3/6/06 3:22 PM Page 18 Program Setting: 4 (Sandwich) FAMILY FAVORITE WHITE SANDWICH LOAF 2 cups water (80 to 90° F.) 3 tbsp. butter or margarine, cut into pieces 1 tsp. salt 3 tbsp. dry milk powder 4 tbsp. sugar ⁄... -
Page 11: Quick Bread Setting
B2300Pub1000002859 3/6/06 3:22 PM Page 20 Program Setting: 7 (Quick Bread) CLASSIC DATE NUT BREAD 1 cup boiling water 1 cup chopped dates 1 tsp. baking soda 2 large eggs, at room temperature ⁄ cups unsifted all-purpose flour 3⁄4 cup firmly packed dark brown sugar 1 tsp. - Page 12 B2300Pub1000002859 3/6/06 3:22 PM Page 22 Cut lengthwise into 12 one inch strips. Take hold of each strip at the end and twist in opposite directions. Coil twist on greased baking sheet; tuck and seal end. Repeat with remaining strips of dough. Place about 1 tbsp. filling in center of each swirl.
-
Page 13: Care And Cleaning
B2300Pub1000002859 3/6/06 3:22 PM Page 24 Care and Cleaning This product contains no user serviceable parts. Refer service to qualified service personnel. CLEANING 1. After each use, unplug the unit and let it cool. 2. If the kneading blades remain in the bread pan, grip the kneading blade and pull straight up to remove. -
Page 14: Protections Importantes
B2300Pub1000002859 3/6/06 3:22 PM Page 26 PROTECTIONS IMPORTANTES Lors de l'utilisation d'appareils électriques, il faut observer des mesures de sécurité élémentaires, et en particulier : ❑ Lire toutes les instructions. ❑ Ne pas toucher les surfaces chaudes. Utiliser les poignées ou les boutons. -
Page 15: Familiarisez-Vous Avez Votre Appareil
4. Conduit de vapeur 5. Affichage numérique à ACL 6. Panneau de contrôle † 7. Moule à pain antiadhésif (pièce no B2300-01) † 8. Lames de pétrissage (pièce n° B2300-02 et B2300) 9. Arbres pivotants 10. Élément chauffant 11. Chambre de cuisson 12. -
Page 16: Réglages Du Programme
B2300Pub1000002859 3/6/06 3:22 PM Page 30 Bouton de taille du pain Appuyez sur le bouton pour choisir la taille du pain (2,0 lb/0,9 kg, 2,5 lb/1,1 kg ou 3,0 lb/1,4 kg). Bouton de couleur de croûte Vous permet de choisir votre couleur de croûte préférée : pâle, moyenne ou foncée. -
Page 17: Conseils Utiles Pour Utiliser Votre Robot Boulanger
B2300Pub1000002859 3/6/06 3:22 PM Page 32 Réglage du No de menu Temps de programme affiché cuisson affiché 2.0LB 2.5LB 3.0LB Pâte La taille est préréglée. Pain français 3:40 3:50 3:50 Conserves La taille est préréglée. Mode d'emploi Description Cet appareil est réservé aux applications résidentielles uniquement. CONSEILS UTILES POUR UTILISER VOTRE ROBOT BOULANGER Prépare la pâte que l'on 1. -
Page 18: Point De Départ
B2300Pub1000002859 3/6/06 3:22 PM Page 34 8. Ajouter des ingrédients : toutes les fonctions permettent l'ajout d'ingrédients comme des fruits séchés et des noix ; le bip sonore résonne juste avant que le pétrissage soit terminé. Il survient environ 25 minutes (8 minutes pour le mode cuisson rapide) après le début du programme. -
Page 19: Insérez Le Moule À Pain
B2300Pub1000002859 3/6/06 3:22 PM Page 36 • Ajoutez les ingrédients dans l'ordre suivant : liquides - puis secs - puis la levure (toujours dernière). • Faites un petit renfoncement avec le doigt ou le dos d'une cuillère sur le dessus des ingrédients secs et ajoutez la levure dans le renfoncement (F). -
Page 20: Fonctions Spéciales
RECETTES MODÈLE B2300 ÉLÉMENTAIRE ..... Pain doré aux pommes de terre RAPIDE I ......Pain à la farine d'avoine RAPIDE II . - Page 21 B2300Pub1000002859 3/6/06 3:22 PM Page 40 Réglage du programme : 1 (Base) PAIN DORÉ AUX POMMES DE TERRE 3⁄4 tasse d'eau de cuisson de pommes de terre (26,6 à 32,2 °C - 80 à 90 °F)* 2 cuillères à table de beurre non salé ou de margarine en dés. 3 cuillères à...
- Page 22 B2300Pub1000002859 3/6/06 3:22 PM Page 42 1. Mesurez tous les ingrédients, mis à part les amandes et les raisins secs, selon l'ordre prescrit. 2. Placez solidement le moule à pain dans la machine et fermez le couvercle. Branchez l'appareil dans une prise de courant. 3.
-
Page 23: Pâte Programme
B2300Pub1000002859 3/6/06 3:22 PM Page 44 5 tasses de farine panifiable 2 1⁄4 cuillères à thé de levure active ou de panification 1 tasse de raisins 2/3 tasse de pacanes hachéesl 1. Mesurez les ingrédients dans le moule à pain, mis à part les raisins secs, selon l'ordre prescrit. -
Page 24: Pain Français Programme
B2300Pub1000002859 3/6/06 3:22 PM Page 46 2. Divisez la pâte en deux. Roulez-en la moitié sur une plaque à pâtisserie rectangulaire de 9 x 16 po légèrement graissée. 3. Déposez la moitié du remplissage dans le tiers central du rectangle. Découpez 16 fentes dans la pâte le long de chaque côté... -
Page 25: Entretien Et Nettoyage
B2300Pub1000002859 3/6/06 3:22 PM Page 48 ENTRETIEN ET NETTOYAGE Ce produit ne contient aucune pièce réparable par l'utilisateur. Confiez l'entretien et les réparations à un personnel qualifié. NETTOYAGE 1. Après chaque utilisation, débranchez l'appareil et laissez-le refroidir. 2. Si las lames de pétrissage demeurent dans le moule à pain, saisissez la fourche et tirez-la vers le haut pour la dégager. -
Page 26: Need Help
B2300Pub1000002859 3/6/06 3:22 PM Page 50 NEED HELP? For service, repair or any questions regarding your appliance, call the appropriate "800" number on the cover of this book. Do not return the product to the place of purchase. Do not mail the product back to the manufacturer nor bring it to a service center. - Page 27 B2300Pub1000002859 3/6/06 3:22 PM Page 52 is a trademark of The Black & Decker Corporation, Towson, Maryland, USA Marque de commerce déposée de la société The Black & Decker Corporation, Towson, Maryland, É.-U. Copyright © 2006 Applica Consumer Products, Inc. 800 W 120 V 60 Hz Pub.
Need help?
Do you have a question about the B2300 and is the answer not in the manual?
Questions and answers
how do i know when dough is done to take out to bake in oven
Allow the dough to rise in a warm place until it doubles in size, which takes about 45 minutes. Additionally, check the dough near the end of the first rise—if it seems sticky, add 1 or 2 tablespoons of flour. The bread machine will beep near the end of the kneading cycle if additional ingredients need to be added.
This answer is automatically generated
what does all the beeping sounds mean
The beeping sounds for the Black & Decker B2300 indicate the following:
1. A beep at the start of the program when the unit is plugged in and the cycle begins.
2. A beep near the end of the kneading cycle (about 30 minutes into the program) to signal when additional ingredients can be added.
3. A beep at the completion of the baking cycle to indicate that the bread is ready.
This answer is automatically generated
what is black and decker b2300 belts number