
Related Manuals for Hayward VS Omni


Summary of Contents for Hayward VS Omni
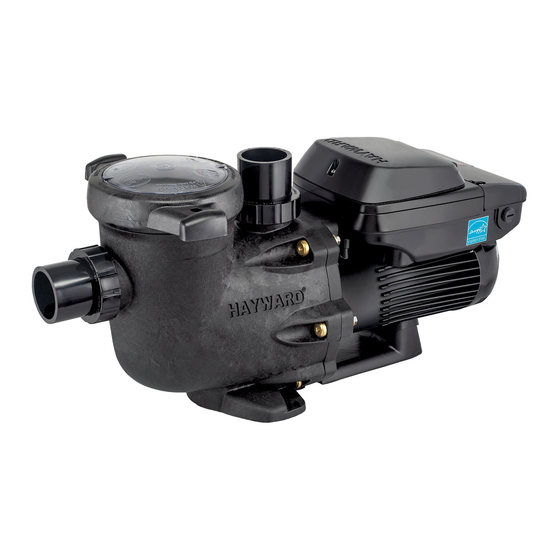
- Page 1 VS Omni® Consumer How-To Guide CTSG-VSO100a Copyright 2018 Hayward Industries Inc.
- Page 2 Safety Precautions Warning High Voltage Electrocution Hazard Hazardous voltage can shock, burn, cause serious injury and or death. To reduce the risk of electrocution and or electric shock hazards: • Only qualified technicians should remove service and install equipment • Replace damaged wiring immediately •...
-
Page 3: Table Of Contents
Table of Contents VS Omni® Overview Pg. 4 Smart Relay Interface Pg. 5 How To: Pg. 6-20 Download Upgrade Firmware Back-Up Config. Connect to Wi-Fi 11-12 Enter/Exit Service Mode 13-15 Create a Theme 16-19 Create a Schedule... -
Page 4: Vs Omni: Overview
• Each VS Omni unit supports up to 2 smart relays, up to 2 VSPs, 1 valve, 1 heater, and 3 sensors. • Its USB port supports the ability to upgrade the system firmware as well as backup and restore configuration files. -
Page 5: Smart Relay Interface
VS Omni: Smart Relay Front Label Function Green = communicating with wiring hub Remote Red = not communicating with wiring hub Green = Relay is ON (Load power) Relay RED = Relay is OFF (No Load power) Provides manual override only when the wiring... -
Page 6: How To
VS Omni® How To:... -
Page 7: Download
How To: Download Firmware To download the latest firmware to a USB drive go to www.hayward.com Support Center> Automation > VS Omni > Support Step 1: Right click on the link of the file Step 1-3 you wish to download. -
Page 8: Upgrade Firmware
How To: Upgrade Firmware Insert USB drive into the bottom of the controller & follow the steps provided below: Step 1 Step 2 Press the power button. Select “service mode”. Step 3 Step 4 Select either “Yes” or “Timed” to continue. Tap the “upgrade”... - Page 9 How To: Upgrade Firmware (cont.) NOTE: Make sure all devices are up to the latest firmware revision. Step 5 Step 6 Select the “MSP” to upgrade the controller. Select USB, latest file, and then check mark. Step 7 Step 8 Once the upgrade has started DO NOT power Once the firmware upgrade has completed, off while in process.
-
Page 10: Back-Up Config
How To: Back-Up Configuration Use the steps provided to Backup a configuration. These steps aid firmware upgrades, controller changes, and corrupted configurations. Step 1 Step 2 On the right of the dashboard locate and tap Select the “Backup config” option (third down the “config”... -
Page 11: Connect To Wi-Fi
How To: Connect to Wi-Fi The following identifies how to connect to a 2.4Ghz Wi-Fi signal. Step 1 Step 2 On the right of the dashboard locate and tap Select the “network” option, on the right side the “config” icon. of the screen. - Page 12 How To: Connect to Wi-Fi (cont.) The network diagnostic tool will check for possible connection issues. Step 5 Step 6 If the password was accepted, press the check A network diagnostics test will run, if all green mark. If not, go back and verify credentials. check marks appear press the back button.
-
Page 13: Enter/Exit Service Mode
How To: Enter/Exit Service Mode Timed The following steps outline how to enter & exit service mode. Step 1 Step 2 Press the power button (it does not matter Select the ‘service mode’ option which what screen is showing at the time). appears on the far left. - Page 14 How To: Enter/Exit Service Mode Timed (cont.) Service Mode Timed allows professionals to enter service mode for a predetermined period of time; the system will return to automatic control once the timer expires. Step 5 Step 6 Set duration using up/down arrows. Then The system is now in service mode for the select the check mark.
- Page 15 How To: Enter/Exit Service Mode Timed (cont.) NOTE: With the exception of step 5, the process for entering/exiting standard ‘service mode’ (without a countdown), is the same. It is important to note that if the timed service mode is not utilized, the system will stay in service indefinitely until reversed. Step 7 Step 8 On the far left, select the ‘service mode exit’...
-
Page 16: Create A Theme
How To: Create a Theme The following steps if you need to create a theme. Step 1 Step 2 Select the body of water desired theme Activate all desired equipment to be included equipment resides. in the theme. Step 3 Step 4 Verify all equipment is running, then select the Navigate and select the “themes”... - Page 17 How To: Create a Theme (cont.) The OmniLogic supports up to 25 themes. Step 5 Step 6 Select the “+” button to add a new theme use Change the name, icon, and verify it is added the “check mark” confirming equipment is on. as a favorite.
- Page 18 How To: Edit a Theme The following steps if you need to edit a theme. Step 1 Step 2 Locate and activate the theme in need of Select additional equipment desired. Once editing. complete, select the back arrow. Step 3 Step 4 Navigate and select the ‘themes’...
- Page 19 How To: Edit a Theme (cont.) NOTE: When editing a theme, the new theme can have the same icon and name as the old theme. Step 5 Step 6 Change the name, icon, and verify it is added Select the old theme, then select the ‘trash as a favorite.
-
Page 20: Create A Schedule
How To: Create a Schedule You can set multiple schedules for each item. NOTE it is recommended to leave a small gap between consecutive schedules (ex. 8am – 5pm and 5:01pm to 8pm) Step 1 Step 2 Select the body of water desired theme Select the icon that corresponds with the equipment resides.
Need help?
Do you have a question about the VS Omni and is the answer not in the manual?
Questions and answers