Advertisement
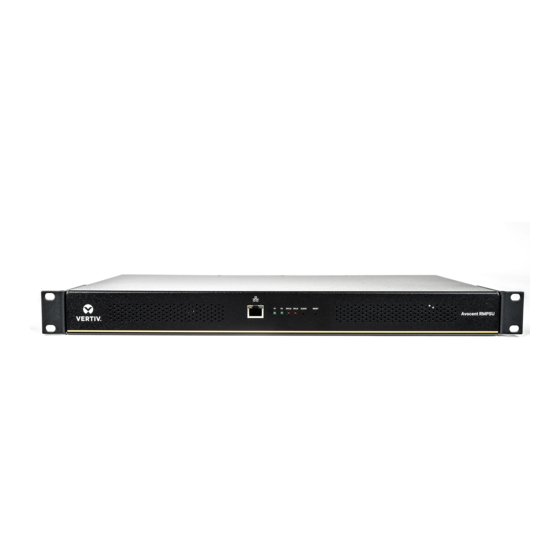
VertiV™ rack mount power supply unit
Quick Installation Guide
Before installing the Vertiv™ rack
mount power supply unit (RMPSU),
ensure the following:
• You must have at least a single 1U
(19 in.) rack slot with one or two
power inputs.
• For devices that require a 12 VDC
power supply, you must have a 2 m
link cable for installation.
• For a device that requires a 5 VDC
power supply, you must have a small
converter module positioned close to
the device being powered.
1.
Rack mounting the RMPSU
Slide the appliance into the vacant
1U space within a rack and secure
each pre-installed bracket to the
rack using two screws per side.
2. Installing the elongated rack
bracket (optional)
Place the elongated bracket on the
rack, align the screw holes with the
rack and fasten it in place with the
supplied screws.
NOTE: The elongated rack bracket
allows the module to be mounted
immediately behind the device.
3. Mounting power converter
modules
Mount each converter module
close to the device to be powered
by inserting the tabs of the module
through the holes of the elongated
rack bracket and slide the module
to lock it in place.
NOTE: The indentations on the
side of the converter module allow
you to attach the module to other
surfaces using plastic cable ties.
Rack Mounting the RMPSU
Installing the Power Converter Module
Elongated Rack
4. Connecting a 5 V device
Connect the 2.5 mm power jack
of the module to the power input
socket on the device. Connect the
locking 3-pin plug to one of the
power output sockets on the rear
panel of the RMPSU main chassis.
Power Converter
Module
3
Bracket
5. Connecting a 12 V device
Connect the locking 3-pin plug at
one end of the link cable to the
power input socket of the device,
then connect the 3-pin plug at the
opposite end of the cable to the
power output socket on the rear
panel of the RMPSU main chassis.
1
2
590-1521-501B
1
Advertisement
Table of Contents

Related Manuals for Vertiv RMPSU


Summary of Contents for Vertiv RMPSU
- Page 1 RMPSU main chassis. power output socket on the rear surfaces using plastic cable ties. panel of the RMPSU main chassis.
- Page 2 | Vertiv Headquarters, 1050 Dearborn Drive, Columbus, OH, 43085, USA © 2017 Vertiv Co. All rights reserved. Vertiv and the Vertiv logo are trademarks or registered trademarks of Vertiv Co. All other names and logos referred to are trade names, trademarks or registered trademarks of their respective owners.
Need help?
Do you have a question about the RMPSU and is the answer not in the manual?
Questions and answers