Advertisement
Quick Links
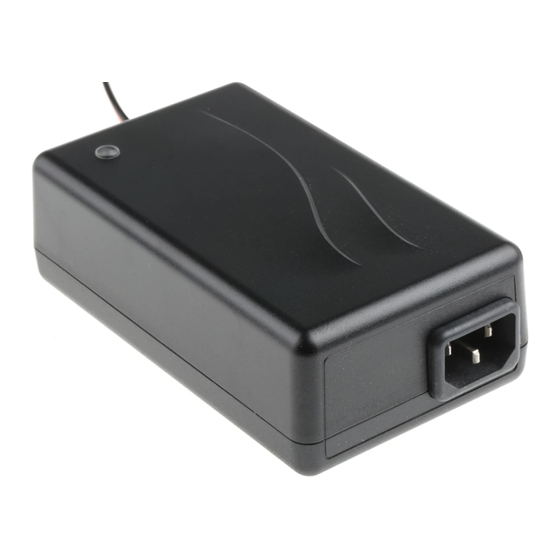
User Manual
Charger for
Lead Acid Batteries
EN
User Manual
Updates and language specific user manuals are available on
www.mascot.no/downloads/usermanuals
Bruksanvisning
Käyttöohjeet
Bedienungsanleitung
Mode d'emploi
Manual de instrucciones
Istruzioni per l'uso
P.O.Box 177, N-1601 Fredrikstad, NORWAY
Phone: +47 69 36 43 00 • Telefax: +47 69 36 43 01
E-mail: sales@mascot.no • Web: www.mascot.no
Doc.no. 5140C - Part No. 205140 - 04.12.2017
MASCOT ELECTRONICS AS
1
Advertisement

Subscribe to Our Youtube Channel
Related Manuals for MASCOT 205140


Summary of Contents for MASCOT 205140
- Page 1 Manual de instrucciones Istruzioni per l’uso MASCOT ELECTRONICS AS P.O.Box 177, N-1601 Fredrikstad, NORWAY Phone: +47 69 36 43 00 • Telefax: +47 69 36 43 01 E-mail: sales@mascot.no • Web: www.mascot.no Doc.no. 5140C - Part No. 205140 - 04.12.2017...
-
Page 2: Important Safety Instructions
A version of this product, marked with a symbol Technical specifi cations for your product: with two drops of water and/or ”IP67”, may be See tables, the marking on the product available. This version is fi lled with a potting or www.mascot.no... - Page 3 Cautions to observe prior to use • The intended use for this product is to charge a plug into the mains socket and “switched off” battery or a battery powered electrical accessory by disconnecting the mains plug from the mains (NiCd/NiMH, Lead-Acid, Lithium-Ion or LiFePO socket.
- Page 4 ”TERMS electrical equipment and may be used in medical OF SALES AND DELIVERY FOR MASCOT AS” applications and hospital environments. apply (available at www.mascot.com). • The product must not be used in the vicinity •...
- Page 5 • This product complies with the requirements to as most types of plastic may be degraded by such electromagnetic compatibility for medical electric chemicals. Also make sure to position, operate and equipment and for use in residential, offi ce or light store such products away from UV-light and direct industrial environment but all electric products sunlight.
- Page 6 that may occur due to difference in potential • The recommended minimum battery capacity between charger terminals and battery termi- for which the specifi c charger can be used nals. Note! Make sure the charger terminals are vary from battery to battery. Some do not have not short-circuited and ensure that the polarity a capacity restriction at the specifi...
- Page 7 How to connect exchangeable AC-plugs The following exchangeable AC plugs are available: ”EURO” 250V 2.5A (EN50075/IEC83 C5 II) ”US” 125V 2.5A (NEMA 1-15 / CSA-C22.2 No.42) ”UK” 250V 13A (BS 1363) ”AUS” 250V 10A (AS/NZS 3112) Mains Cord Set is available on request if you wish your product to be ”DeskTop” How to connect exchangeable DC-output plugs 1.
- Page 8 Explanation of Lead-Acid charge cycle (See tables for methods for each charger model.) Charging method A STEP 1 - BOOST CHARGE To start a charge cycle; connect the charger to the mains. Orange The charger is in constant current mode, charging with the maximum current indicated on the charger, the LED-indication on the charger is ORANGE.
- Page 9 Charging method B STEP 1 - BOOST CHARGE To start a charge cycle; connect the charger to the mains. Orange The charger is in constant current mode, charging with the maximum current indicated on the charger, the LED-indication on the charger is ORANGE. STEP 2 –...
-
Page 10: Step 1 - Boost Charge
Charging method C STEP 1 - BOOST CHARGE To start a charge cycle; connect the charger to the mains. Orange The charger is in constant current mode, charging with the maximum current indicated on the charger, the LED-indication on the charger is ORANGE (or RED 9640). This step allows rapid charging of your battery until the battery reaches typically 80 - 95% of its capacity. - Page 11 Charging method D STEP 1 - BOOST CHARGE LED-indicator: YELLOW Yellow The charger is in constant current mode (CC), charging with the maximum current until battery voltage reach Top-Up level. STEP 2 – TOP-UP CHARGE The charger is in constant voltage mode. The LED-indication will be FLASHING YELLOW Yellow during Top-up charge.
-
Page 12: Error Indications
Charging method E STEP 1 - BOOST CHARGE LED-indicator: YELLOW Yellow The charger is in constant current mode (CC), charging with the maximum current until battery voltage reach Top-Up level. STEP 2 – TOP-UP CHARGE The charger is in constant voltage mode. The LED-indication will be FLASHING YELLOW Yellow during Top-up charge.
Need help?
Do you have a question about the 205140 and is the answer not in the manual?
Questions and answers