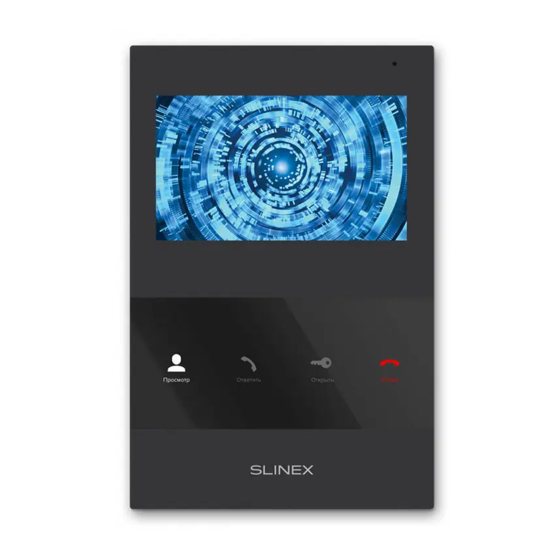
Summary of Contents for Slinex Unique Direct Series
- Page 1 SQ-04 UNIQUE 4ʹʹ video door phone DIRECT User manual Thank you for the { Design. Uniqueness. Innovations } choice of our equipment...
-
Page 2: Table Of Contents
This manual can contain some inaccuracy or misprint. The owner reserves the right to 3. Description......................................4 make corrections to the information described in the user manual and device package. 4. Installation.......................................5 The last revision of this manual is available on www.slinex.com 4.1 Cable requirements...............................5 Safety instructions 4.2 Schematic diagram................................6 Read and keep that manual. -
Page 3: Package
UNIQUE { Design. Uniqueness. Innovations } DIRECT 1. Package 3. Description SQ-04 door monitor − 1 pc. Wall mounting bracket − 1 pc. Connection wires − 7 pcs. Mounting screws and nuts − 1 pkg. User manual − 1 pc. 2. -
Page 4: Cable Requirements
UNIQUE { Design. Uniqueness. Innovations } DIRECT 4. Installation 4.2 Schematic diagram SQ-04 door panels and locks connection. 4.1 Cable requirements Disconnect all power cables before device installation. This device can be connected with such cable types depends on the distance between door monitor and door panel: ) Use 4-wire cable with such parameters: •... -
Page 5: Unit Mount
UNIQUE { Design. Uniqueness. Innovations } DIRECT 5. Operation 4.3 Unit mount 5.1 Incoming call 1) Take the surface mount bracket from the kit and place it 150-160 cm (approx. 5 ft.) from the oor line. 2) Mark and drill four halls in the wall. Standby mode 3) Take four wall anchors from the kit and hammer them into the drilled halls. -
Page 6: Outdoor Panels Image View
UNIQUE { Design. Uniqueness. Innovations } DIRECT 6. Limited warranty 5.2 Outdoor panels image view Manufacturer guarantees product normal functioning during the warranty period if the user keeps all safety Standby mode instructions described in that manual. Warranty period is 12 months from the moment of the product purchasing (warranty period could be Monitor will display Press «Monitor»...


Need help?
Do you have a question about the Unique Direct Series and is the answer not in the manual?
Questions and answers