
Related Manuals for Slinex SL-10MHD


Summary of Contents for Slinex SL-10MHD
- Page 1 Design. Uniqueness. Innovations Design. Uniqueness. Innovations SL-10MHD 10” video intercom Technical support Thank you for User manual choosing our equipment...
-
Page 2: Table Of Contents
This manual can contain some inaccuracy or misprint. The owner reserves the right to make corrections to the information described in the user manual and device package. 3. Description..................................... The last revision of this manual is available on www.slinex.com 4. Installation....................................4.1. Cable requirements............................. -
Page 3: Package
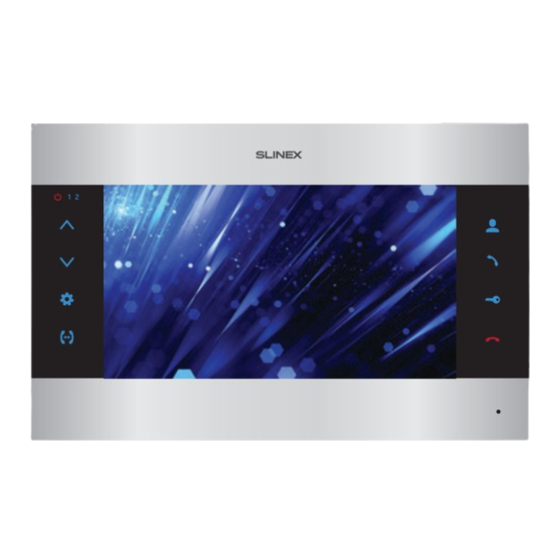
SL-10MHD 1. Package 3. Description SL-10MHD indoor monitor − 1 pc. Wall mounting bracket − 1 pc. Connection terminals − 1 pkg. Mounting screws and anchors − 1 pkg. User manual − 1 pc. 2. Speci cation 305 mm Power LED. Active when the power is on First door panel LED. -
Page 4: Cable Requirements
SL-10MHD 4. Installation 4.2. Schematic diagrams Diagram 1. SL-10MHD outdoor panels, cameras and locks connection. 4.1. Cable requirements Disconnect all power cables before device installation. This device can be connected with such cable types depends on the distance between door monitor and... -
Page 5: Unit Mount
SL-10MHD 4.3. Unit mount Diagram 2. SL-10MHD system connection. 1) Take the surface mount bracket from the kit and situate it 150-160 cm from the oor line. 2) Mark and drill four halls in the wall. 3) Take four nuts from the kit and hammer them into the drilled halls. -
Page 6: Operation
SL-10MHD 5.2. Outdoor panel and camera image view 5. Operation 5.1. Incoming call Standby mode Standby mode Monitor will display Press «Monitor» the image from the button on the rst outdoor panel Visitor presses call button Visitor presses call button monitor (monitoring time –... -
Page 7: Incoming Call Redirection
SL-10MHD 5.4. Intercom Notes: 1) If several monitors connected into one system, the user can view the image from outdoor panels and Two monitors connected into one system are used. cameras on any monitor inside this system. The image will be transferred from the «Master» monitor outdoor panels and cameras to the «Slave»... -
Page 8: System Settings
SL-10MHD 6.2. System settings 2021.01.27 12:15 Press «System» icon in the main menu to enter system settings of the monitor: Settings Language English Monitor System Ring Mode Date & Time Video settings Main menu Main menu Screen saver Disabled Exit... -
Page 9: Ring And Volume Settings
SL-10MHD Settings Time setting Language English Date & Time Main menu Main menu Video settings Screen saver Disabled 2018 / 09 / 20 15 : 33 : 48 SD card info Format SD SD card capacity System System 1.8 GB... -
Page 10: Working Mode Settings
SL-10MHD Door 1 unlock time − Door 1 relay delay time, 1,3, 5, 7 or 9 seconds; Ring settings Door 2 unlock time − Door 2 relay delay time, 1,3, 5, 7 or 9 seconds; Key backlight − «On» or «O »;... - Page 11 SL-10MHD CAM1 alarm time − alarm melody ringing time, activated by CAM1 motion sensor, from 00 to 10 MD setting seconds; MD source CAM1 CAM2 alarm time − alarm melody ringing time, activated by CAM2 motion sensor, from 00 to 10...
-
Page 12: Snapshots And Records Playback
SL-10MHD 6.7. Snapshots and records playback 2019/05/07 10:18:42 Press «Files» icon in the main menu to enter snapshots and records playback. Following folders are available in the «Files» menu: Main menu Video − video les playback; Photo − snapshot les playback;... -
Page 13: Image Viewing (Photo Frame)
SL-10MHD 8. Manual and automatic recording 6.9. Image viewing (photo frame) Create «FRAME» folder in the root of microSD card, if it isn’t already created by the monitor. Paste JPG files Every time visitor press call buton on the outdoor panel, recording process stars automatically. Depending you would like to view into this folder. -
Page 14: Limited Warranty
SL-10MHD 10. Limited warranty Manufacturer guarantees product normal functioning during the warranty period if the user keeps all safety instructions described in that manual. Warranty period is 12 months from the moment of the product purchasing (warranty period could be extended up to 24 months or more, depending on the local regulations).
Need help?
Do you have a question about the SL-10MHD and is the answer not in the manual?
Questions and answers