
Related Manuals for Clarke DEVIL 350B 230V


Summary of Contents for Clarke DEVIL 350B 230V
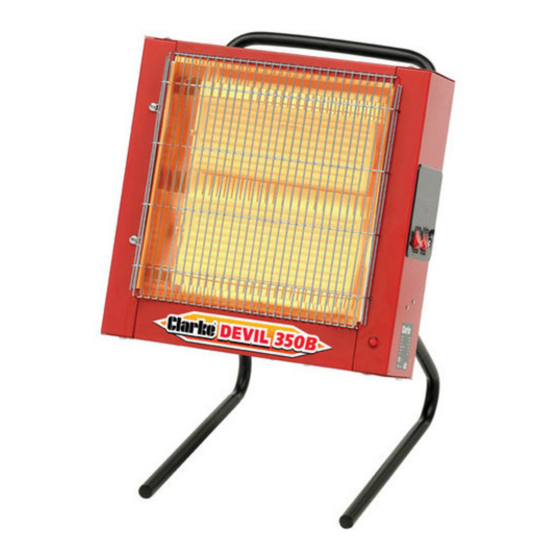
- Page 1 CERAMIC HEATER MODEL NO: DEVIL 350B 230V/110V PART NO: 6920330 & 6920332 OPERATING & MAINTENANCE INSTRUCTIONS ORIGINAL INSTRUCTIONS GC1218 - ISS 1...
-
Page 2: Specifications
Max Heat Output 2400W (1200 per element) Please note that the details and specifications contained herein, are correct at the time of going to print. However, CLARKE International reserve the right to change specifications at any time without prior notice. GUARANTEE This product is guaranteed against faulty manufacture for a period of 12 months from the date of purchase. -
Page 3: General Safety Rules
GENERAL SAFETY RULES Please keep these instructions in a safe place for future reference. 1. These heaters are for INDOOR USE ONLY in well insulated spaces. 2. Do not expose the heater or power cable to rain or wet conditions. Any water entering the heater will increase the risk of electric shock. -
Page 4: Environmental Recycling Policy
7. Check the heater for damage before use. Any damage should be properly repaired or the part replaced. If in doubt, DO NOT use. Consult your local Clarke dealer. SERVICE & REPAIRS 1. If necessary, have your heater repaired by a qualified person using identical replacement parts. -
Page 5: Electrical Connections
ELECTRICAL CONNECTIONS DEVIL 350B (230V) UNITS WARNING: READ THESE ELECTRICAL SAFETY INSTRUCTIONS THOROUGHLY BEFORE CONNECTING THE PRODUCT TO THE POWER SUPPLY. The 230v model is provided with a 13 amp BS 1363 plug, fitted with a 13amp fuse and MUST be connected to a standard, 230 Volt (50Hz) electrical supply, preferably through a suitably fused isolator switch. -
Page 6: Unpacking And Assembly
fused isolator switch. On no account must a 230V, 13 amp (BS1363) plug be used. NOTE: If a portable 110V transformer is used, make sure it has a rated capacity sufficient to take the load of the heater. If the heater is hard wired into the electrical system, all work must be carried out in accordance with IEE regulations. -
Page 7: Using The Remote Control
OPERATION WARNING: FOR SAFE OPERATION OF THIS HEATER IT IS ESSENTIAL TO READ THESE INSTRUCTIONS BEFORE USE. WARNING: PLEASE NOTE THAT THE HEATING ELEMENTS OF THIS PRODUCT DO NOT GLOW WHILST IN OPERATION. ANY PICTURES SHOWING THIS IN ADVERTISING MATERIAL ARE FOR ILLUSTRATION ONLY. USING THE REMOTE CONTROL All operations must be done using the remote control. - Page 8 3. Set one or both secondary switches to the I (On) position as required. • The left one controls the upper heating element and the right one controls the lower. 4. Press the ON/OFF button on the remote control to switch the elements on.
-
Page 9: Programming The Timer
PROGRAMMING THE TIMER When programming, note that the selection will only remain actively displayed for approximately 10 seconds before reverting to the beginning of the process. If unsure what value you wish to enter, you can maintain the display by making constant adjustments with the +/- buttons until making your final selection. - Page 10 • Always ensure that the heating elements are switched to the ON position when in Timer mode. SETTING THE WEEK TIMER SETTING THE DAY AND PROGRAM 1. Press the WEEK TIMER button on the remote control. • Monday will start to flash. 2.
-
Page 11: To Clear A Program
TO CLEAR A PROGRAM 1. To clear a program press the WEEK TIMER button once scroll to the day that needs to be reset using the left and right arrows. 2. Press and hold the TIMER On/Off button for approximately 3 to 4 seconds. •... -
Page 12: Cleaning And Maintenance
DO NOT use abrasive cleaners. Take care that no moisture enters the heater. 3. Refer to your CLARKE dealer if internal maintenance is required. 4. When storing the heater, allow it to cool down before storing it in a dry, well ventilated place. -
Page 13: Fault Finding
Fuse blown. Replace if necessary and investigate the cause. If the fuse blows repeatedly, consult your Clarke dealer. No power at socket Insert the plug into a outlet. suitable socket. Tilt safety switch is Ensure heater is upright. If disabling the heater. -
Page 14: Parts Diagram
Remote Control Unit A selection of suitable extension leads & plugs is available from your nearest CLARKE dealer, for further information, contact your nearest dealer, or telephone CLARKE International Sales department on 01992 565300. Parts & Service: 020 8988 7400 / E-mail: Parts@clarkeinternational.com or Service@clarkeinternational.com... -
Page 15: Declaration Of Conformity
DECLARATION OF CONFORMITY Parts & Service: 020 8988 7400 / E-mail: Parts@clarkeinternational.com or Service@clarkeinternational.com...
Need help?
Do you have a question about the DEVIL 350B 230V and is the answer not in the manual?
Questions and answers