Truma Mover XT L Operating Instructions Manual
Hide thumbs
Also See for Mover XT L:
- Operating instructions manual (84 pages) ,
- Operating instructions & installation instructions (80 pages) ,
- Information (4 pages)
Table of Contents
Advertisement
Advertisement
Table of Contents

Related Manuals for Truma Mover XT L


Summary of Contents for Truma Mover XT L
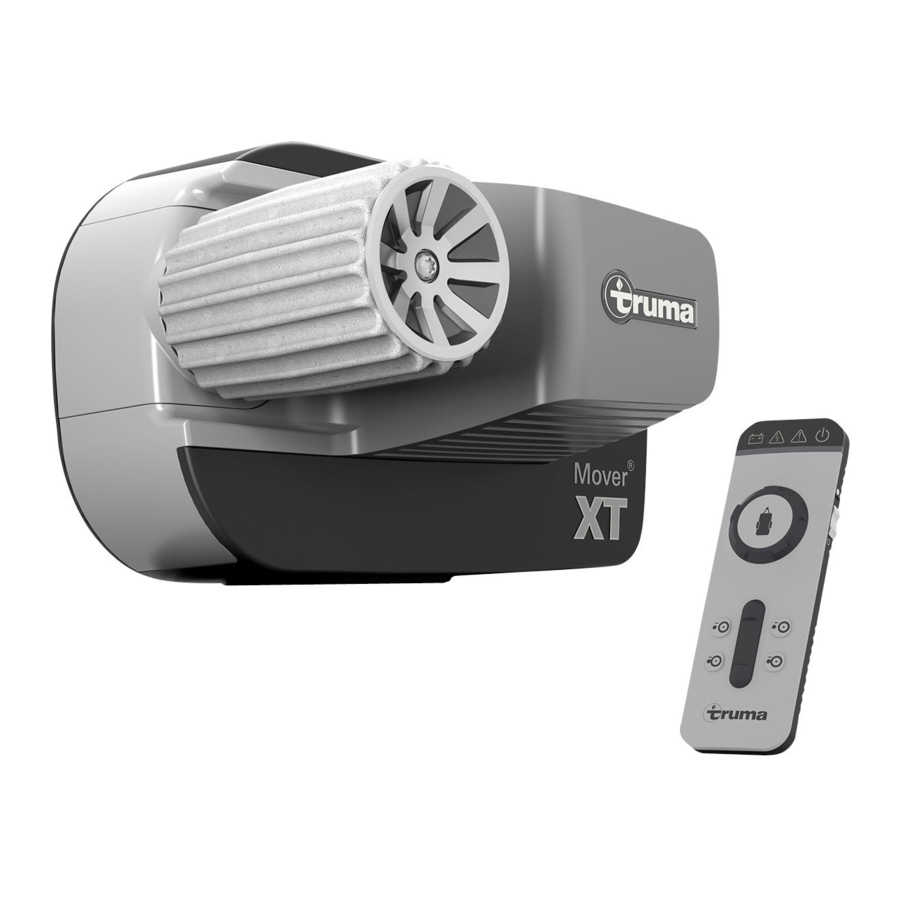
- Page 1 Mover® XT L Operating instructions Page 2 To be kept in the vehicle!
-
Page 2: Table Of Contents
Mover® XT L Table of contents Safety instructions Symbols used ................ 2 – Before using the Mover® XT L outdoors for the first time, Safety instructions ............2 practice with it to familiarise yourself with the functions of General instructions ............3 the remote control and the Mover® XT L. -
Page 3: General Instructions
Starter batteries are not suitable Batteries with greater capacity allow the equipment to be used for longer. Charger For optimum battery charging we recommend the Truma BC 10 charger, which is suitable for all battery types up to 200 Ah. Battery care (including maintenance-free... -
Page 4: Operating Instructions
Control knob and slide control Operating instructions (Caravan right or left and forwards or backwards) – Turn control knob to right and push slide control forwards –> Remote control caravan drawbar moves to right left wheel rotates fast – right wheel rotates slowly forwards Protect the remote control from moisture and direct sunlight. -
Page 5: Remote Control Battery Change
LED 4 green flashes if radio connection has not yet been Switch on the remote control – green LED 4 flashes until the established after switching on the remote control unit is ready for operation. If the control unit is not control ready for operation, the remote control switches off after about 10 seconds. -
Page 6: Checks
Mover® XT L during radio remote control the annual inspection of your caravan. If in doubt, please con- tact Truma Service or one of our authorised service partners (see www.truma.com). The remote control and the control unit are tuned to each other in the factory. -
Page 7: Technical Data
28 A up to a maximum of 150 A Quiescent current consumption As the Manufacturer of the unit, Truma undertakes a warranty < 80 mA (with plug / adapter inserted) towards the Consumer that covers any material and/or manu- <... - Page 8 – Damage resulting from improper transport 3. Making a warranty claim The warranty must be claimed with an authorised service part- ner or at the Truma Service Centre. All the relevant addresses and phone numbers can be found at www.truma.com, in the “Service” section.
- Page 9 Darstellung Linke Seite in Fahrtrichtung Shown left side in the direction of travel Représentation du côté gauche dans le sens de la marche Illustrazione lato sinistro in direzione di marcia Weergave linker kant in rijrichting Visning venstre side i kørselsretning Illustration vänster sida i körriktningen Mover®...
- Page 10 Pour un traitement rapide de votre demande, veuillez tenir prêts le type d’appareil et le numéro de série (voir plaque signalétique). In caso di guasti rivolgersi al centro di assistenza Truma o a un nostro partner di assistenza autorizzato (consultare il sito www.truma.com).
Need help?
Do you have a question about the Mover XT L and is the answer not in the manual?
Questions and answers