Table of Contents
Advertisement
Quick Links
Functional Buttons
Hold/Light Button
Rotary Switch
10A MAX
and mA / μA Terminals
I. DISPLAY FUNCTIONS & SYMBOLS
Rotary Switch
AC & DC Voltage
AC - Alternating Current
DC - Direct Current
Ohm - Resistance
Diode Test
Continuity Test
OPERATING INSTRUCTIONS
True-RMS, Autoranging Multimeter
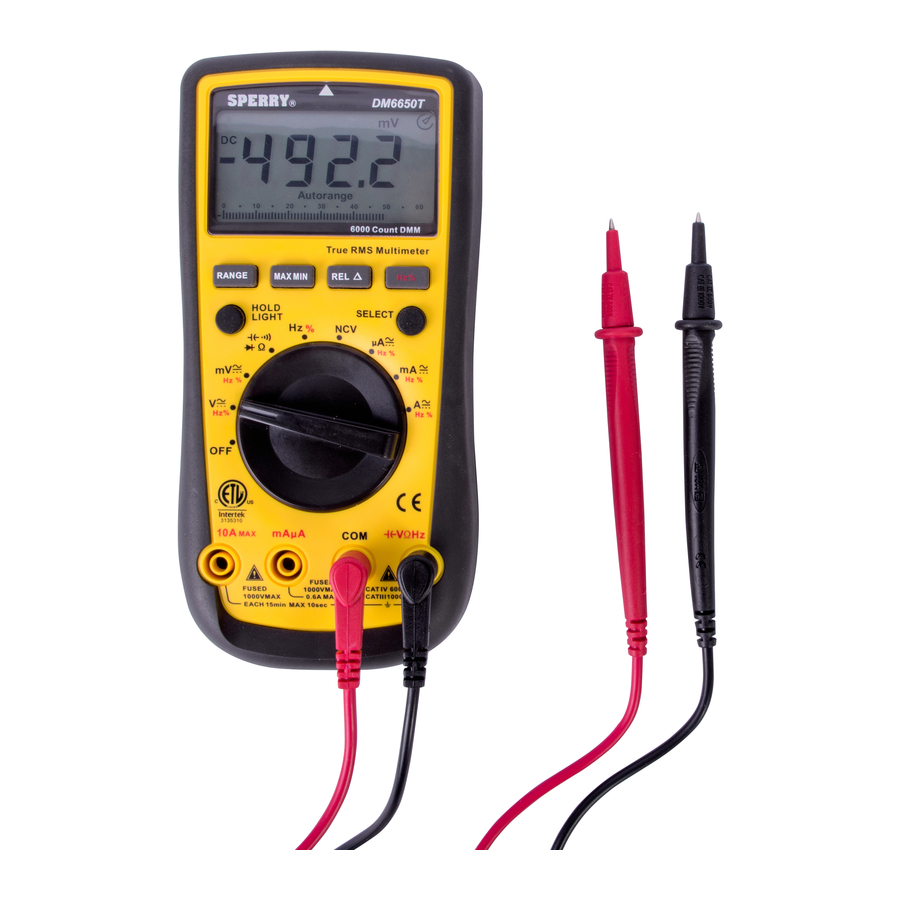
DM6650T
Read this owner's manual thoroughly before use and save.
Figure 1
COM Terminal
Capacitance Test
Hz%
Frequency and Duty Cycle Test
mA - Millamp
A - Amp
NCV
Non-Contact Voltage Sensing
OFF
Power off
1
LCD Display
Select Button
VΩHz
Input Terminal
Advertisement
Table of Contents

Related Manuals for Sperry instruments DM6650T


Summary of Contents for Sperry instruments DM6650T
- Page 1 OPERATING INSTRUCTIONS True-RMS, Autoranging Multimeter DM6650T Read this owner’s manual thoroughly before use and save. Figure 1 LCD Display Functional Buttons Hold/Light Button Select Button Rotary Switch 10A MAX and mA / μA Terminals VΩHz Input Terminal COM Terminal I. DISPLAY FUNCTIONS & SYMBOLS Rotary Switch AC &...
- Page 2 Functional Buttons BUTTON OPERATION PERFORMED HOLD/LIGHT Button Press and hold for 2 seconds to turn the display backlight on or off HOLD/LIGHT Button Press to step through the available functions Select Button Press to step through the available functions. RANGE •...
-
Page 3: Safety Warnings
II. SAFETY WARNINGS • This instruction manual contains warnings and safety rules which must be observed by the user to ensure safe operation of the instrument and retain it in safe condition. • Read through and understand the instructions contained in this manual before using the instrument. •... -
Page 4: General Specifications
Measurement categories (Over-voltage categories) To ensure safe operation of measuring instruments, IEC61010 establishes safety standards for various electrical environments, specified as CAT I through CAT IV, and called measurement categories. Higher-numbered categories correspond to electrical environments with greater momentary energy, so a measuring instrument designed for CAT III environments can endure greater momentary energy than one designed for CAT II. - Page 5 IV. OPERATING INSTRUCTIONS A. AC/DC VOLTAGE MEASUREMENT (See Figure 2) To measure voltage, connect the Meter as follows: 1. Insert the red test lead into the input terminal and the black test lead into the COM terminal. VΩHz 2. Set the rotary switch to : DC measurement is default or press the SELECT button to switch show the AC and DC symbols.
- Page 6 D. TESTING FOR CONTINUITY (See Figure 5) To test for continuity, connect the Meter as follows: 1. Insert the red test lead into the VΩHz input terminal and the black test lead into the COM terminal. 2. Set the rotary switch to Ω and press SELECT button to select the measurement mode. 3.
- Page 7 H. NCV (NON-CONTACT VOLTAGE) To use the meter as a NCV (Non-Contact Voltage) Sensor, set it up as follows: 1. From the Off position, set the rotary switch to the NCV. 2. The meter will now function as a non-contact voltage sensor to indicate the presence of nearby AC voltage. 3.
-
Page 8: Accuracy Specifications
V. ACCURACY SPECIFICATIONS DC VOLTAGE AC CURRENT RANGE RESOLUTION ACCURACY RANGE RESOLUTION ACCURACY 60mV 0.01mV 600μA 0.1μA ±(0.8%+3) (1.2%+5) 600mV 0.1mV 6000μA 1μA 0.001V 60mA 0.01mA (1.5%+5) ±(0.5%+1) 0.01V 600mA 0.1mA 600V 0.1V 0.001A (2.0%+5) 1000V ±(1.0%+3) 0.01A - When ≥5A: Continuous measurement is allowed. - When >5A: Continuous measurement less than AC VOLTAGE 10 seconds at an interval more than 15 minutes. -
Page 9: Non-Contact Voltage Detection
NON-CONTACT VOLTAGE DETECTION RANGE RESOLUTION ACCURACY 50VAC 0mm: buzzer beep (insulated wire) 120VAC 0-5mm: buzzer beep (electric outlet) 50Hz/60Hz 500VAC <12in: buzzer beep VI. MAINTENANCE A. Replacing the Battery (See Figure 12) To replace the battery: 1. Turn the Meter”s power off and remove all connections from the terminals. 2. - Page 10 Original proof of purchase is required to establish original ownership of product. No warranty will be honored unless an invoice or other proof of purchase date is provided to Sperry Instruments. Hand written receipts or invoices will not be honored.
Need help?
Do you have a question about the DM6650T and is the answer not in the manual?
Questions and answers