
Related Manuals for Skope BB Series


Summary of Contents for Skope BB Series
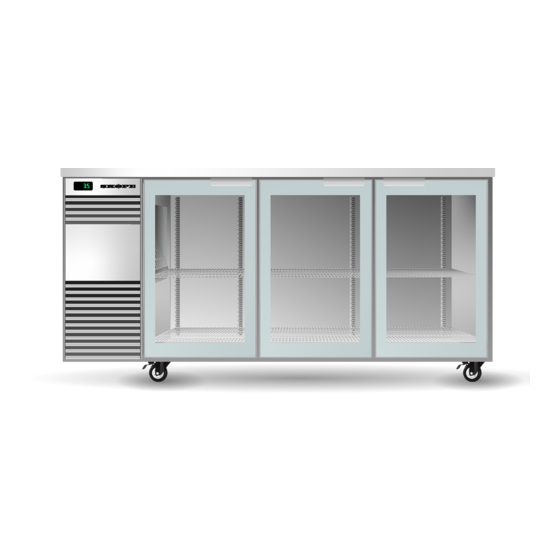
- Page 1 SKOPE Backbar, Counterline & Slimline BB, CL & CC Series 1, 2 & 3 Door Horizontal Chillers CL400 BB580 CL800...
- Page 2 For pricing information on an extended warranty visit www.skope.com/warrantyprotection Service & Support We know you will get years of satisfaction from your new SKOPE product when you follow a few simple preventative maintenance guidelines.
-
Page 3: Table Of Contents
CONTENTS 1 Models Backbar ..........4 Counterline . -
Page 4: Models
CC700i-4SW Integral 3.8A CC300r-2SL Remote 0.5A Sliding CC500r-3SL Remote 0.9A doors CC700r-4SL Remote 1.3A +1°C to +4°C up to 32°C ambient CC300r-2SW Remote 0.3A Swing CC500r-3SW Remote 0.7A doors CC700r-4SW Remote 1.0A SKOPE Backbar, Counterline & Slimline User Manual... -
Page 5: Installation
WARNING Always disconnect the chiller from the mains power supply before cleaning or maintenance. WARNING If retrofitting door locks, ensure retrofit is done by a SKOPE approved service technician following SKOPE guidelines on instruction sheet PRN8503. Installation User Manual... -
Page 6: Locating The Cabinet
Adequate allowance should be made for door opening. Always ensure that the top of the cabinet is shielded from impact and moisture, with either a SKOPE provided bench top, or with a custom or existing bench top. When installing the cabinet Avoid direct sunlight and warm draughts etc. -
Page 7: Positioning The Cabinet
SKOPE Backbar, Counterline & Slimline Positioning the Cabinet Legs and The chiller is packed with a set of adjustable height legs and a set of Castors adjustable height castors. Either of these sets can be fitted to the cabinet depending on specific height and manoeuvrability requirements. The legs or castors should be fitted to the base of the cabinet before final positioning. -
Page 8: Shelving
SKOPE Backbar, Counterline & Slimline Shelving Fitting the Remove all packaging material from the shelves. Clip the shelf support Shelves brackets into the shelf support strips, at the desired heights, and fit the shelves. The shelves may be positioned at different heights to suit various products. -
Page 9: Remote Cabinet Installation
SKOPE Backbar, Counterline & Slimline Remote Cabinet Installation SKOPE horizontal remote cabinets are supplied with a seperate instruction sheet: Guidelines for SKOPE remote Refrigeration (PRN2362), and specification sheet: SKOPE Gen 2 Horizontal Remote Cooler - Specifications (PRN1647). Refer to these sheets for SKOPE remote refrigeration installation guidelines and specifications. -
Page 10: Operation
SKOPE Backbar, Counterline & Slimline Operation Automatic Start-Up Connect the cabinet to the mains power supply and check operation of the refrigeration unit and electronic controller. If the cabinet has been on its back, leave for 30 minutes before running. -
Page 11: Electronic Controller
SKOPE Backbar, Counterline & Slimline Electronic Controller Item Icon Function Mute / program: Mutes the audible alarm (buzzer) and deactivates the alarm relay. To initiate program sets, press for 5 seconds. Up: To scroll settings up (in program mode). Set point: If pressed for more than 2 seconds displays and / or enables changing the temperature setpoint. -
Page 12: Controller Overview
The chiller temperature setpoint is factory set (see table below) and can be Setpoint adjusted if necessary. SKOPE do not recommend that the setpoint be changed unless it is absolutely necessary, and then only by small increments at a time. -
Page 13: Controller Alarms
Flashing To reset alarm - unplug the cabinet from the power supply for 1 minute, then reconnect to Defrost over-time None power supply. limit 1. If alarm persists, contact SKOPE. Real-time clock fault Flashing Controller E prom error Flashing Controller E prom... -
Page 14: Servicing
Over time, dust may accumulate within the condenser that cannot be removed with a brush. If this occurs, contact SKOPE to arrange for a SKOPE authorised service agent to clean the condenser with compressed air. -
Page 15: Lighting
SKOPE Backbar, Counterline & Slimline Lighting Cabinet The cabinet is fitted with cabinet interior light/s mounted above the doors on Interior Lights the ceiling of the cabinet. Backbar pass-through cabinets are fitted with lights above the front and back doors. Refer to the table below for light tube specifications. -
Page 16: Troubleshooting
SKOPE Backbar, Counterline & Slimline Troubleshooting Complaint Possible Cause Repair 1. Cabinet not • Loss of power supply. • Check mains power supply. operating and no controller display: 2. Power • Unit operating too hot. • Clean condenser (see page 14). - Page 17 E-mail: enquiry@skope.com.au Website: www.skope.com.au Trademark Infringement The SKOPE trademark on this product is infringed if the owner, for the time being, does any of the following: • Applies the trade mark to the product after their state, condition, get-up or packaging has been altered in any manner •...
Need help?
Do you have a question about the BB Series and is the answer not in the manual?
Questions and answers