Advertisement
Quick Links
1.
0.5
0.25
Futura Book 24Pt
KNX
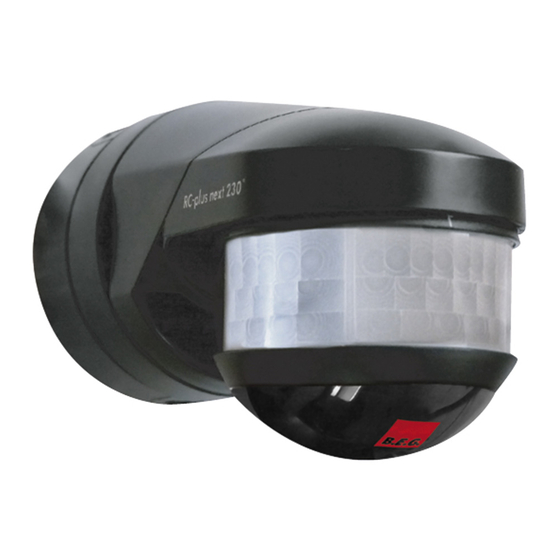
Operating and mounting instructions for motion detector KNX RC-plus next 230 KNX
Mounting preparations
1
1
2
1) Please be aware, that the RC-plus next 230
KNX is not suitable as an intrusion
detector, since it is not equipped with a
tamper contact according VDS.
2) Socket base corner mounting
Putting into operation / Settings
5
In connection with the application program
BEG_DIM_HKL_V5.0 there are different modes
available.
Product data bank to be imported in the ETS data base
can be downloaded from the B.E.G. homepage.
Attention: Please do not locate the detector near a
heating or air condition source!
Please refer to the application description for details
of application programming and the communication
objects!
6
Sensor head optics
10°
180°
1
45°
1) Change range or sensitivity adjustments
by swivelling of the sensor head vertically
or horizontally (Sensor head horizontally =
max. range)
2) Fine adjustment of sensor axis
9
Mounting place
1
1) If possible mount unit on a safe place
(wall or ceiling mount)
RC-plus next 230 KNX
2
Mounting types
Wall mounting
Ceiling mounting
Outside corner
mountable with
plug-in socket
1
1) Remove the coverring with slightly pressure
2) Adjust range with screwdriver
3) After activation, close programming button with included cover-up sticker!
Sensitivity adjustment (mounting height 2.50 m)
7
2
(Sensor head justified horizontally, see point 6)
230°
2
2) Influence of weather reduces the lifetime of
the unit. Please take care to mount correctly.
3
Plug-in socket
1
1
2
P t
10°
3
3
1) Press here for separation of terminal case
and plug-in socket.
2) Mount the plug-in socket with two screws
and the enclosed seal rings on a firm base
(pay attention to inserting of the connection
cable, see point 4).
3) Imprint the terminal case on plug-in socket.
The terminal case on the plug-in socket is
rotatable up to 10° for fine adjustment of
the motion detector.
2
1:4
+
1.
0.5
0.25
Futura Book 24Pt
Mechanical range adjustment
3m
1m
+ : e.g. 20 m, – : e.g. 5 m (mounting height 2.50 m)
(RC-plus next 230 KNX: 2 zones, see point 7)
8m
1) Range walking across: e.g. 20 m
1m
2) Range walking towards: e.g. 7-8 m
3) Anti -creep: e.g. 1-3 m
max
min
8m
Mechanical range adjustment possible
3m
1m
for every zone separately (see point 5)
8m
> 1m
4
3) Minimum distance to switched lighting,
frontally or laterally to device: 1m
4) Never mount the connected lights below
the motion detector!
4
Inserting of the connection cable
4
1 :
1 .
5
0 .
2 5
0 .
2 4
o k
o
B
r a
t u
F u
2
1) Connection cable from top /down
2) Connection cable from below
3) Connection cable from behind
3
-
Cover-up
sticker
21m
Exclude sources of interference
8
1
21m
1) Push in cover-up clips on marked place
(blind out distant range/close-up range/
4
1 :
1 .
both)
5
0 .
2 5
0 .
2) Cover-up stickers for Anti -creep
P t
2 4
o k
o
B
r a
t u
F u
21m
10
Article / Part nr. / Accessory
3
KNX Motion detector:
RC-plus next 230 KNX
RC-plus next 230 KNX
KNX Socket base for corner mounting:
RC-plus next ES
RC-plus next ES
Accessory:
Wire basket BSK
Remote control IR-PD-KNX
GB
1
2
3
– +
Prog.
2
white:
92894
black:
92895
white:
97004
black:
97024
92467
92123
Advertisement

Subscribe to Our Youtube Channel
Related Manuals for B.E.G. KNX RC-plus next 230 KNX


Summary of Contents for B.E.G. KNX RC-plus next 230 KNX
- Page 1 0.25 Futura Book 24Pt RC-plus next 230 KNX Operating and mounting instructions for motion detector KNX RC-plus next 230 KNX Mounting preparations Mounting types Plug-in socket Inserting of the connection cable Wall mounting 10° Ceiling mounting 1) Please be aware, that the RC-plus next 230...
- Page 2 Dimensions (mm) Technical data RC-plus next 230 KNX Connections Sensor and power supply in one case RC-plus next Power supply: 24 VDC from KNX-BUS system Current absorption: 10 mA Ambient temperature: -25°C – +55°C Range: e.g. 20 m RC-plus next 230° KNX/EIB Mounting height: 2 –...
Need help?
Do you have a question about the KNX RC-plus next 230 KNX and is the answer not in the manual?
Questions and answers